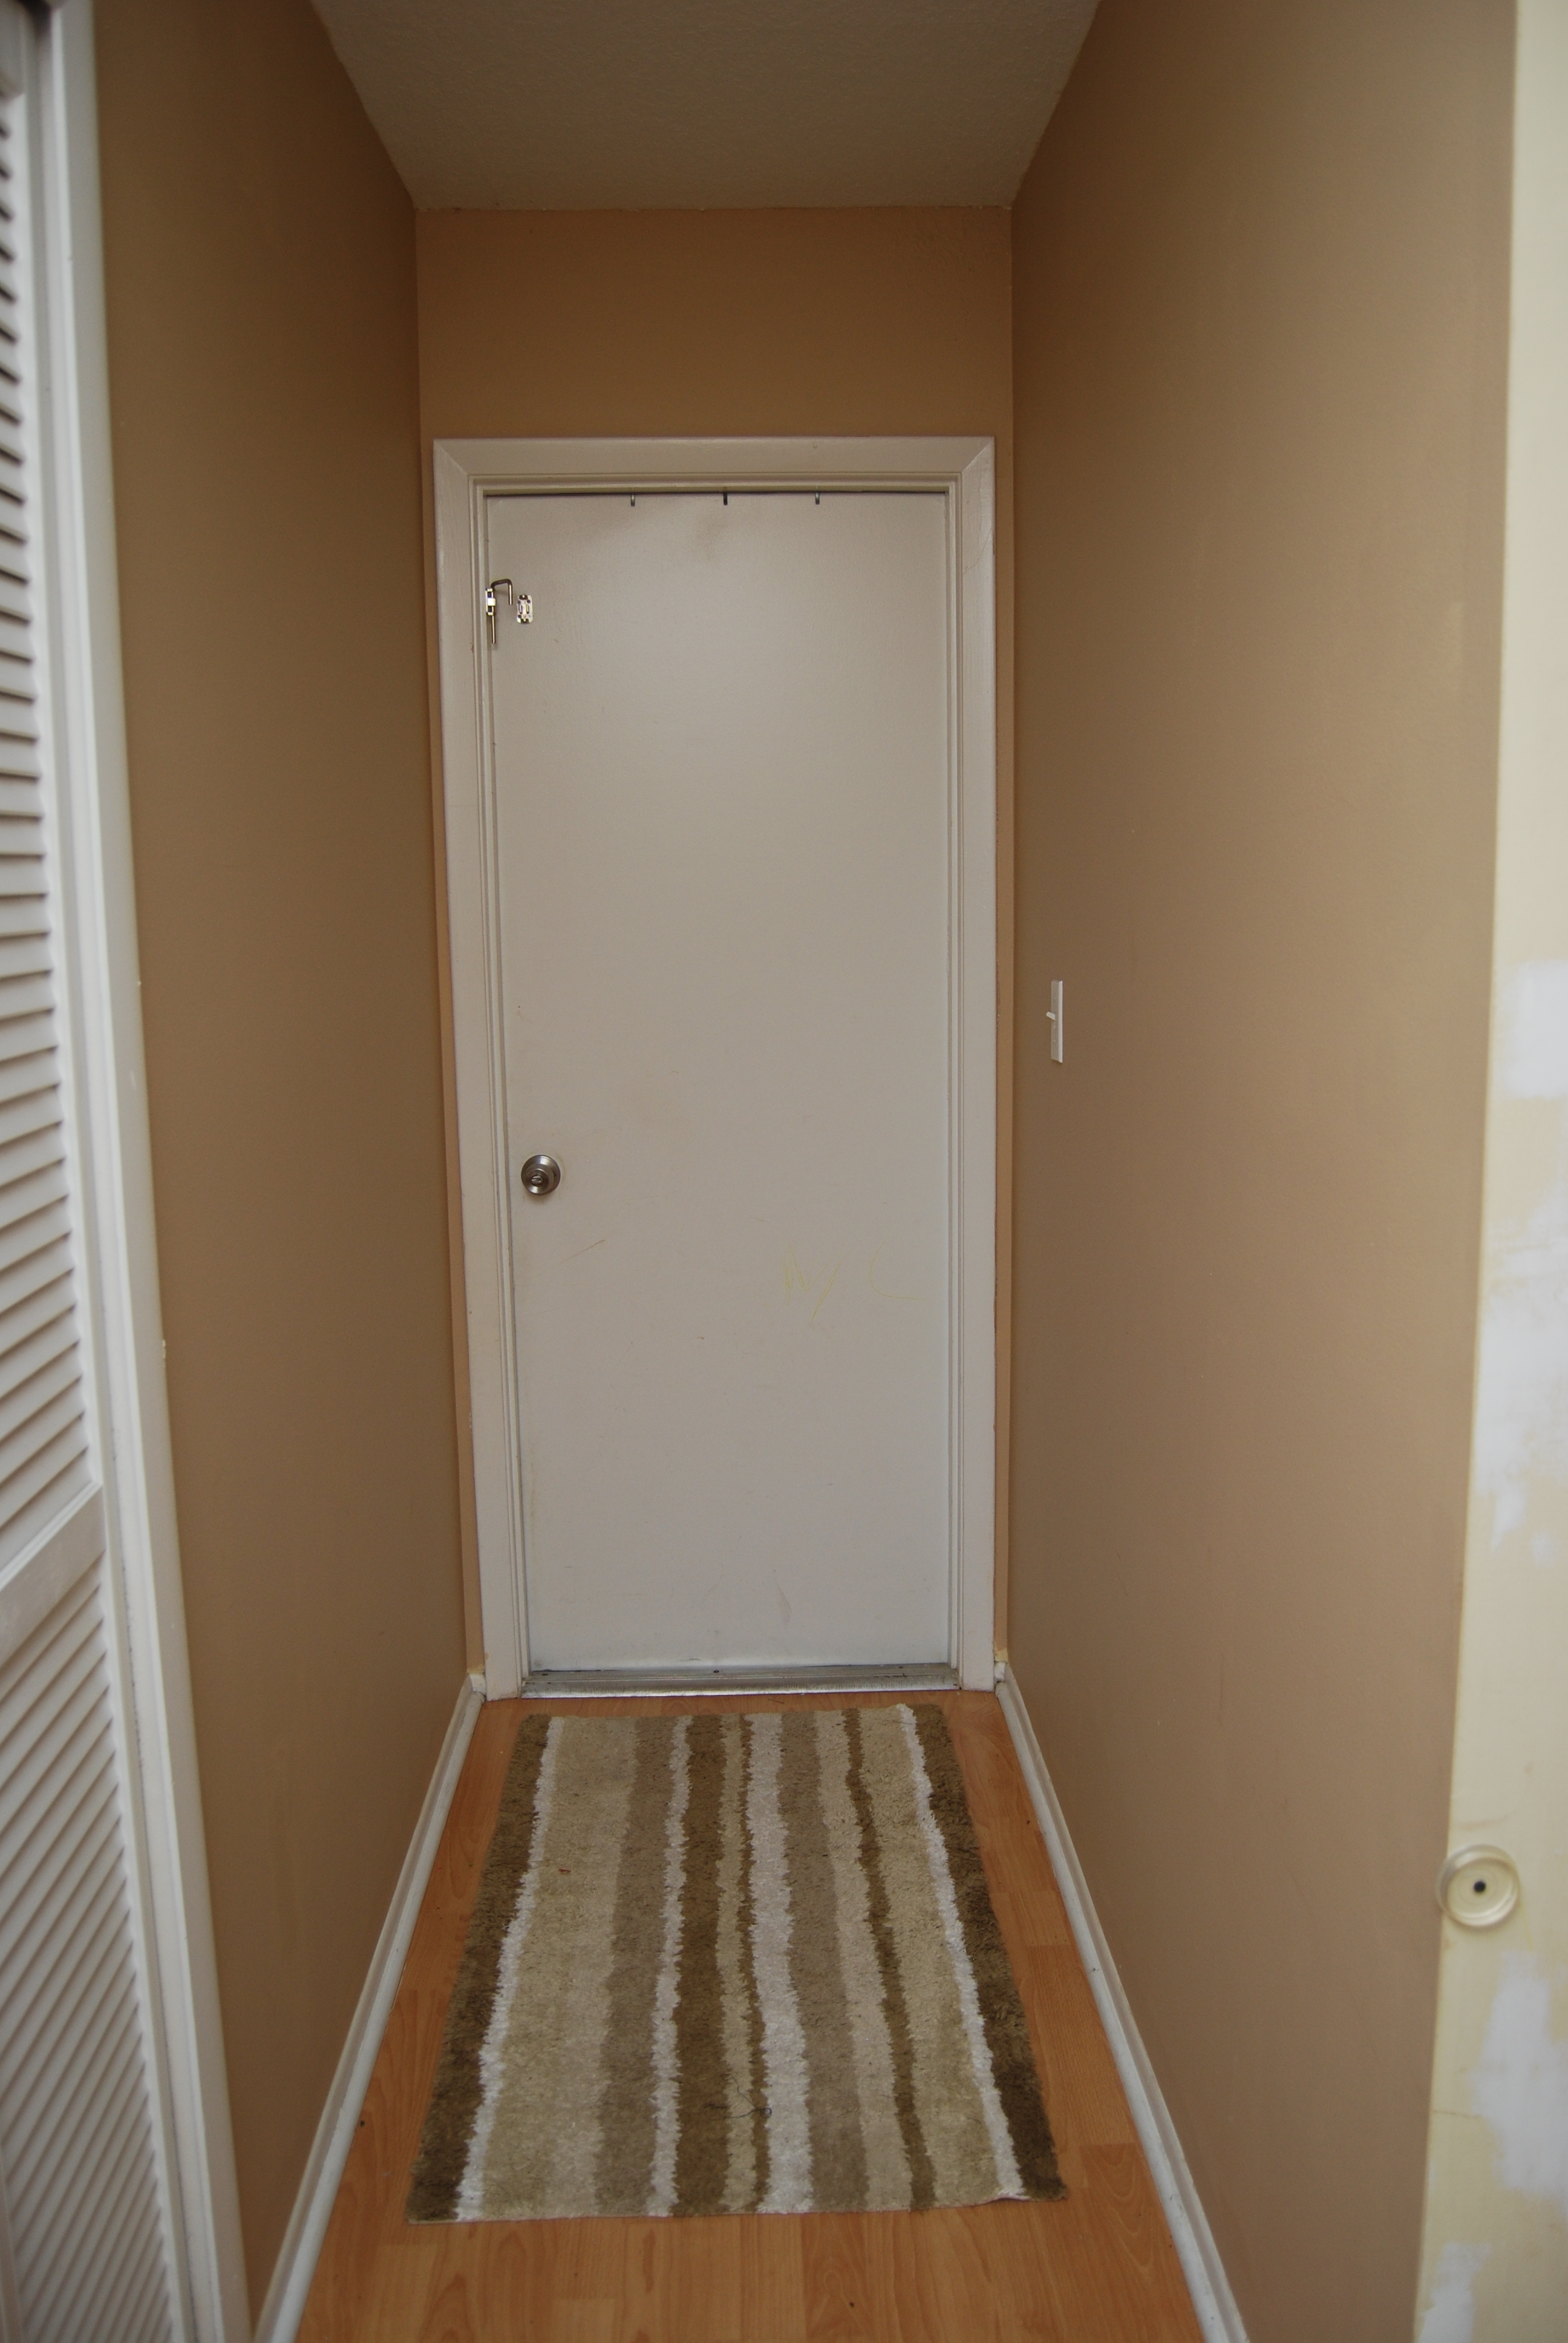
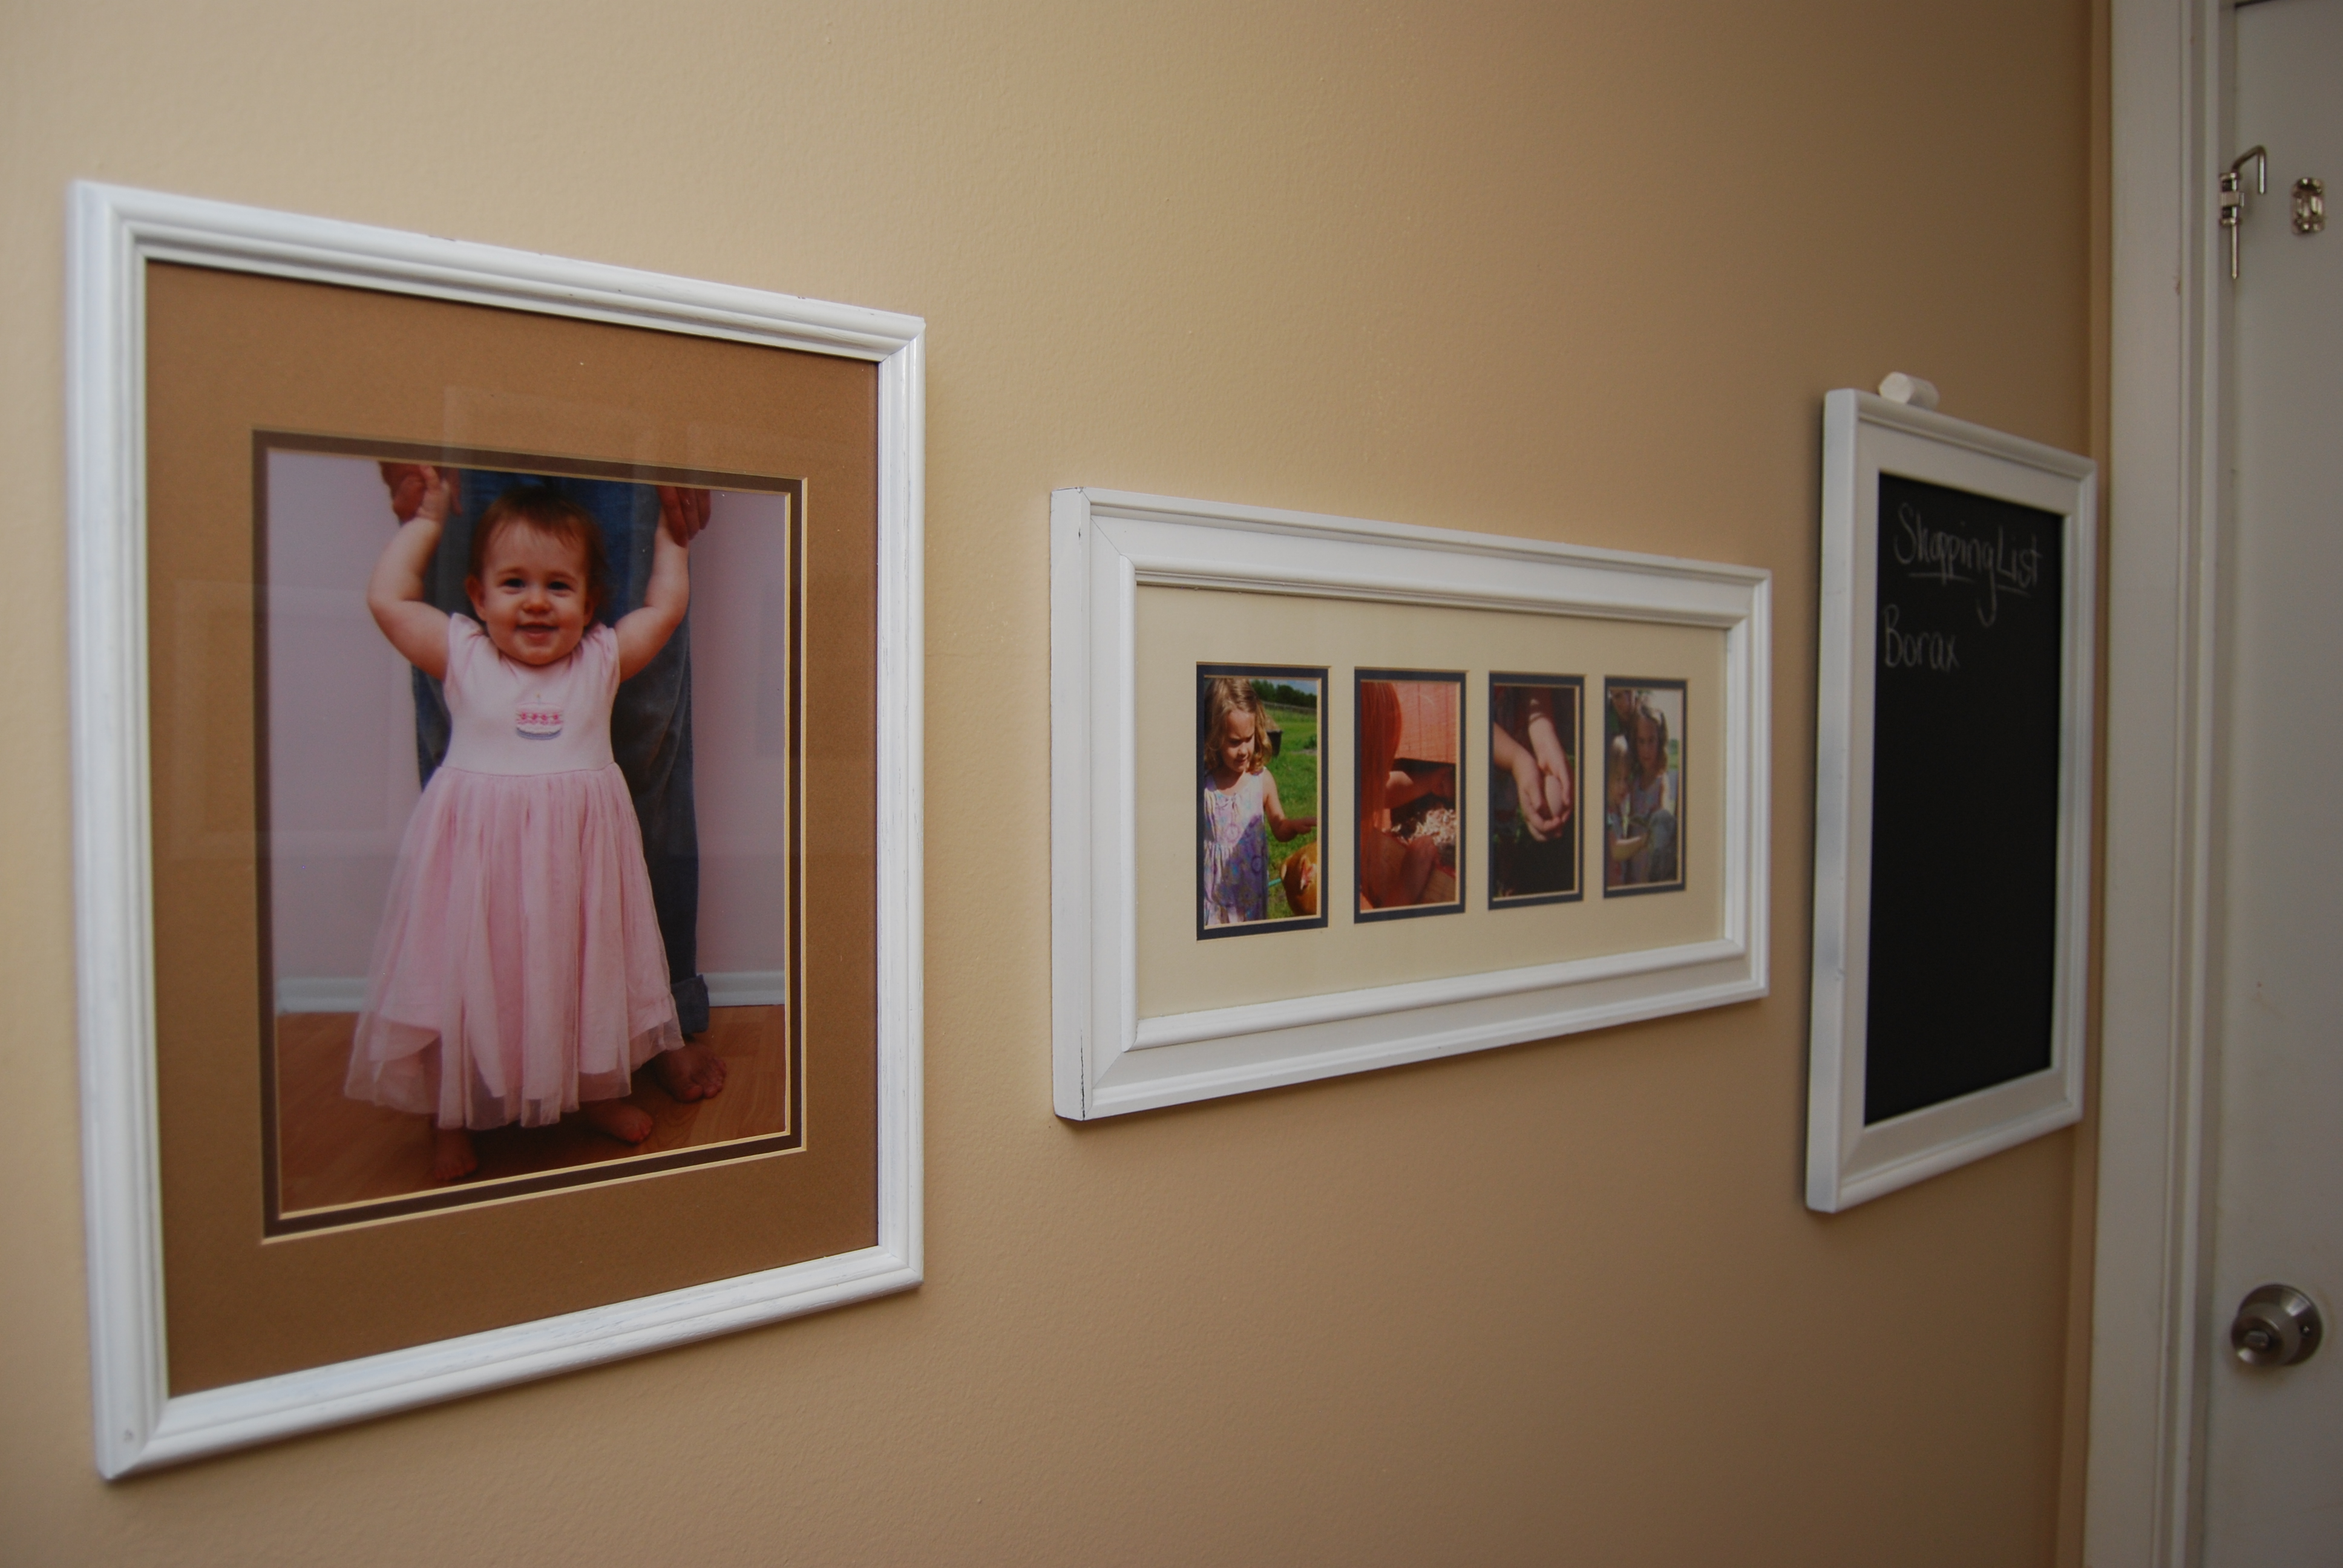
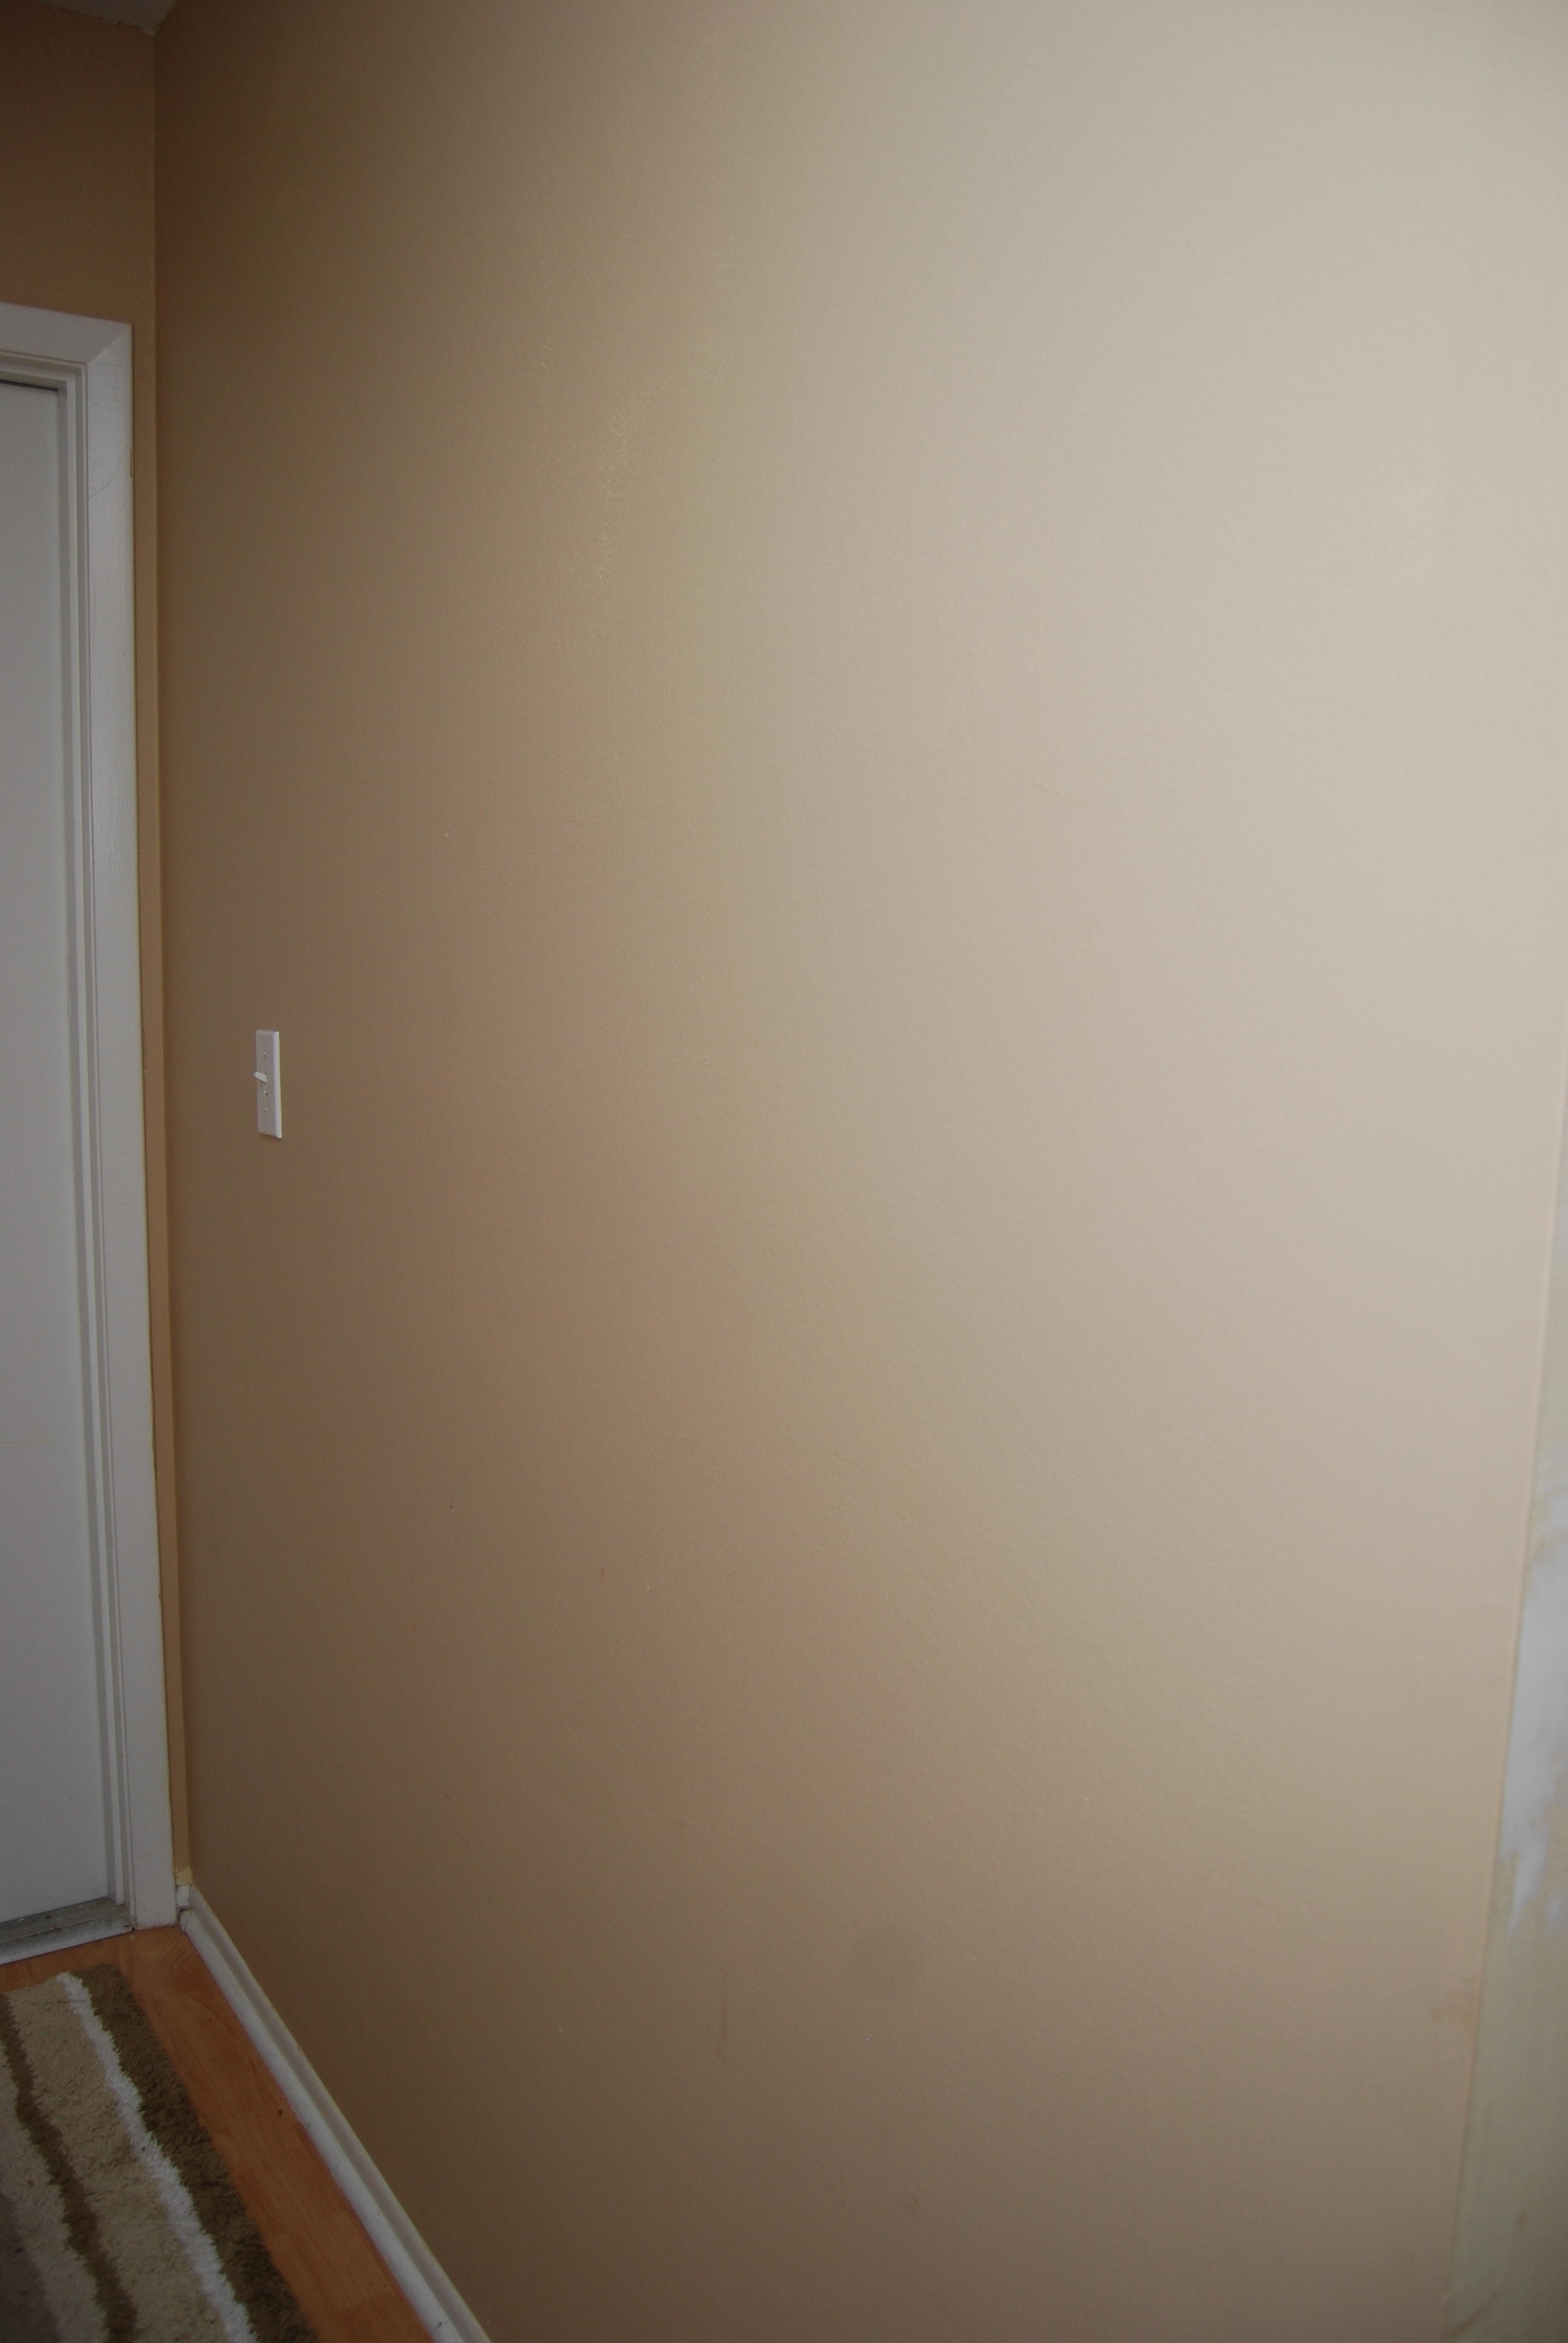
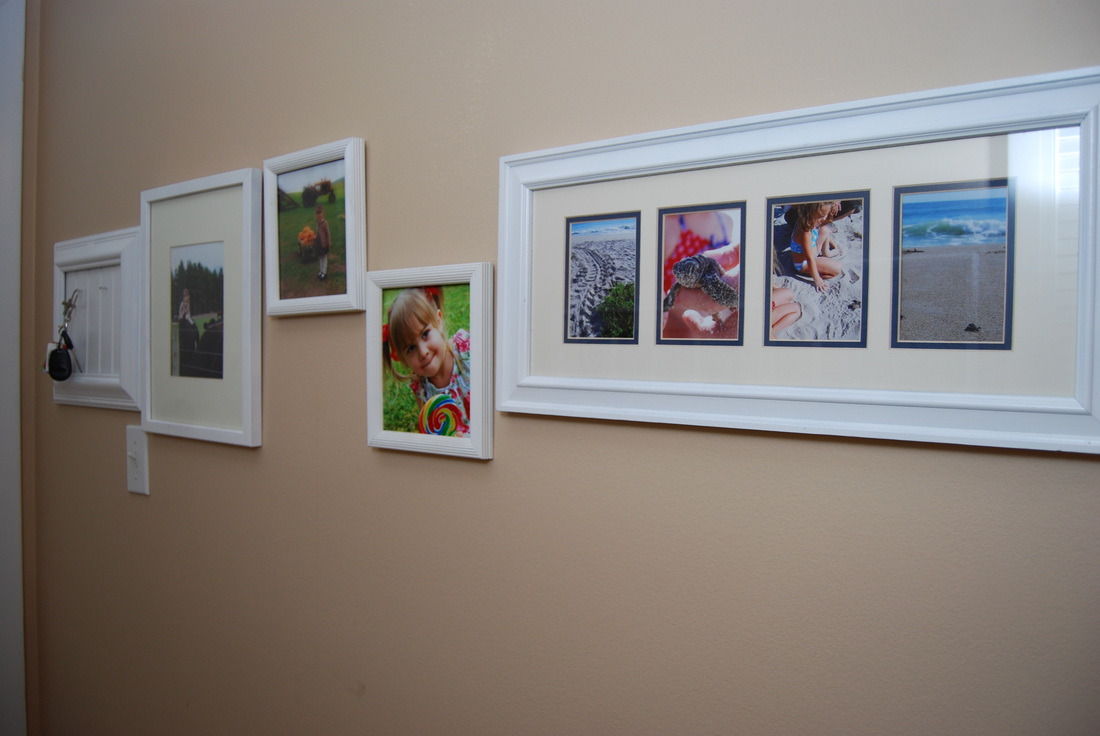
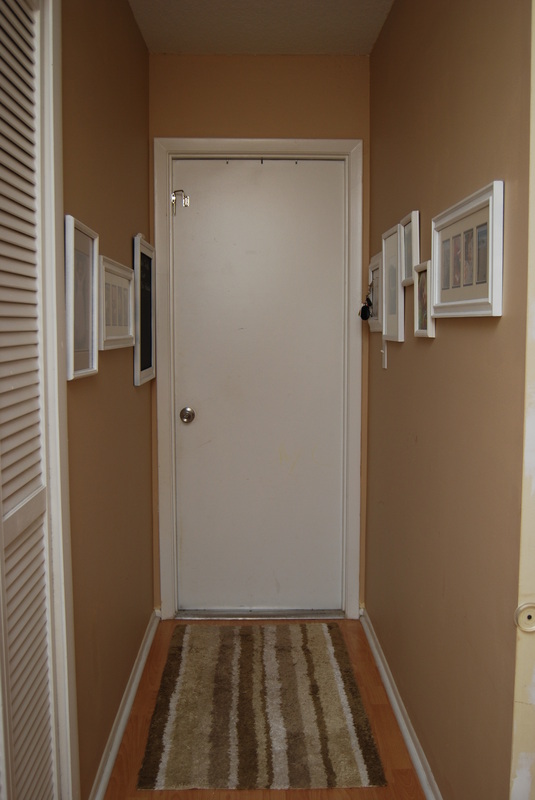
When designing our hallway makeover, I wanted to find an easy way to hang the pictures. I found a fabulous idea that I’m going to share with you.
What I used for this was:
wax paper
tape measure
pencil
tape
nails
framed pictures
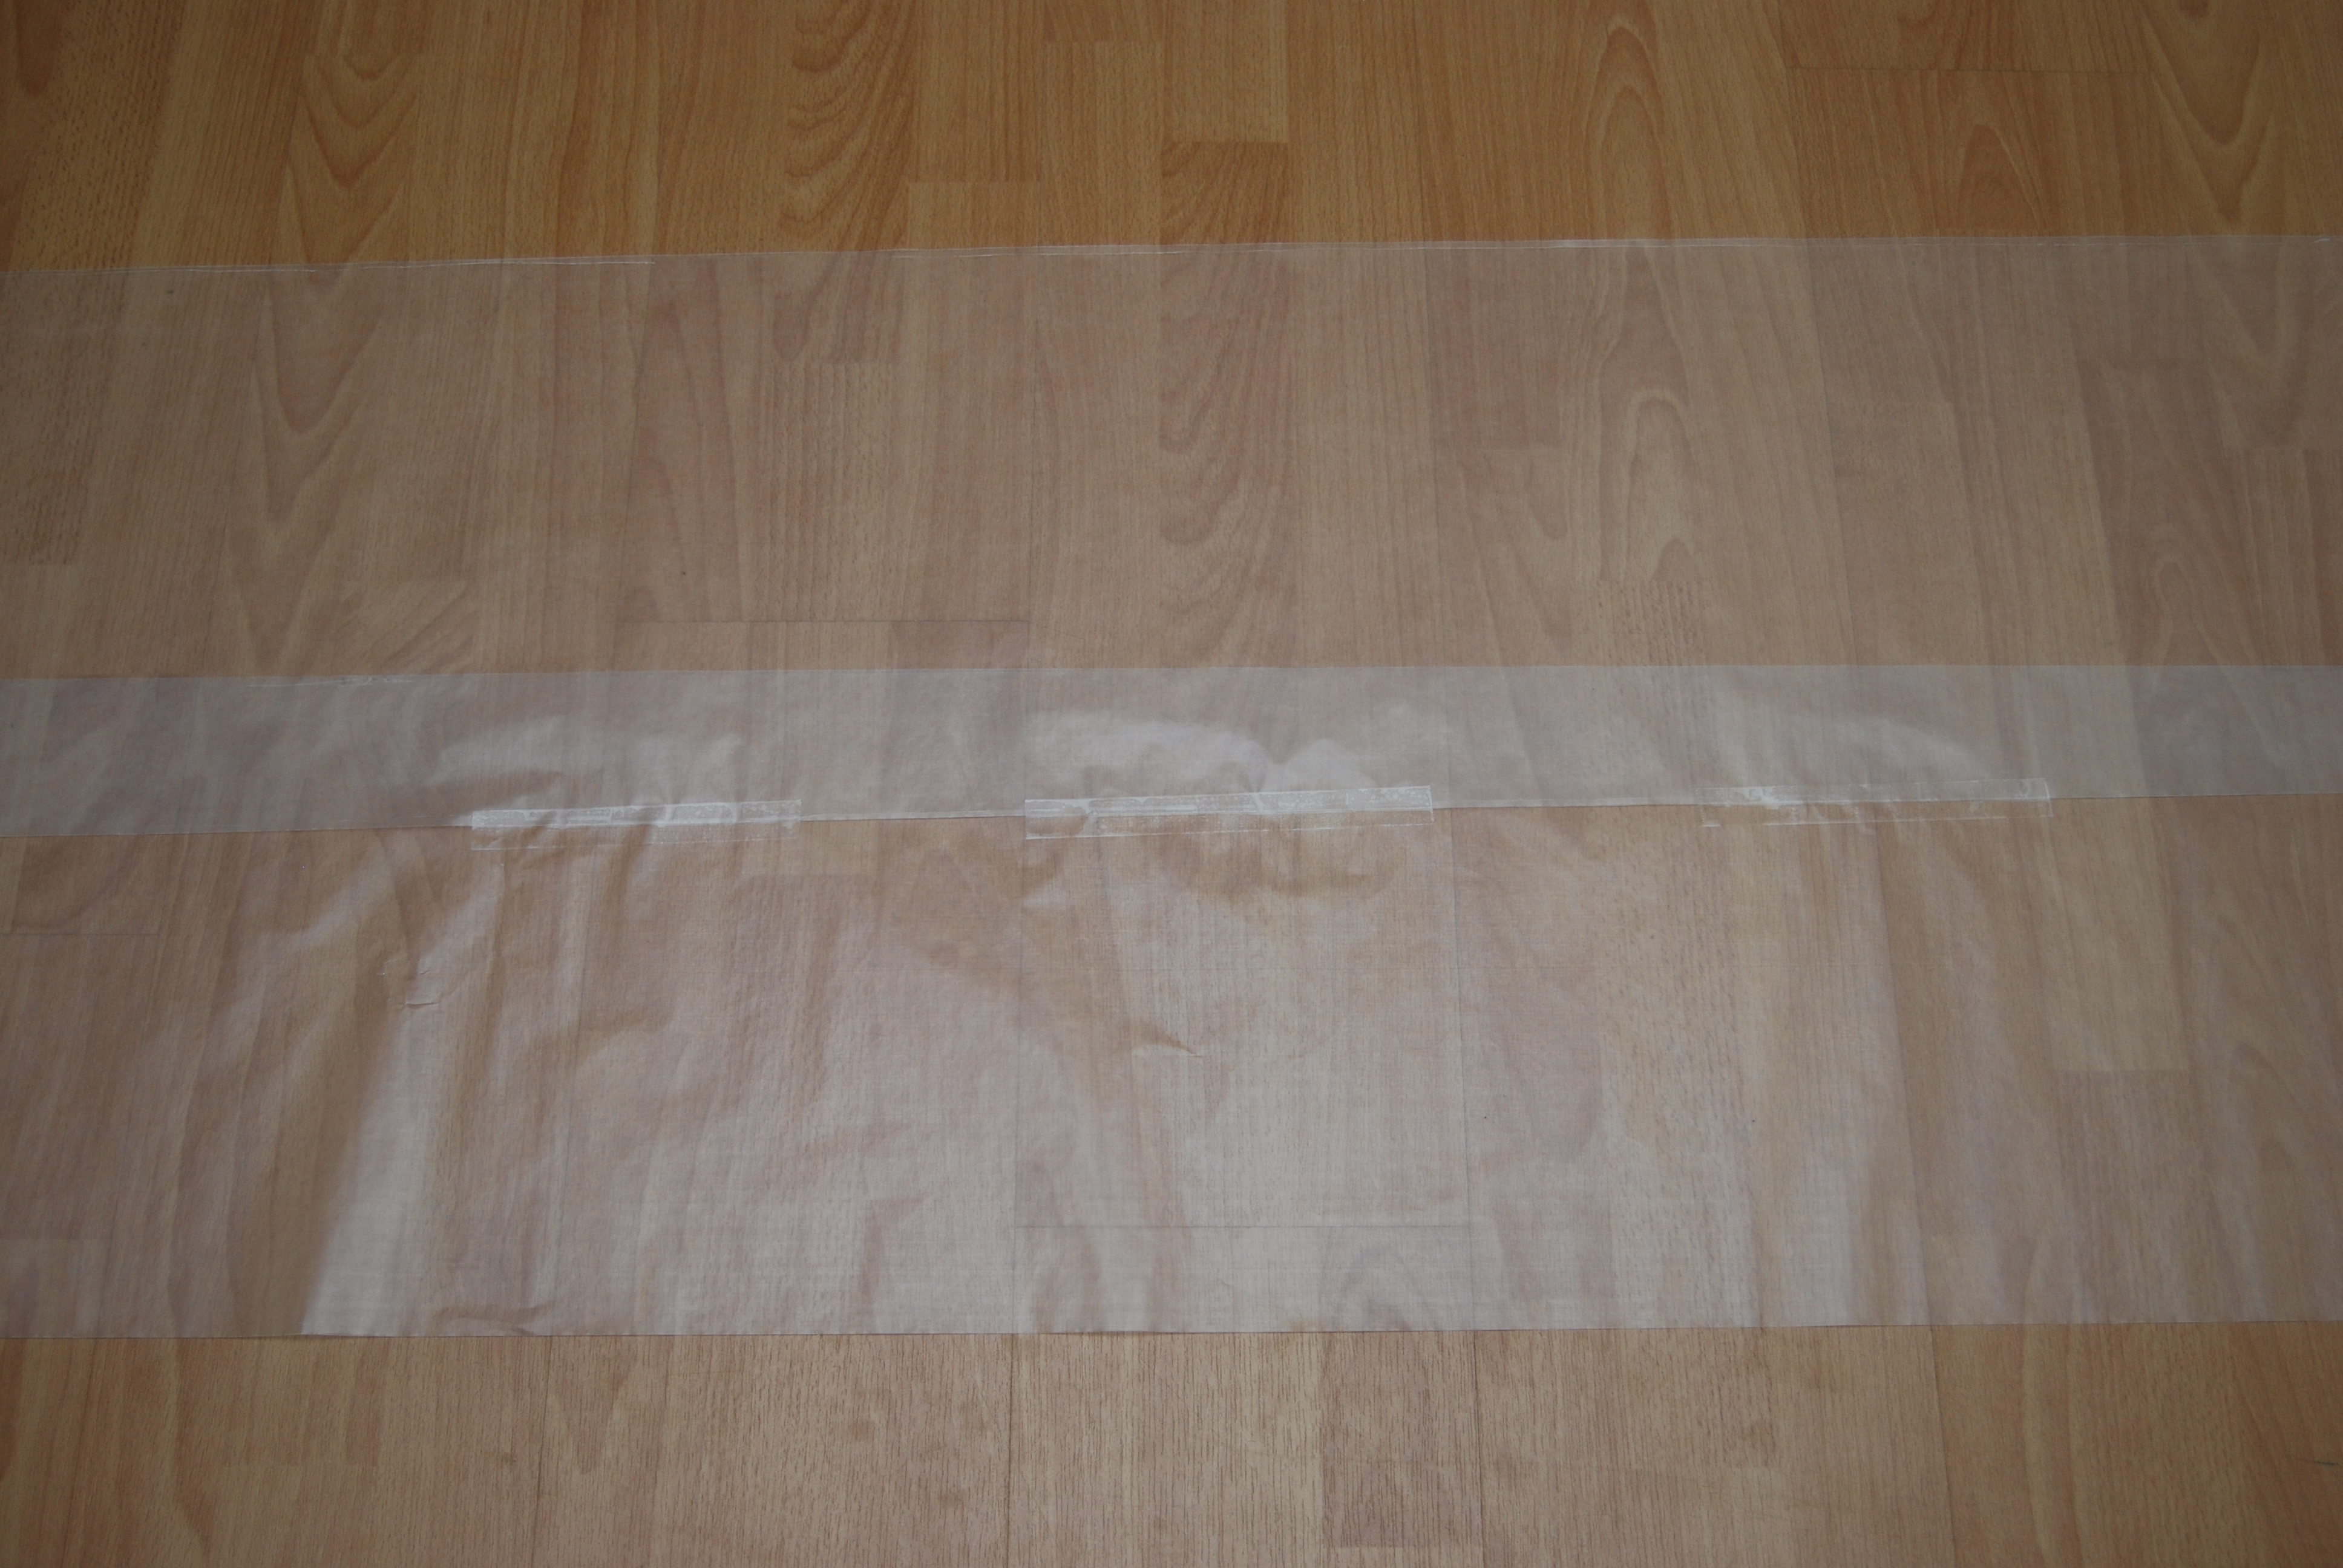
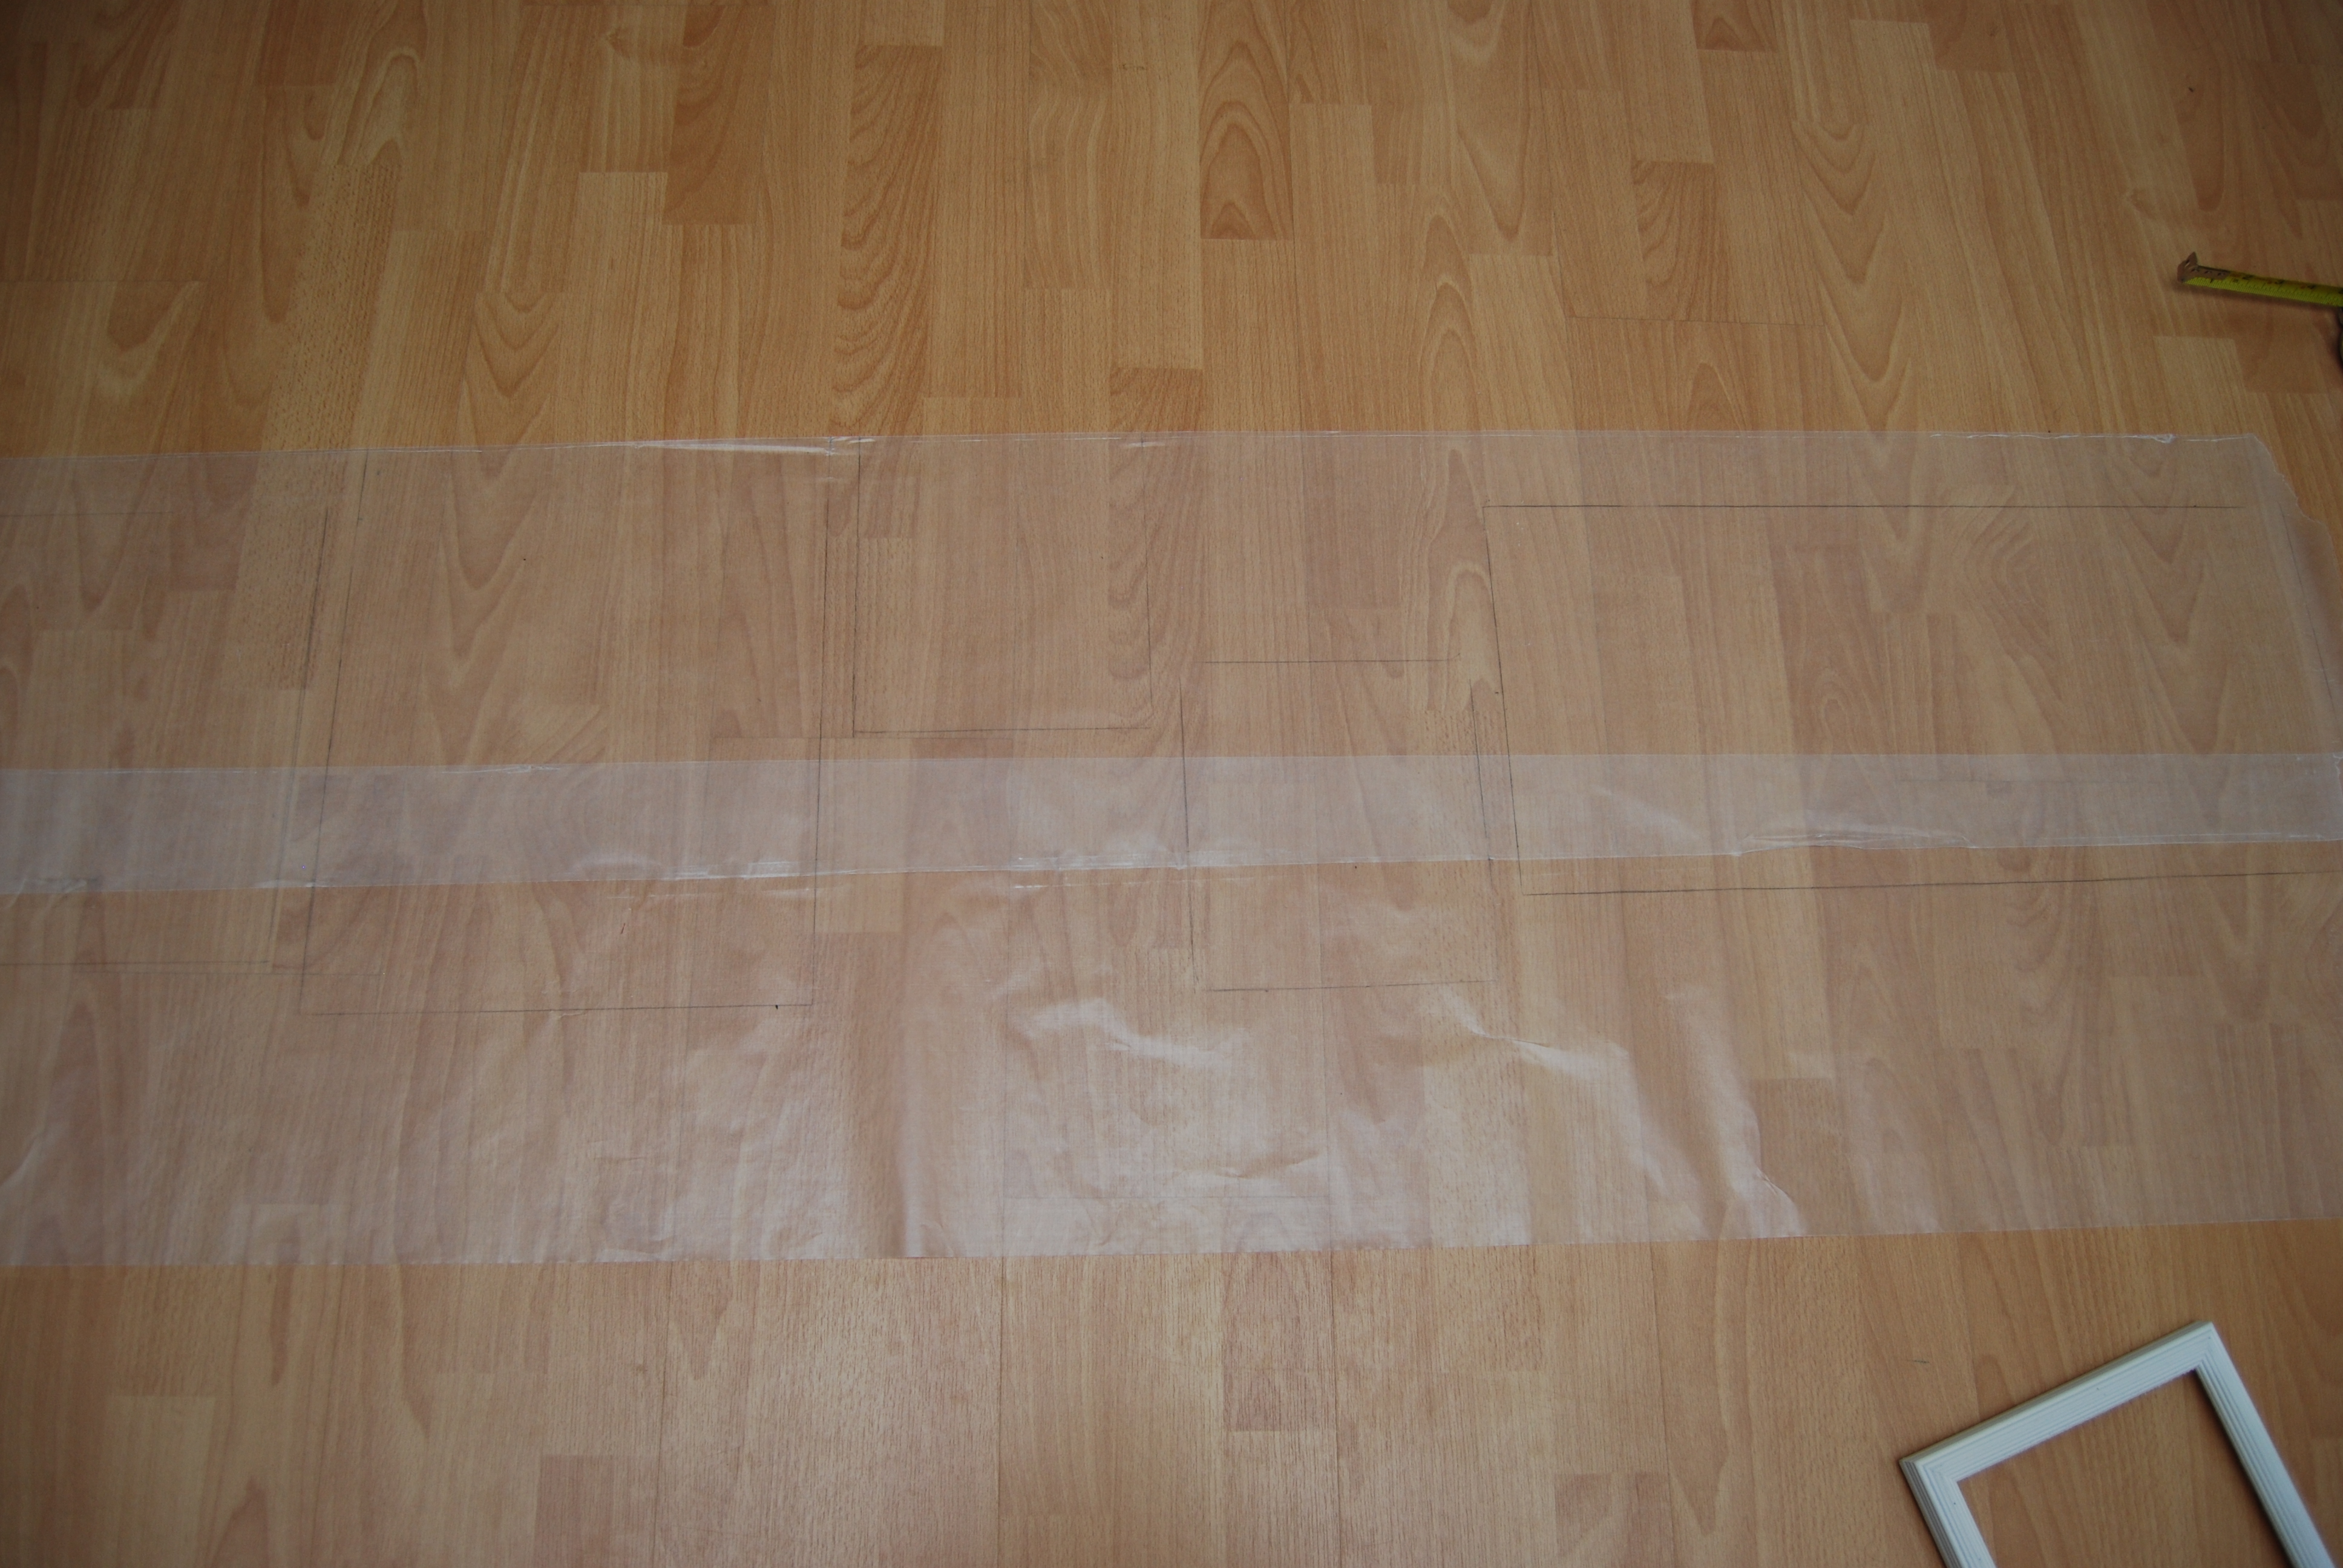
I measured the walls where I planned to hang the pictures. Then I laid out my wax paper on the floor.
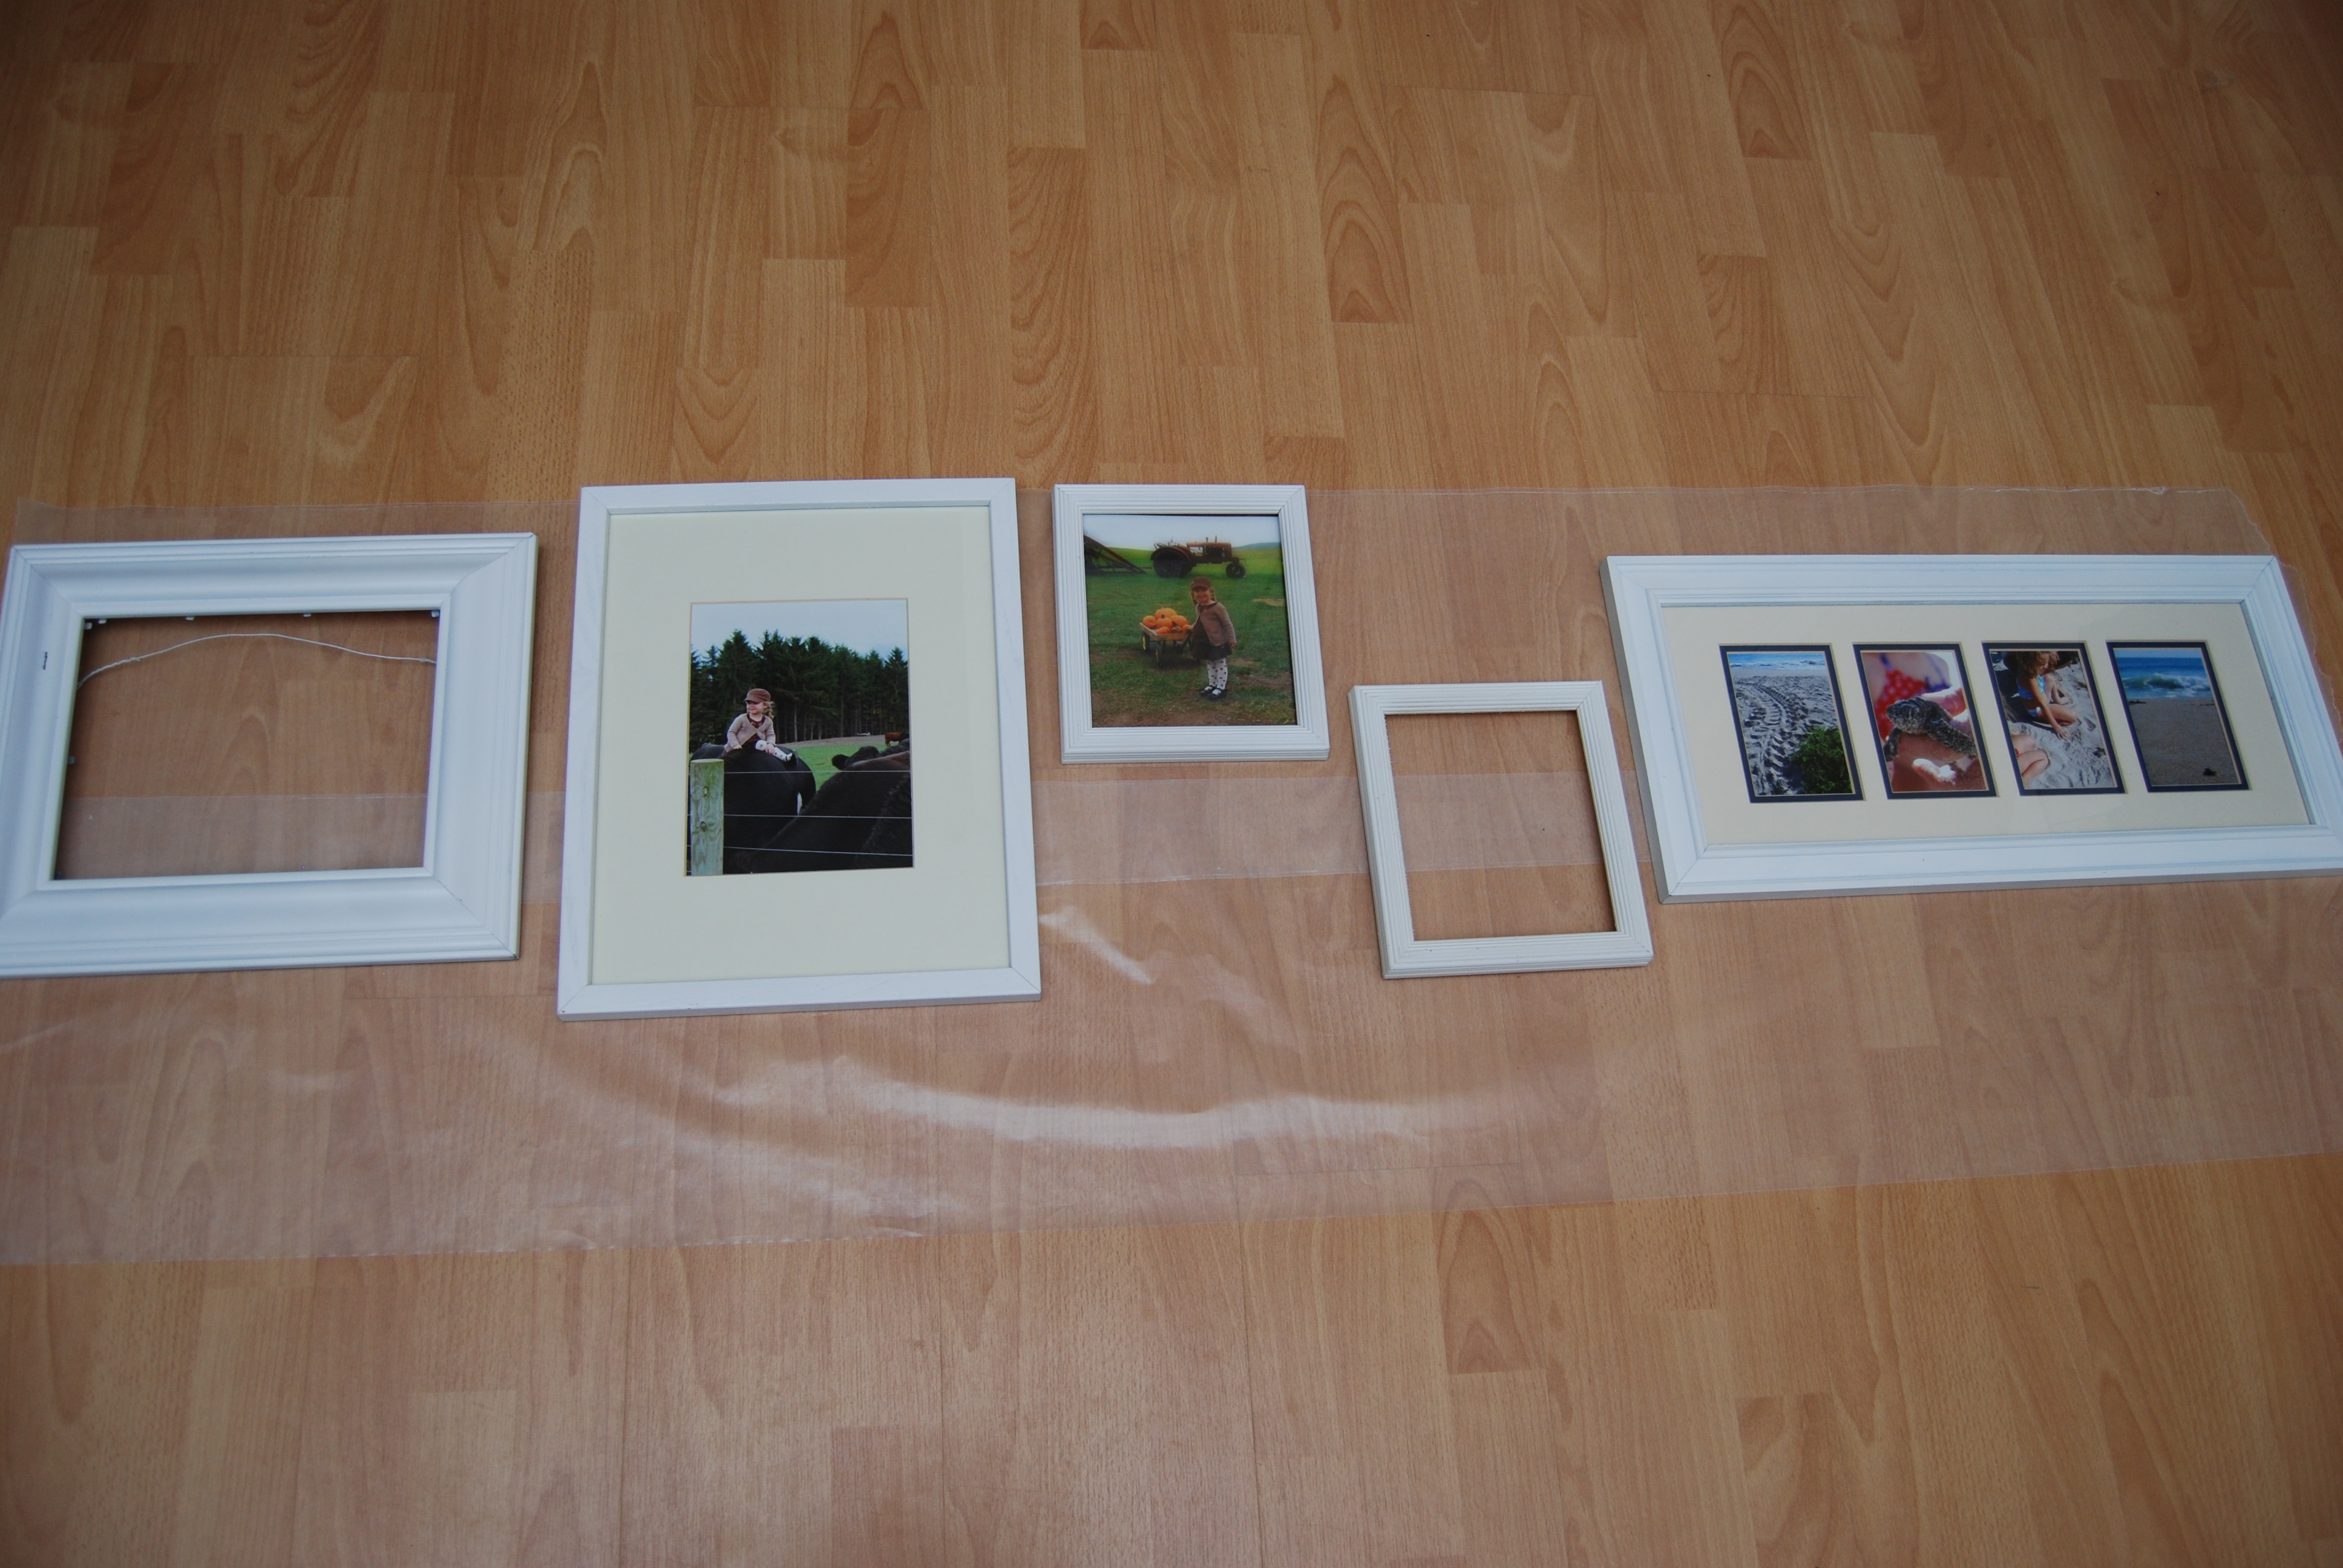
I placed the frames on the paper, just as I wanted them to appear on the wall.
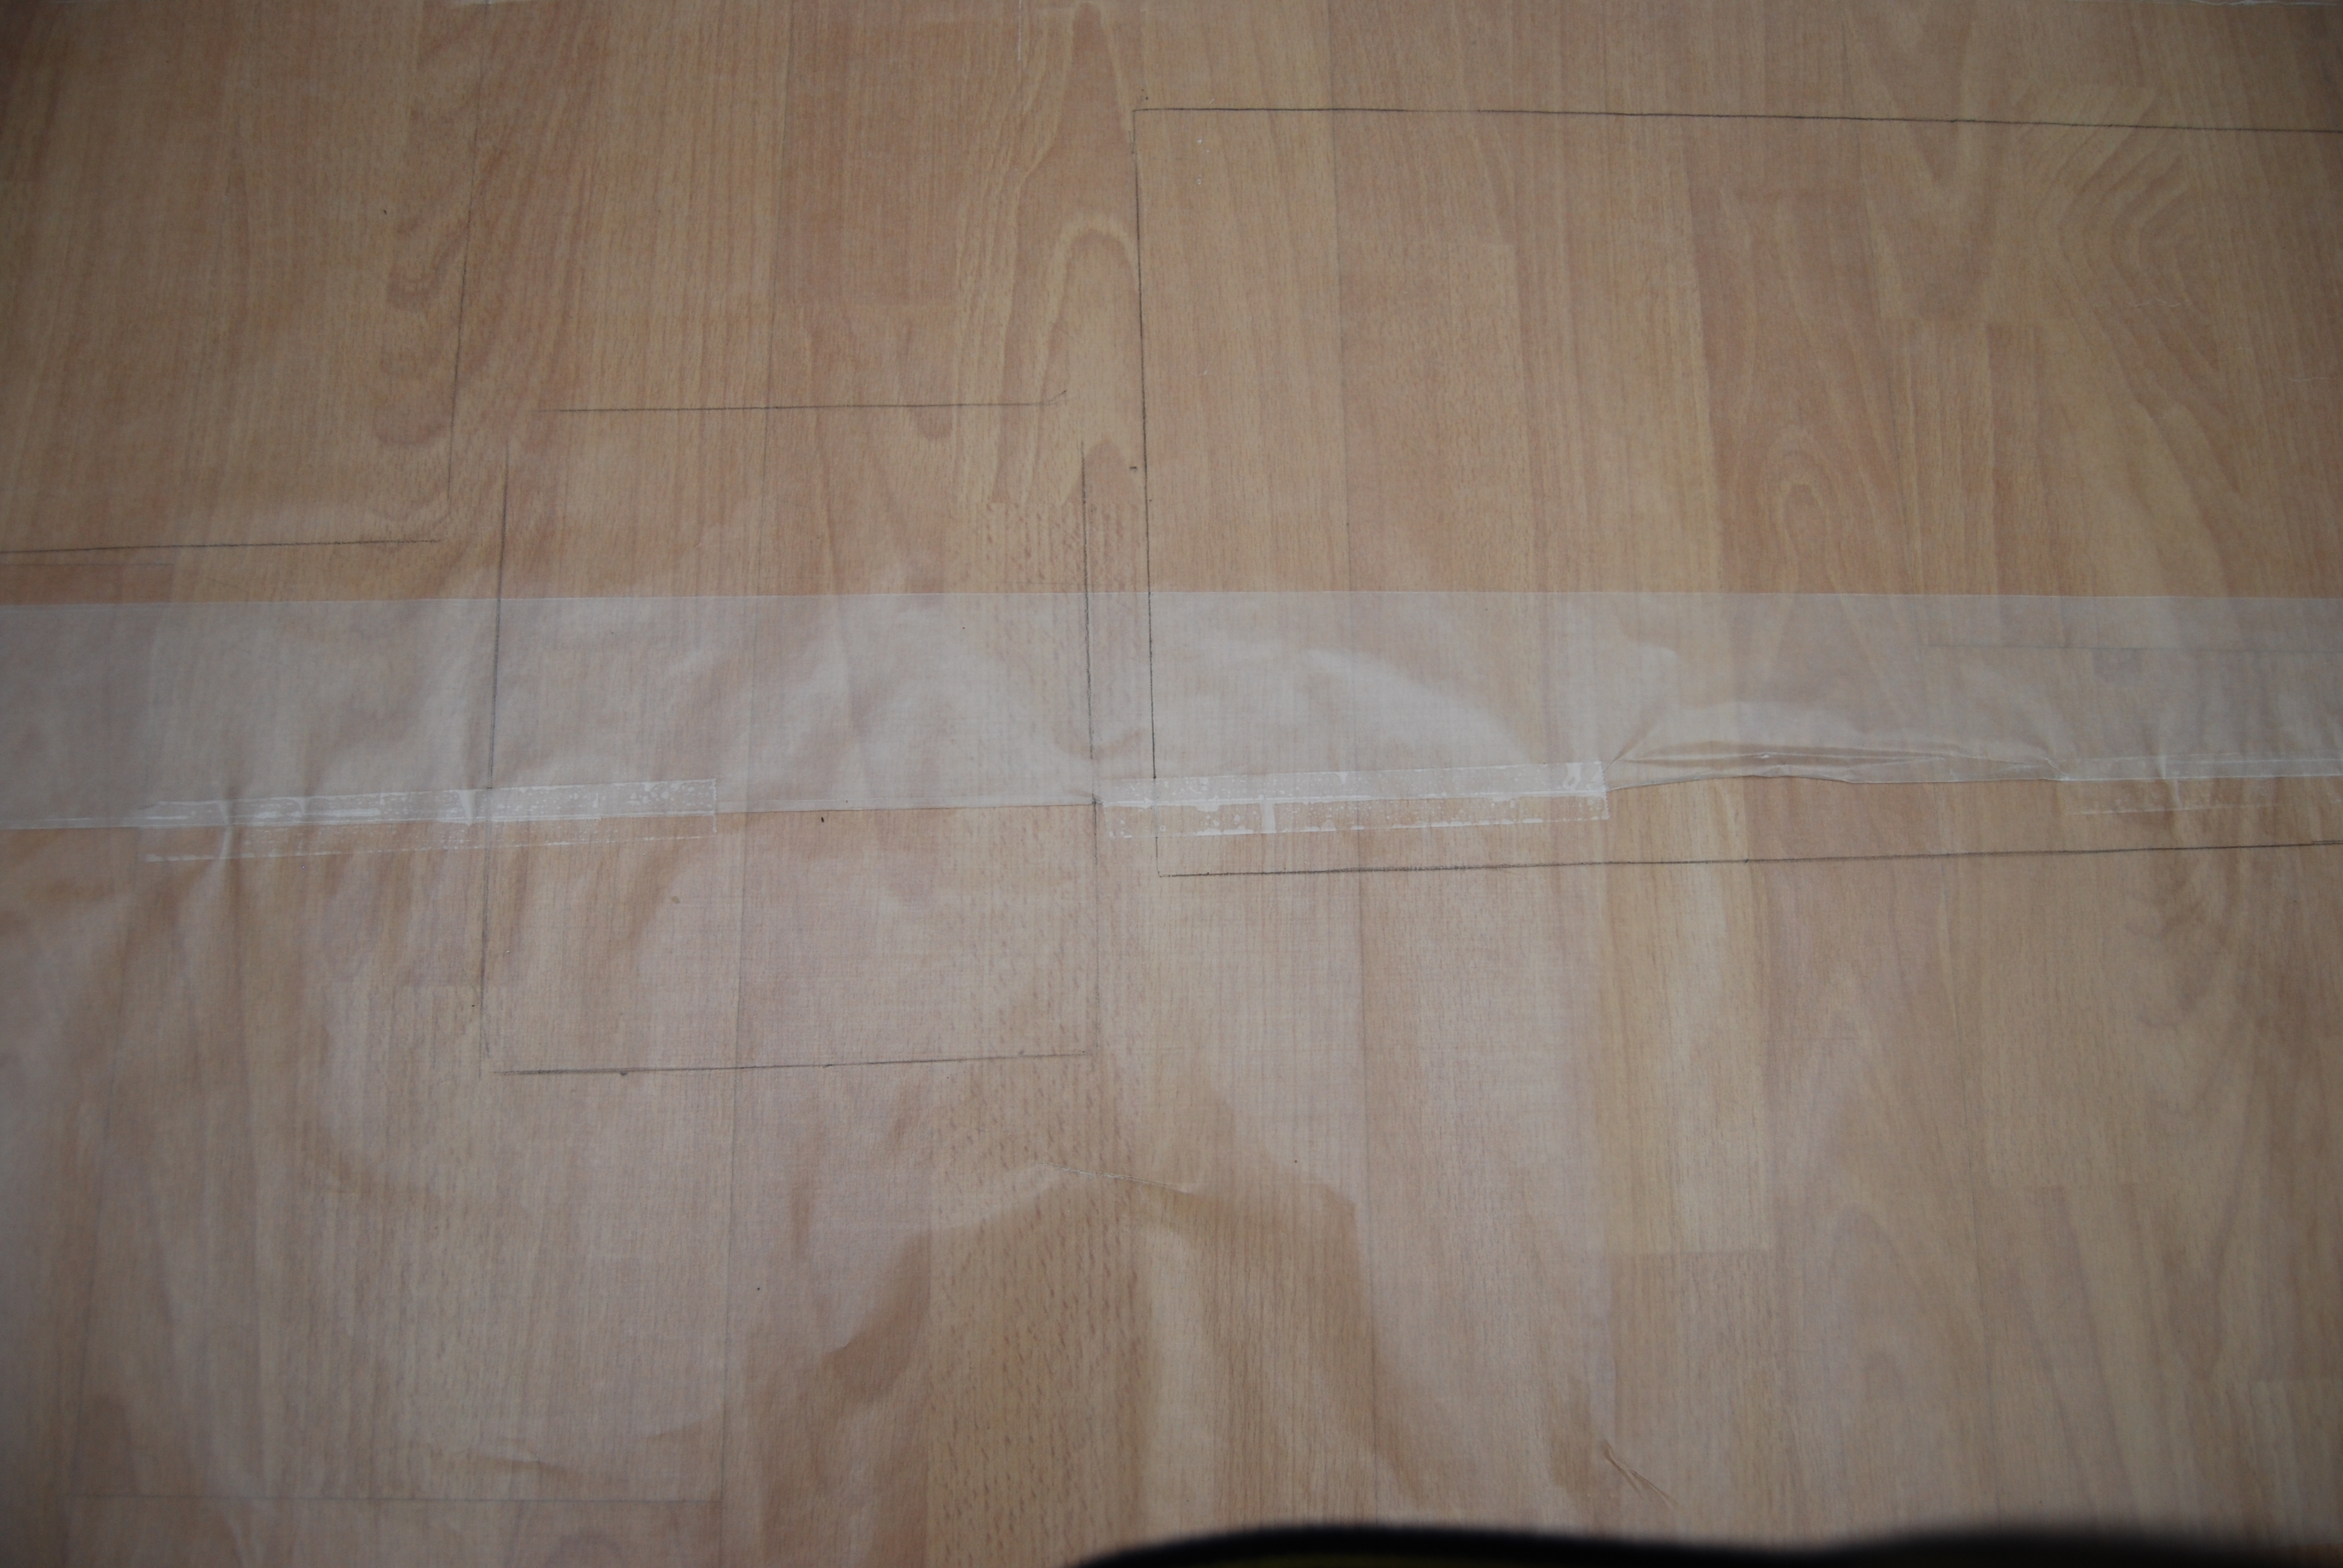
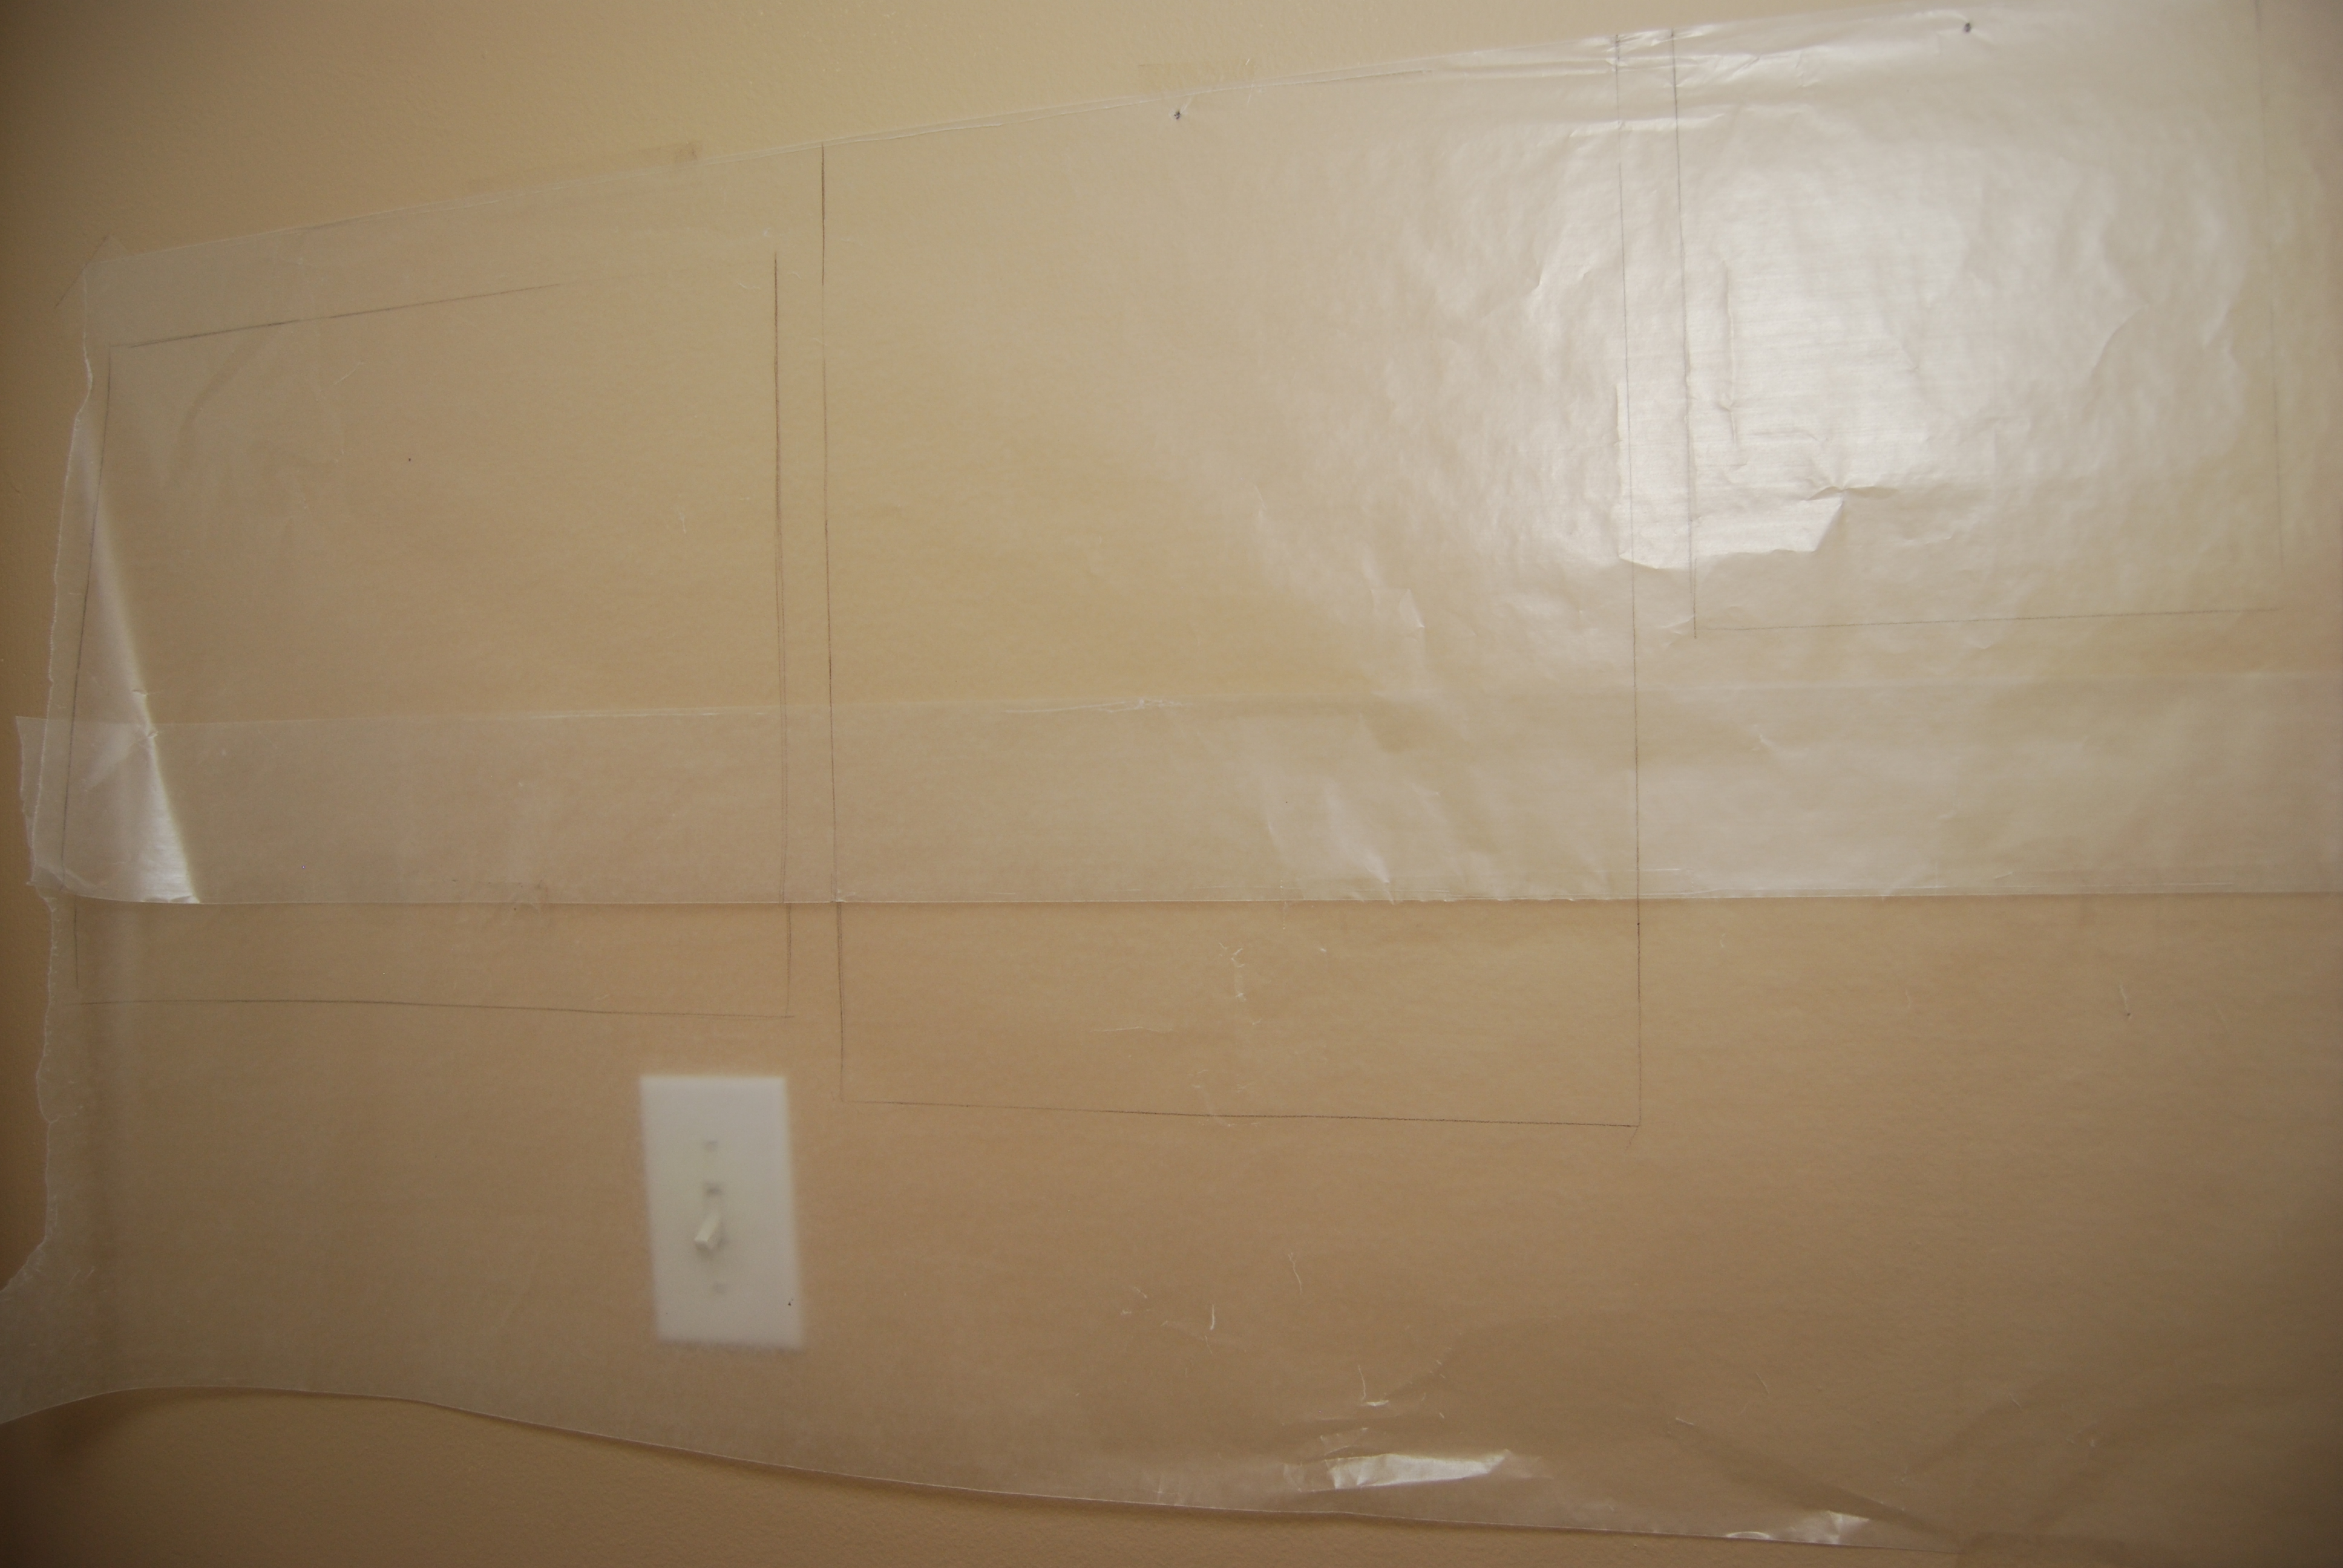
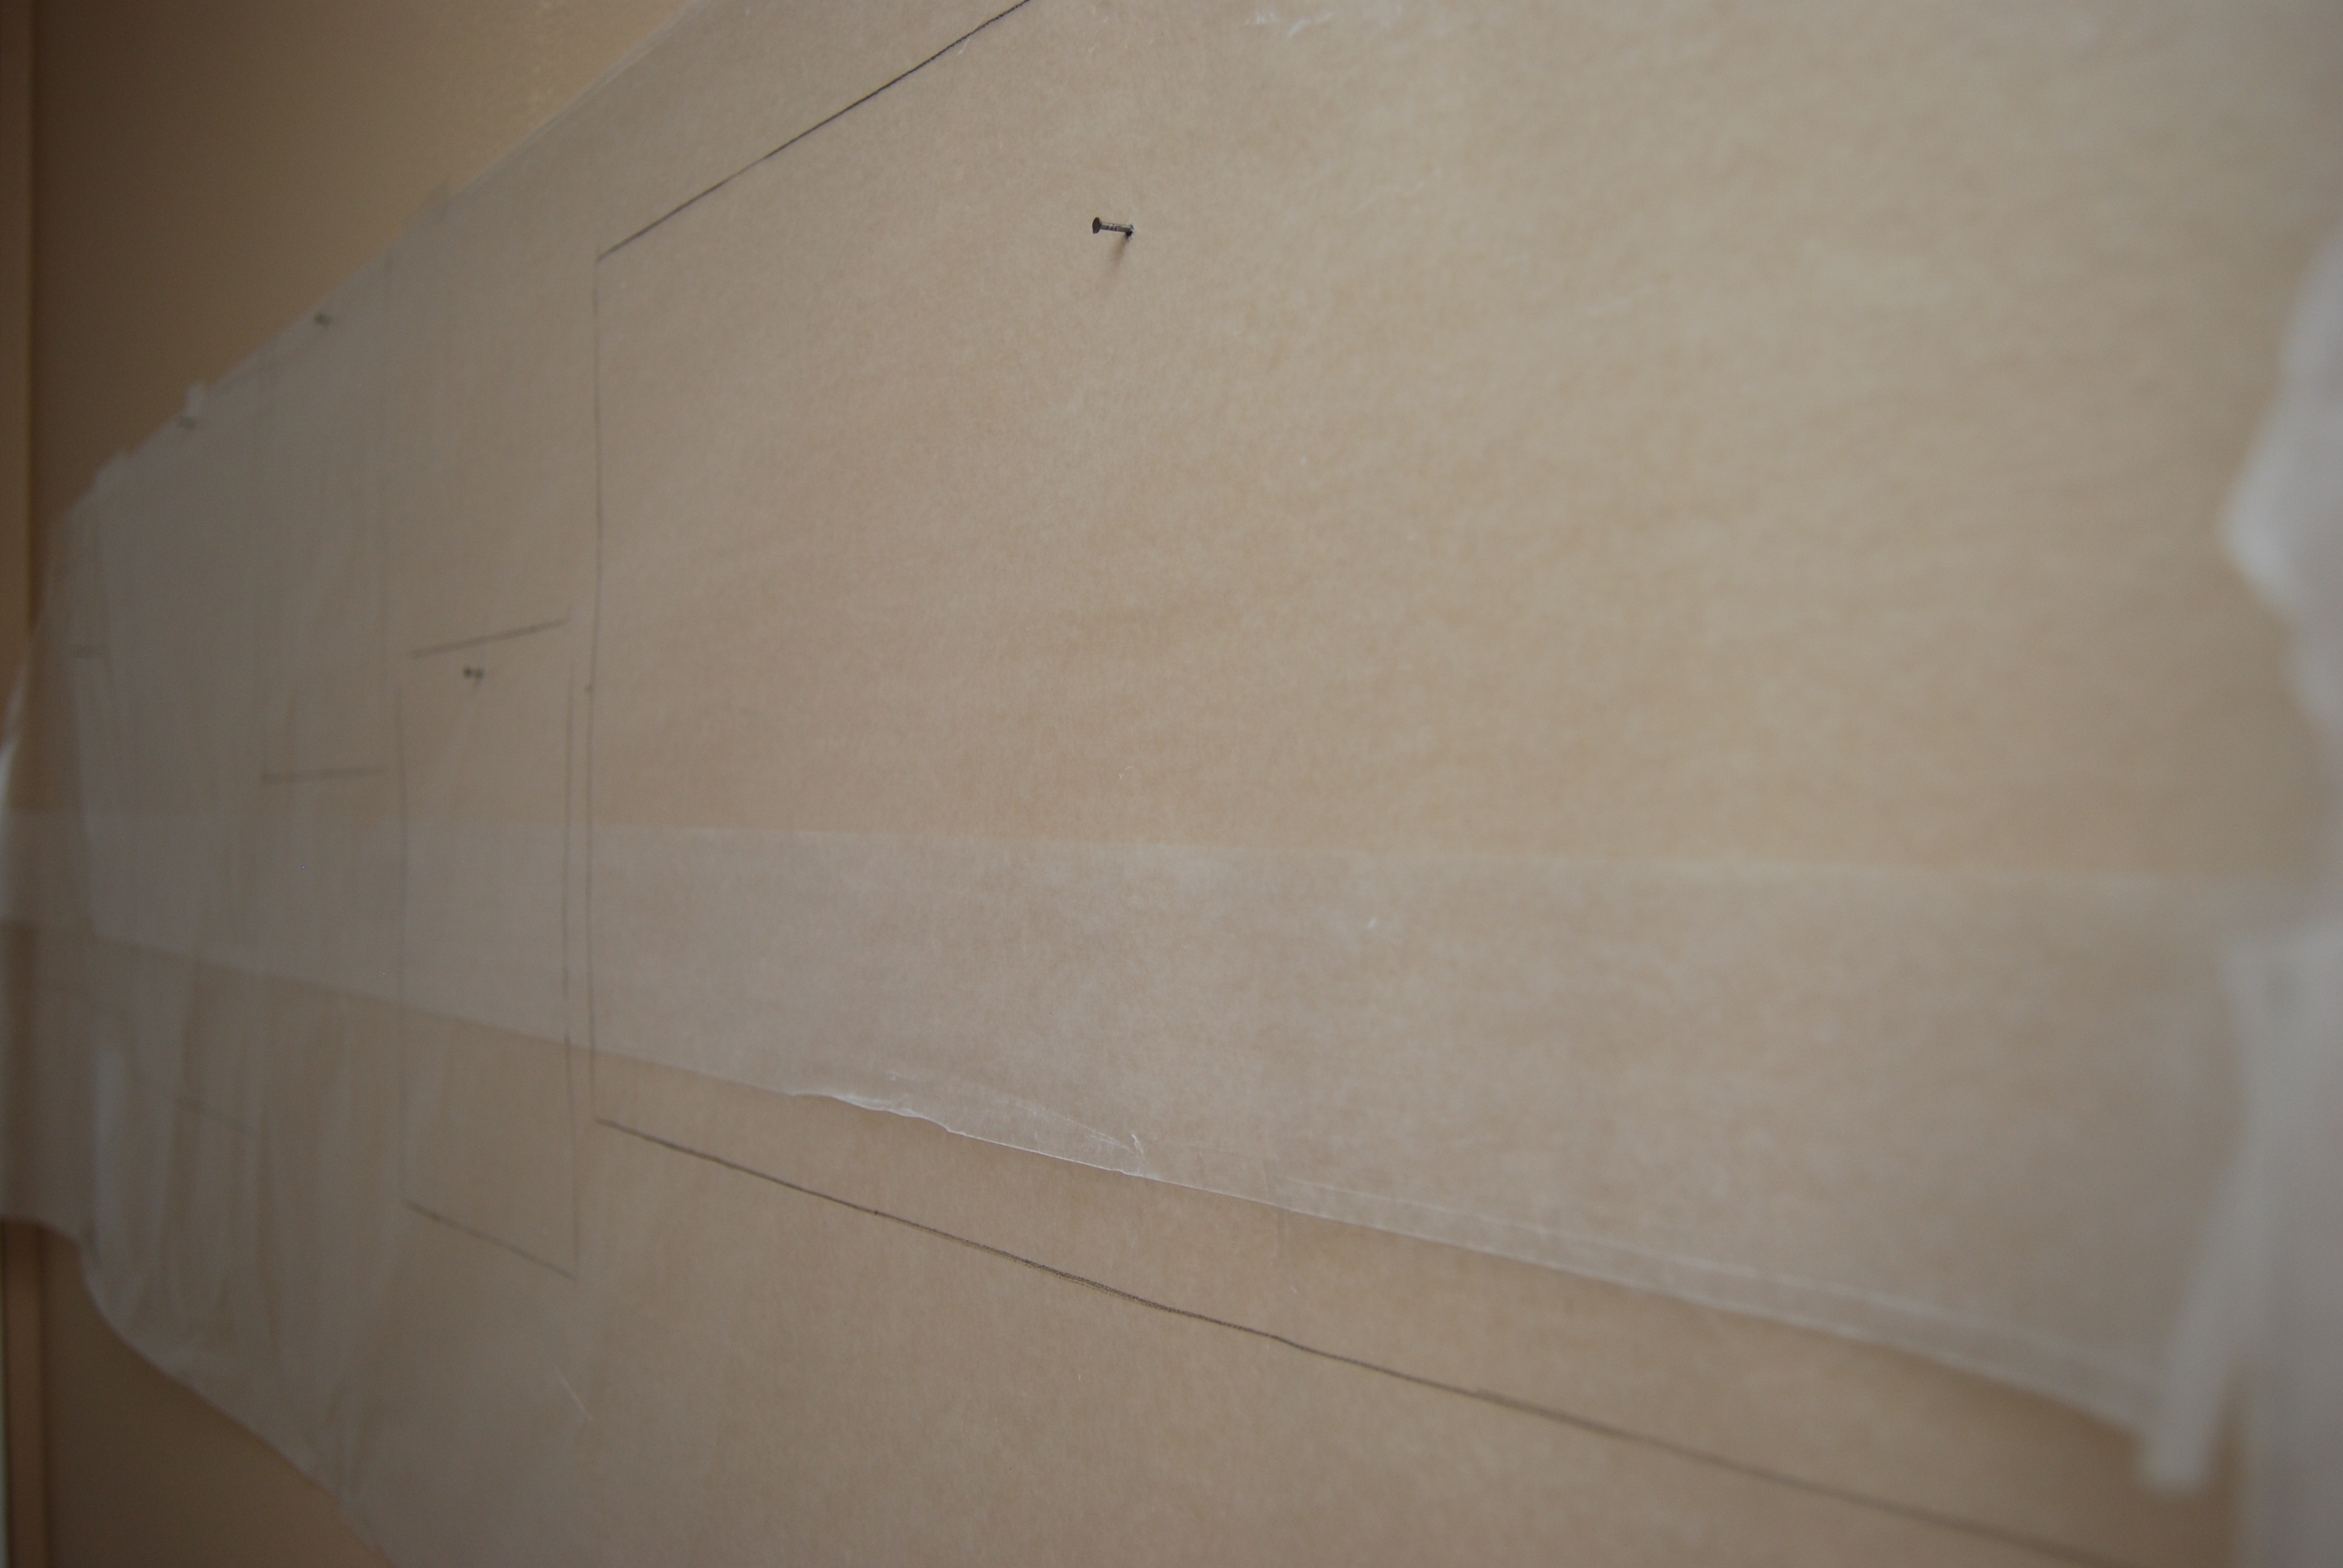
Then, I traced around each frame.
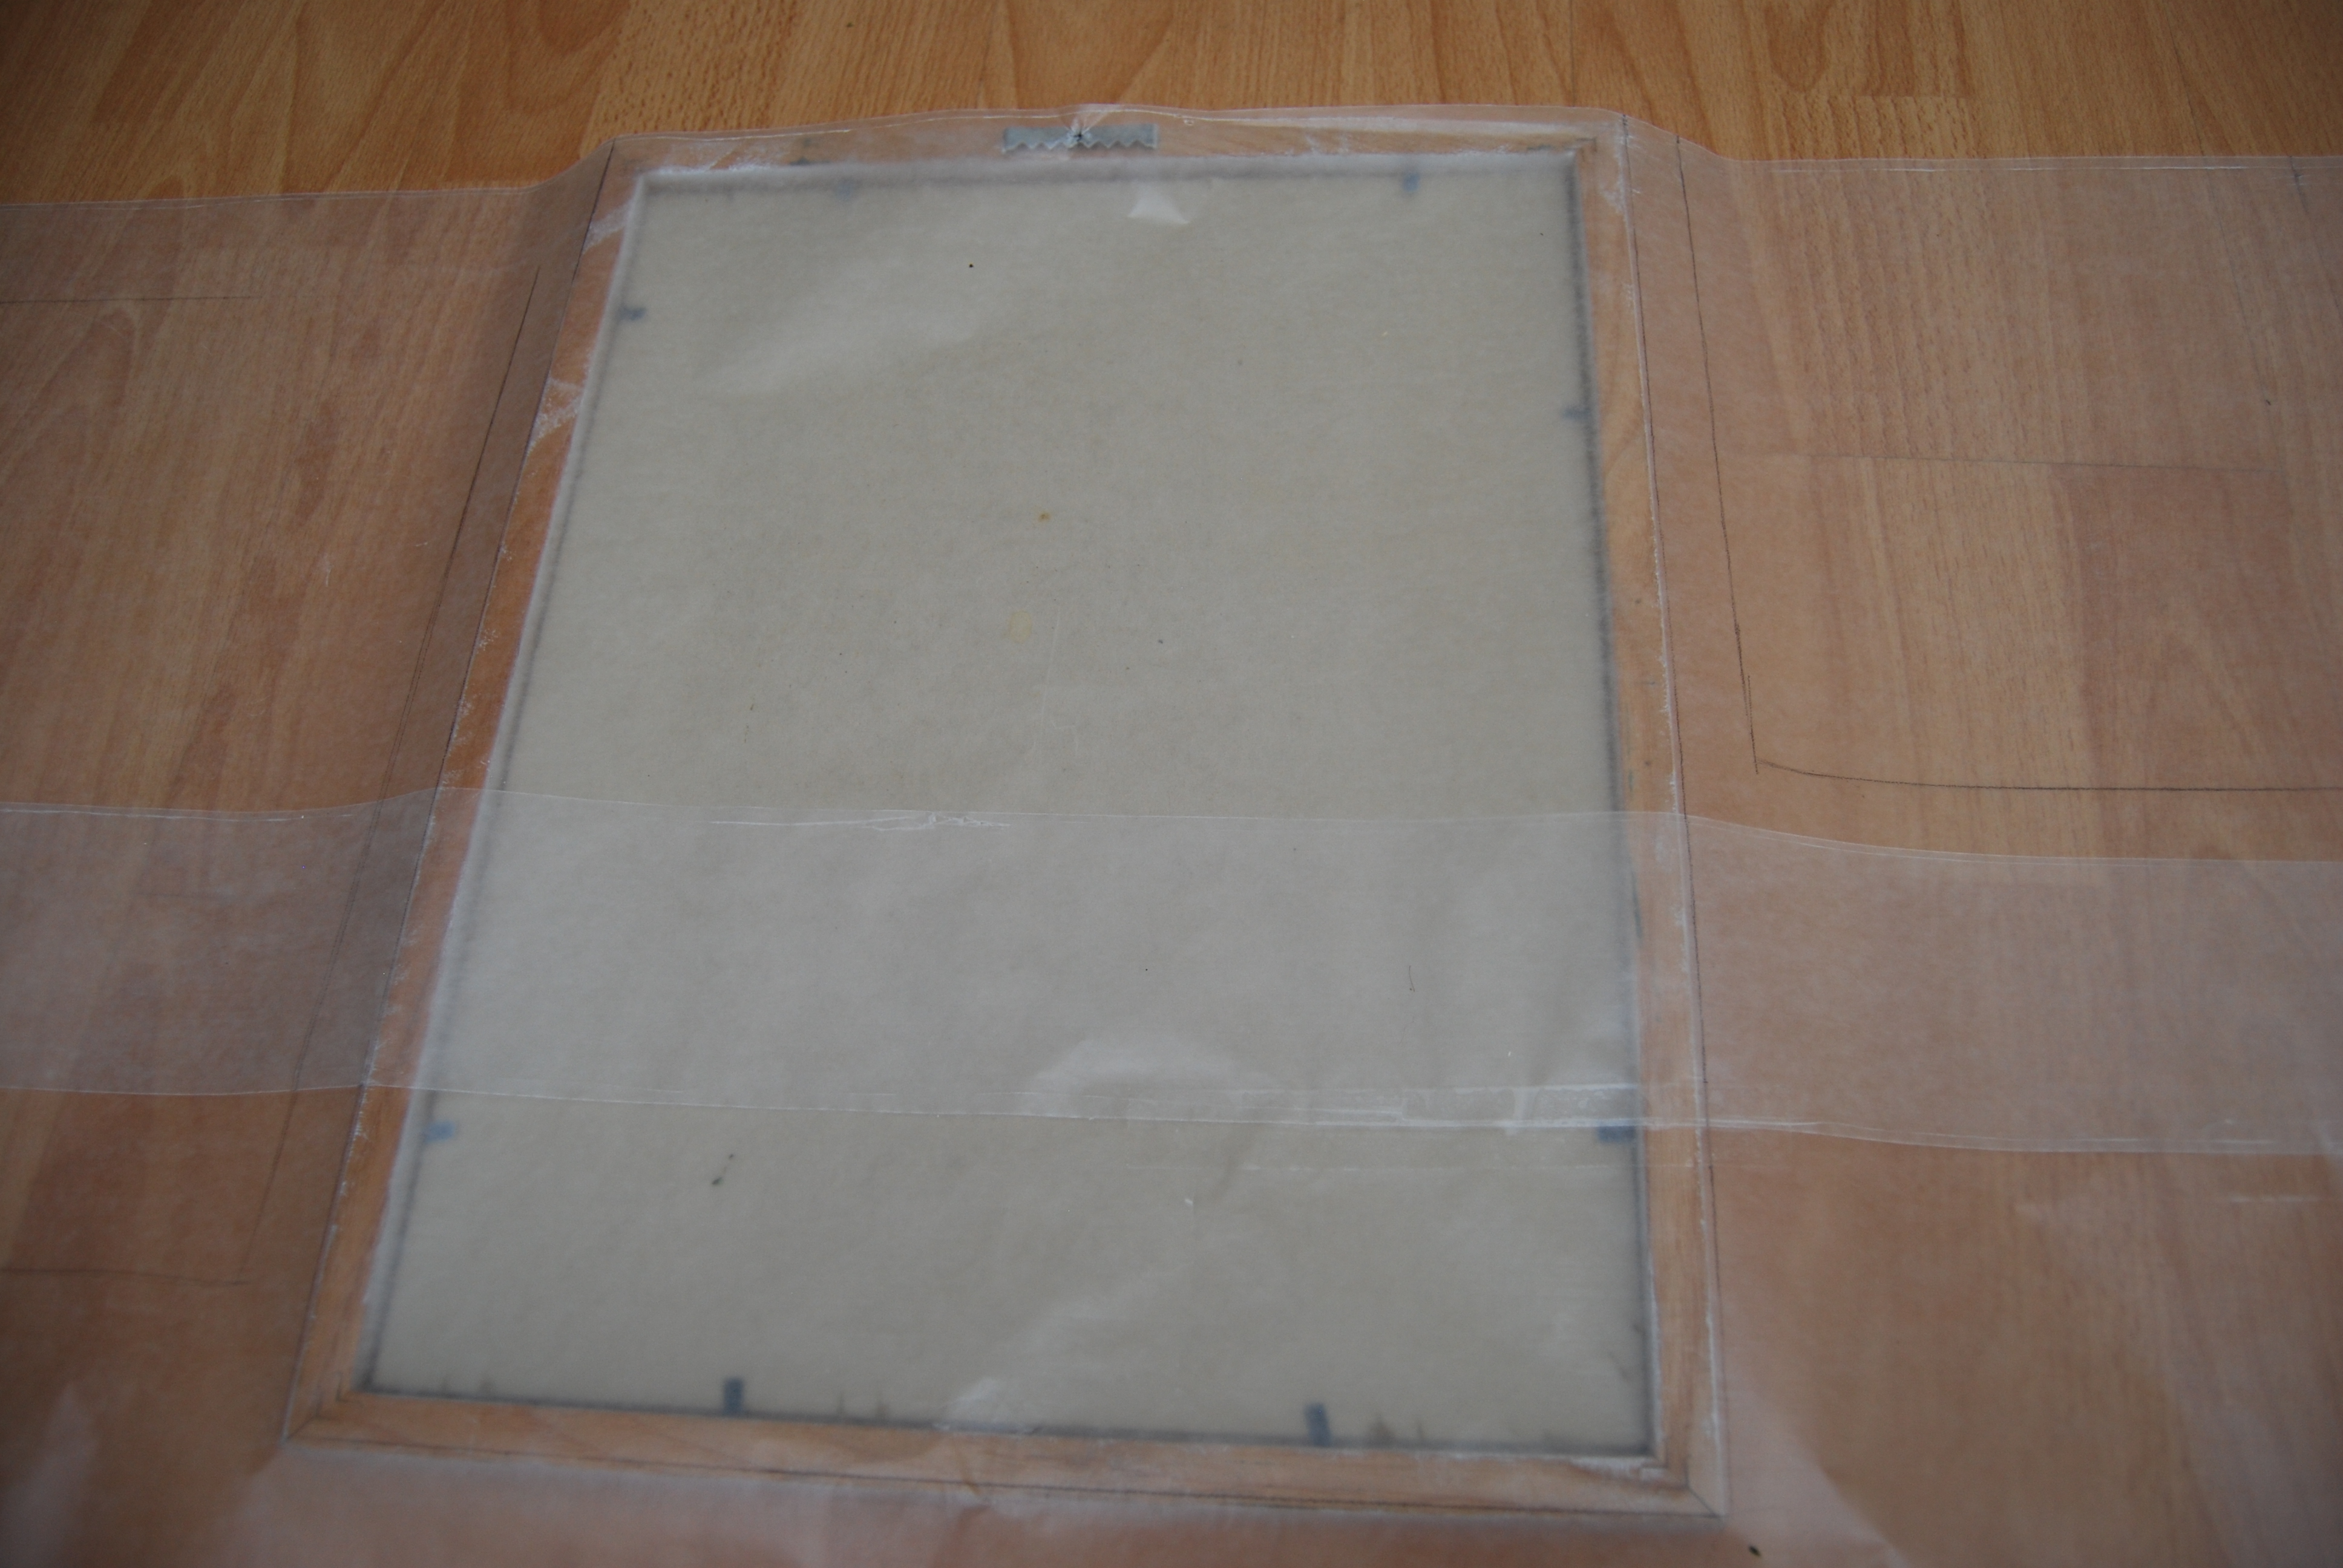
Next, I turned each frame over directly under it’s outline on the wax paper.
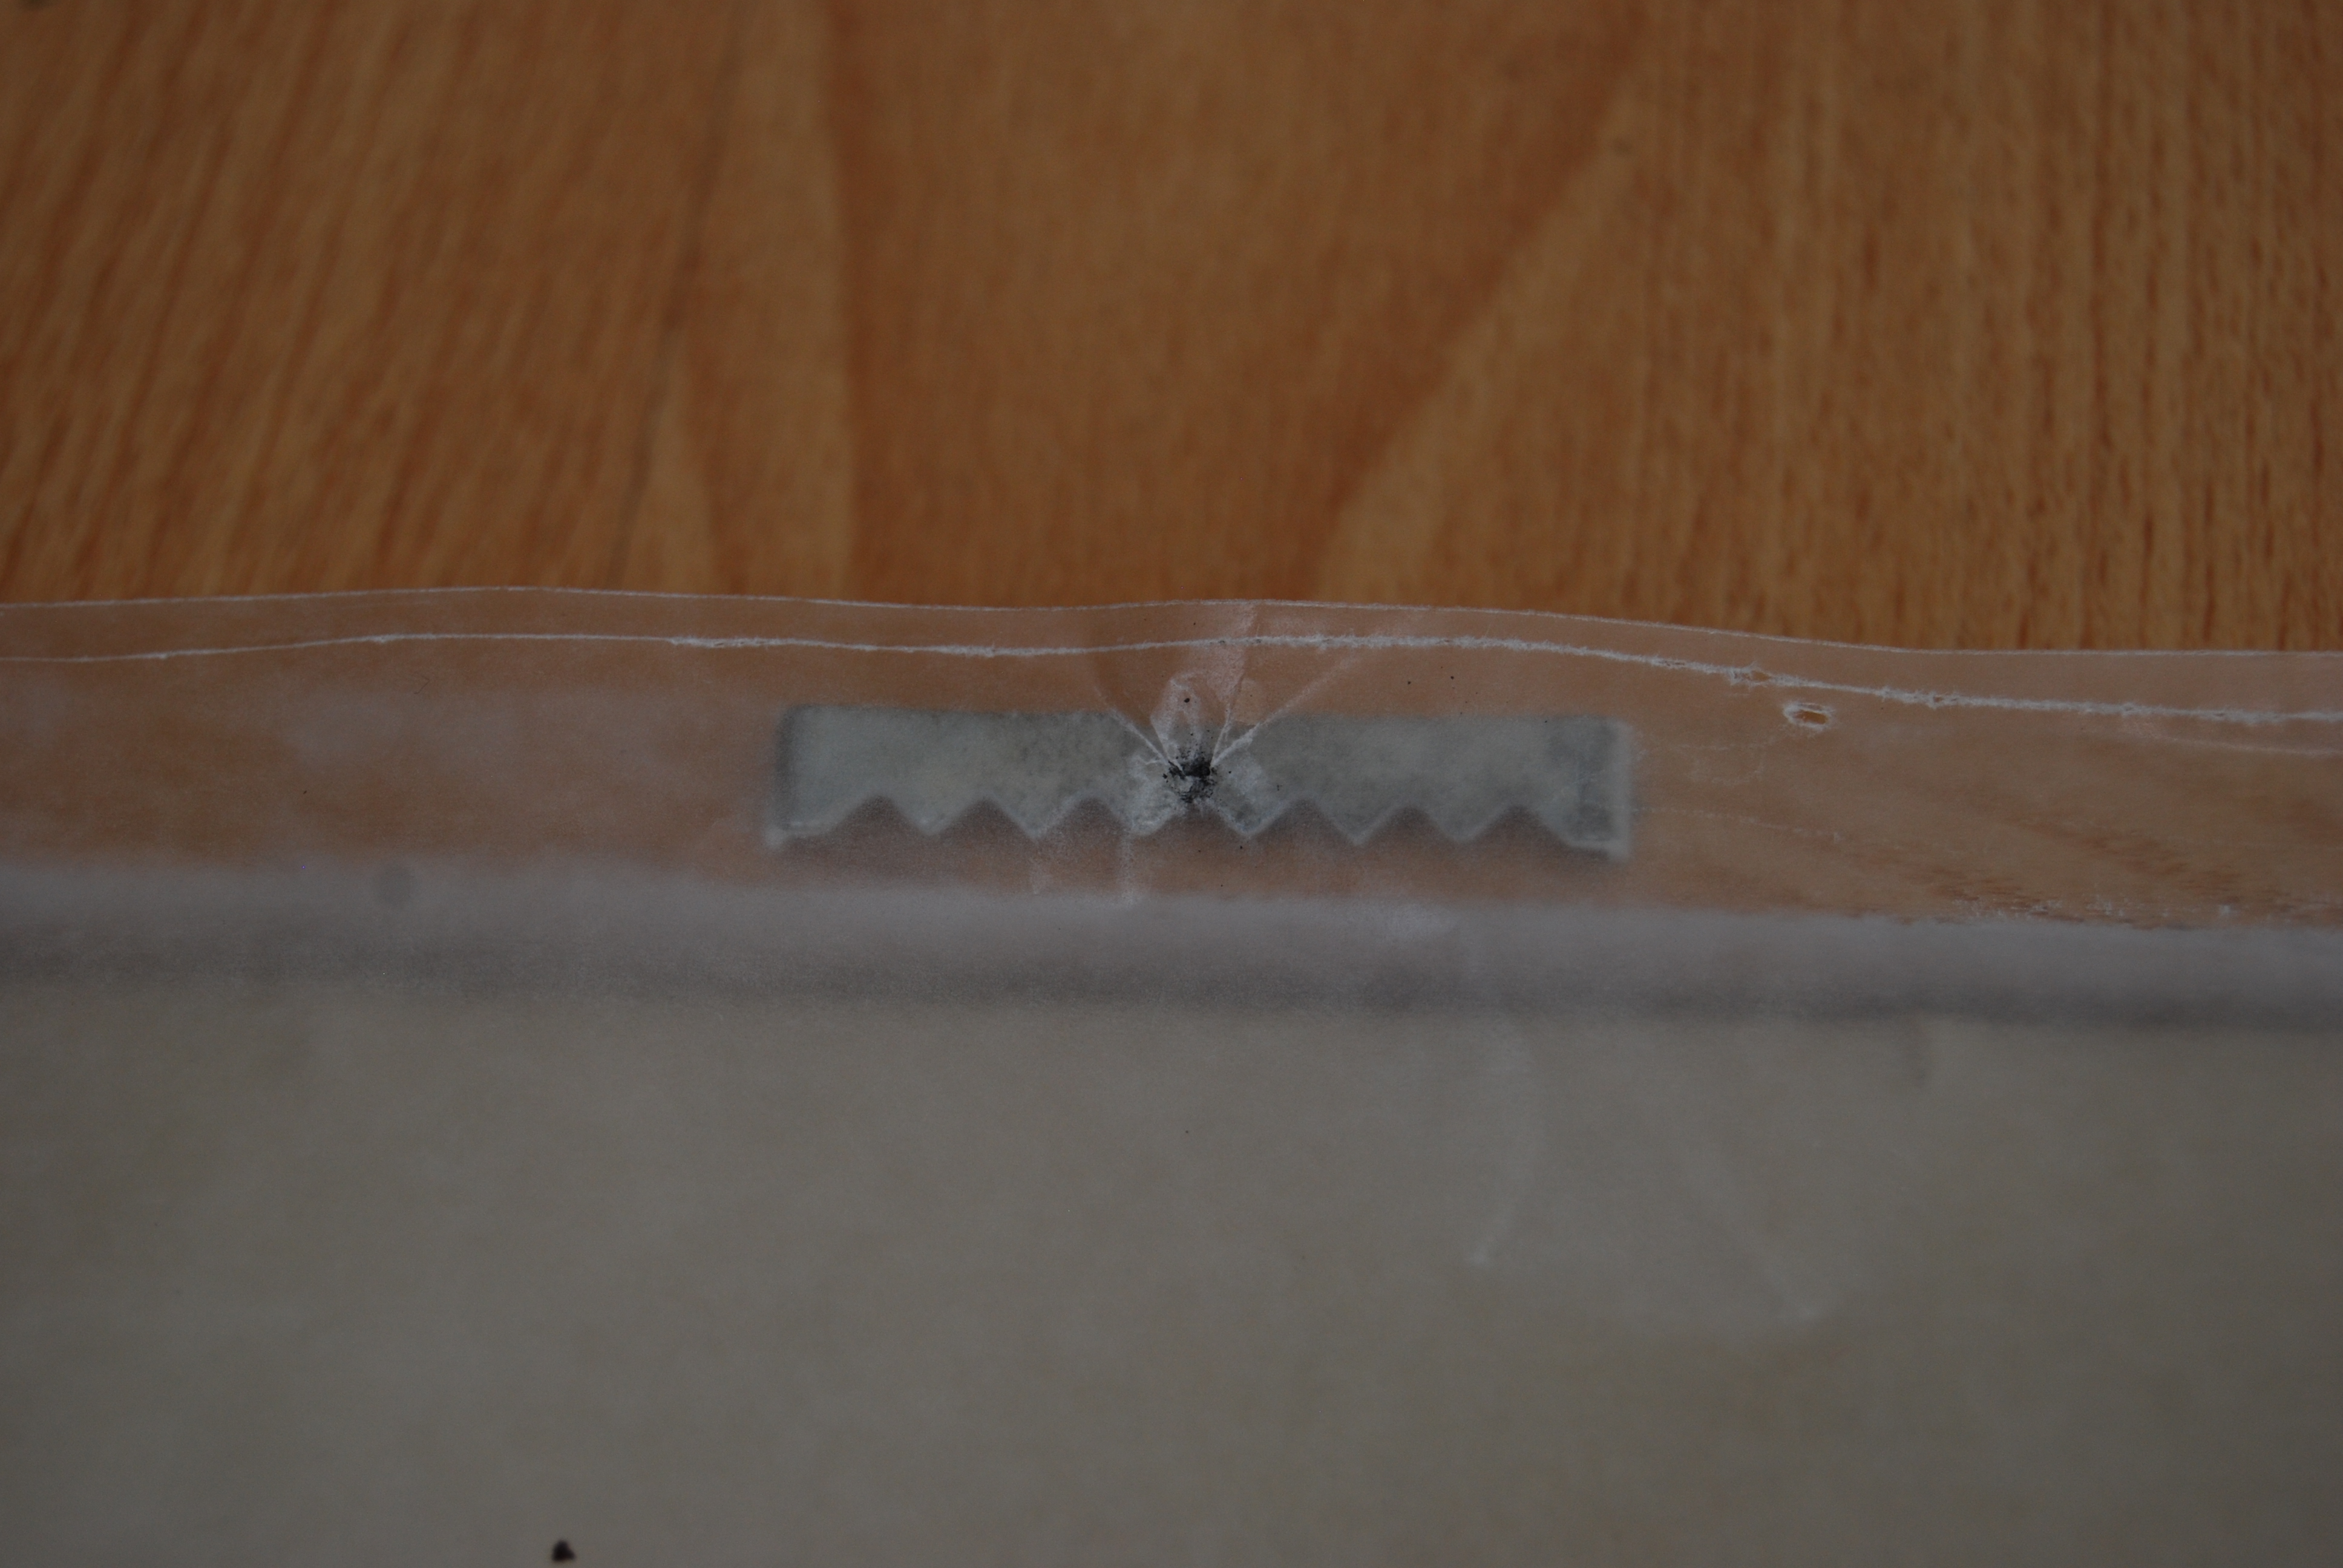
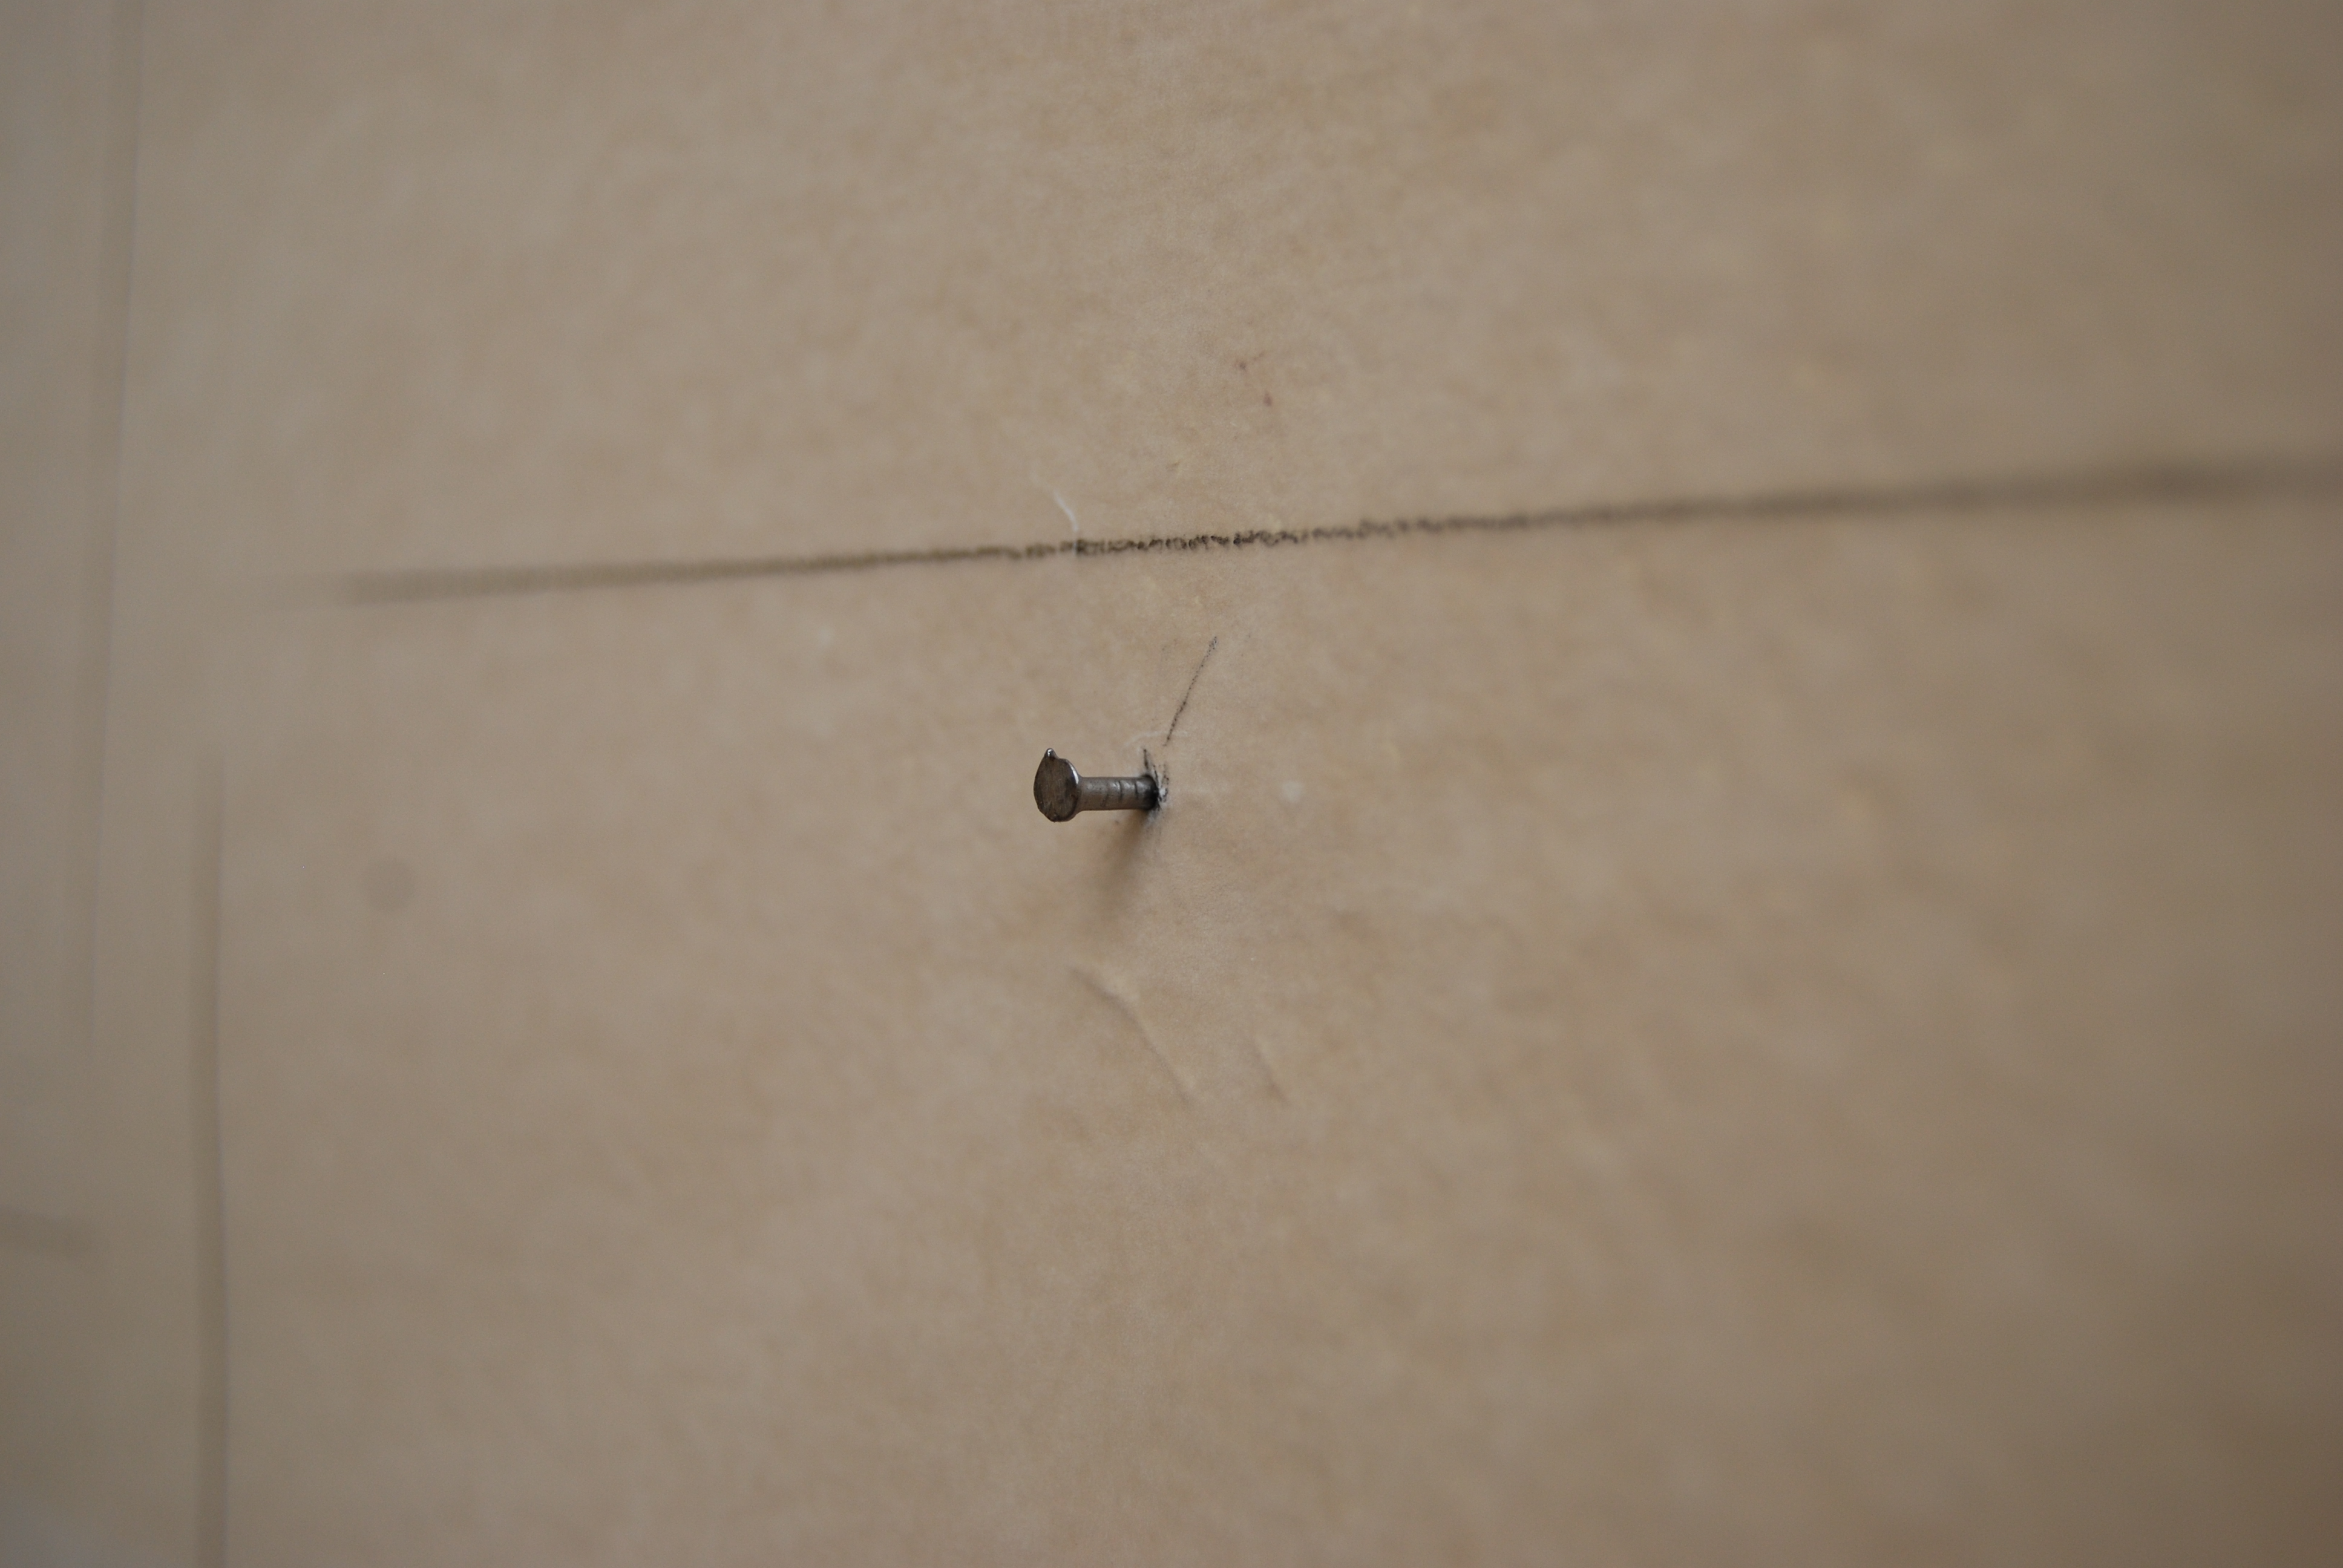
I marked the location of the frame’s hanger on the wax paper.
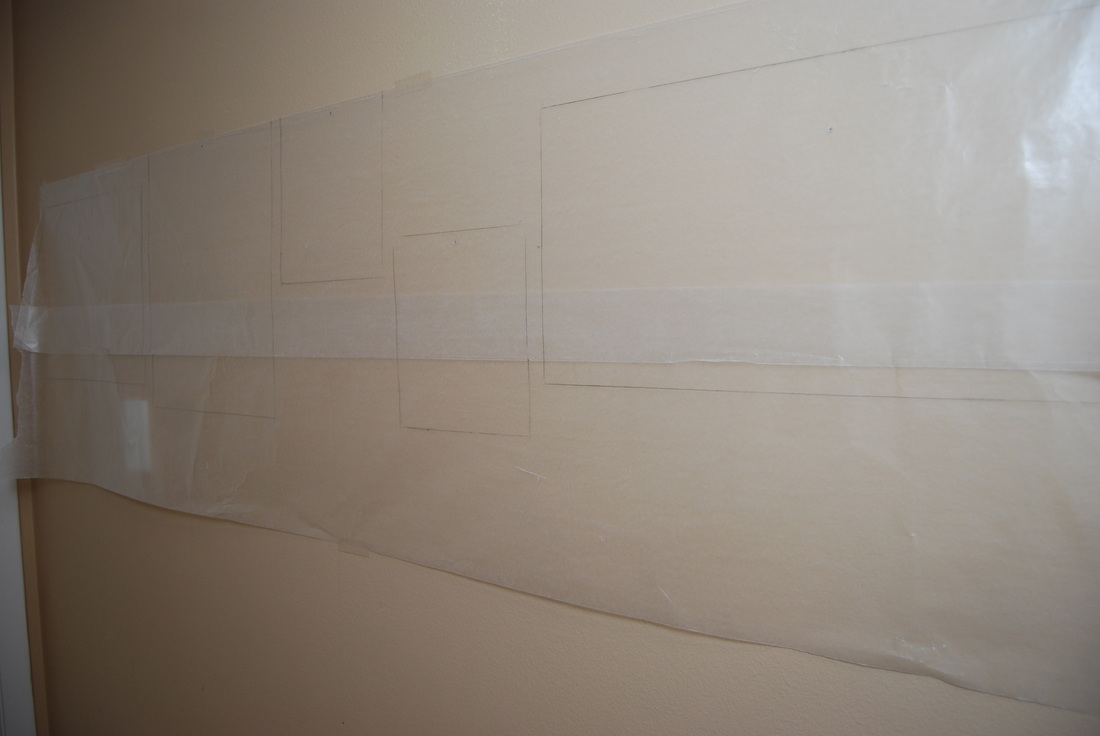
After measuring, making sure it was level, and taping it to the wall it was time to put the nails in the wall. I was SO excited to get to this point! It felt like such a build up to the finale of picture hanging!
I know. I don’t have enough going on in my life. I get excited about the little things. :o)

