Today we went to the beach. When we were getting out of the car Laelia climbed into the front seat and played for a while. We only stayed on the beach for about 40 minutes, but when we got into the car it wouldn’t start. Turns out the headlights were on the whole time. Fortunately, we visited the beach with a friend who drove her rental car there so I had something with which to jump start my car–her car and my jumper cables. A very nice man also came by and helped me out, as I was Googling “how to jump start a car.” Ha!
So because of my experience this morning, I thought what would be more fitting than to share how to jump start a car with all of you. Perhaps you’ve been shown by your dad or hubby. I have done it before, but it’s been so long I kept forgetting what to do first.
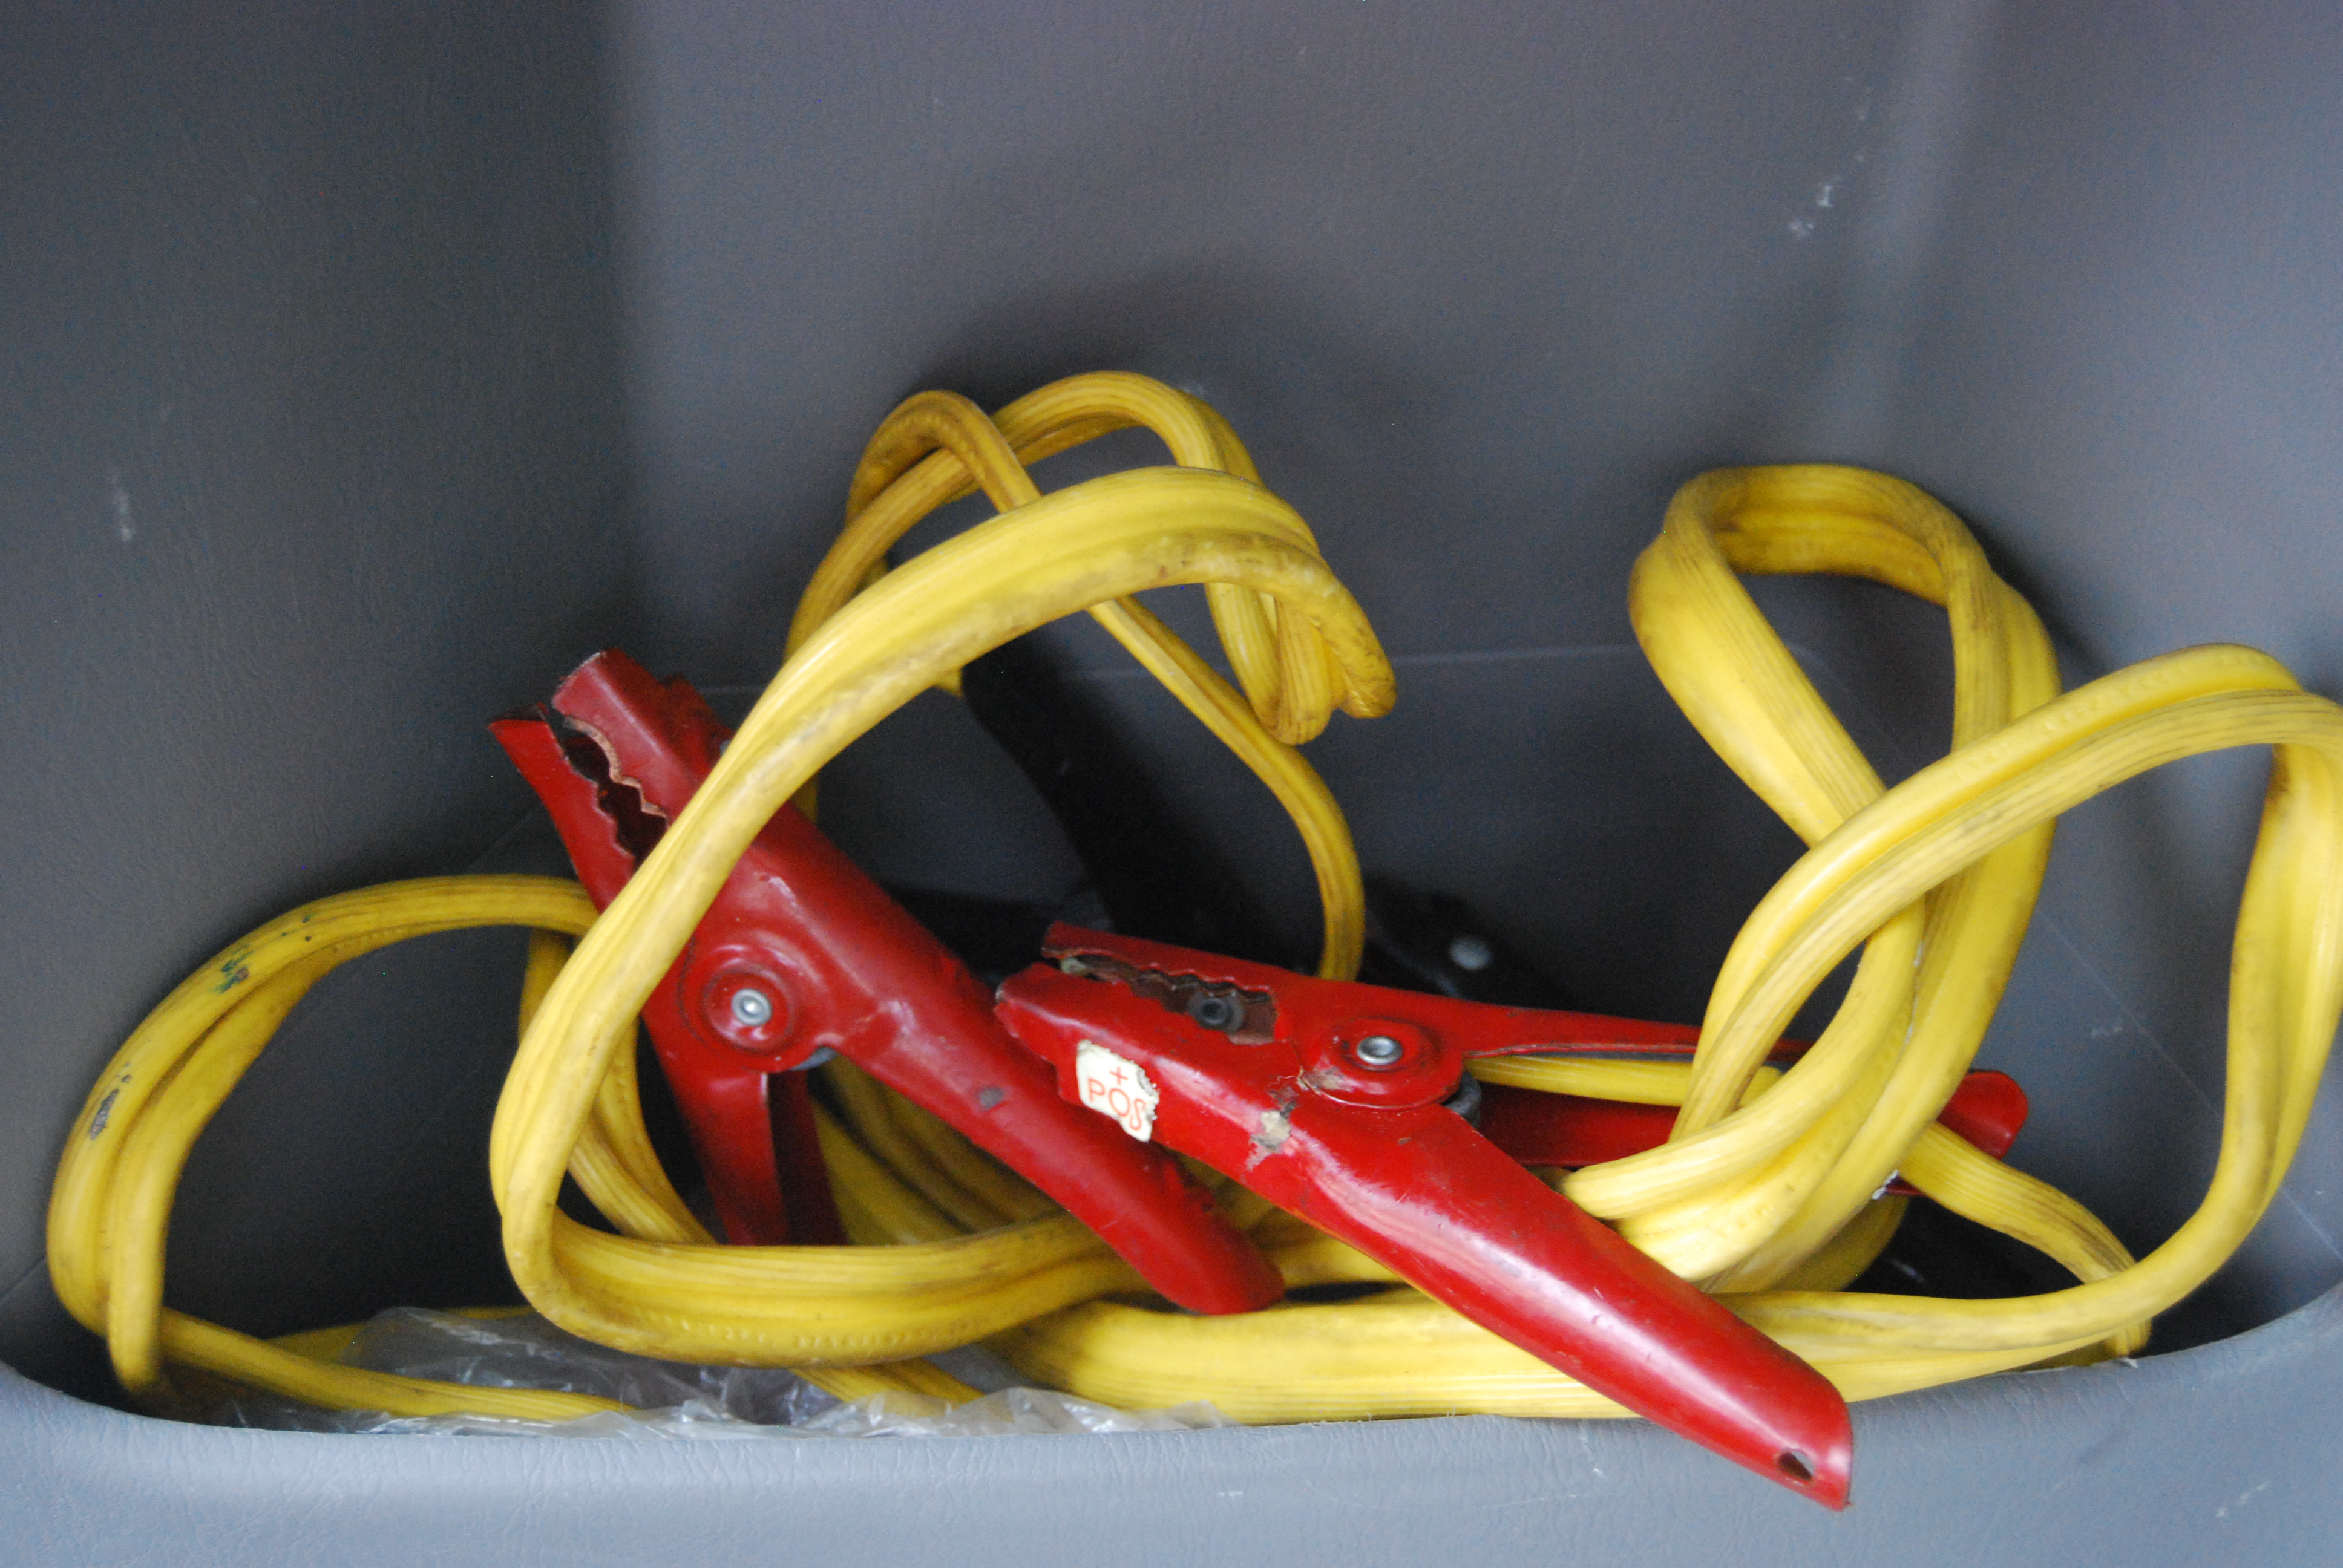
If you don’t have a car emergency kit, you should get/make one! Mine has jumper cables, a flash light, a tire pressure gauge, a quart of oil, and a little tool kit. Also, make sure you have everything you need to change a tire just in case! Yes, we have AAA and other equally as efficient services, but it’s better to know how and have all the equipment. Just one more way that you can DIY and be self sufficient!
Step one:
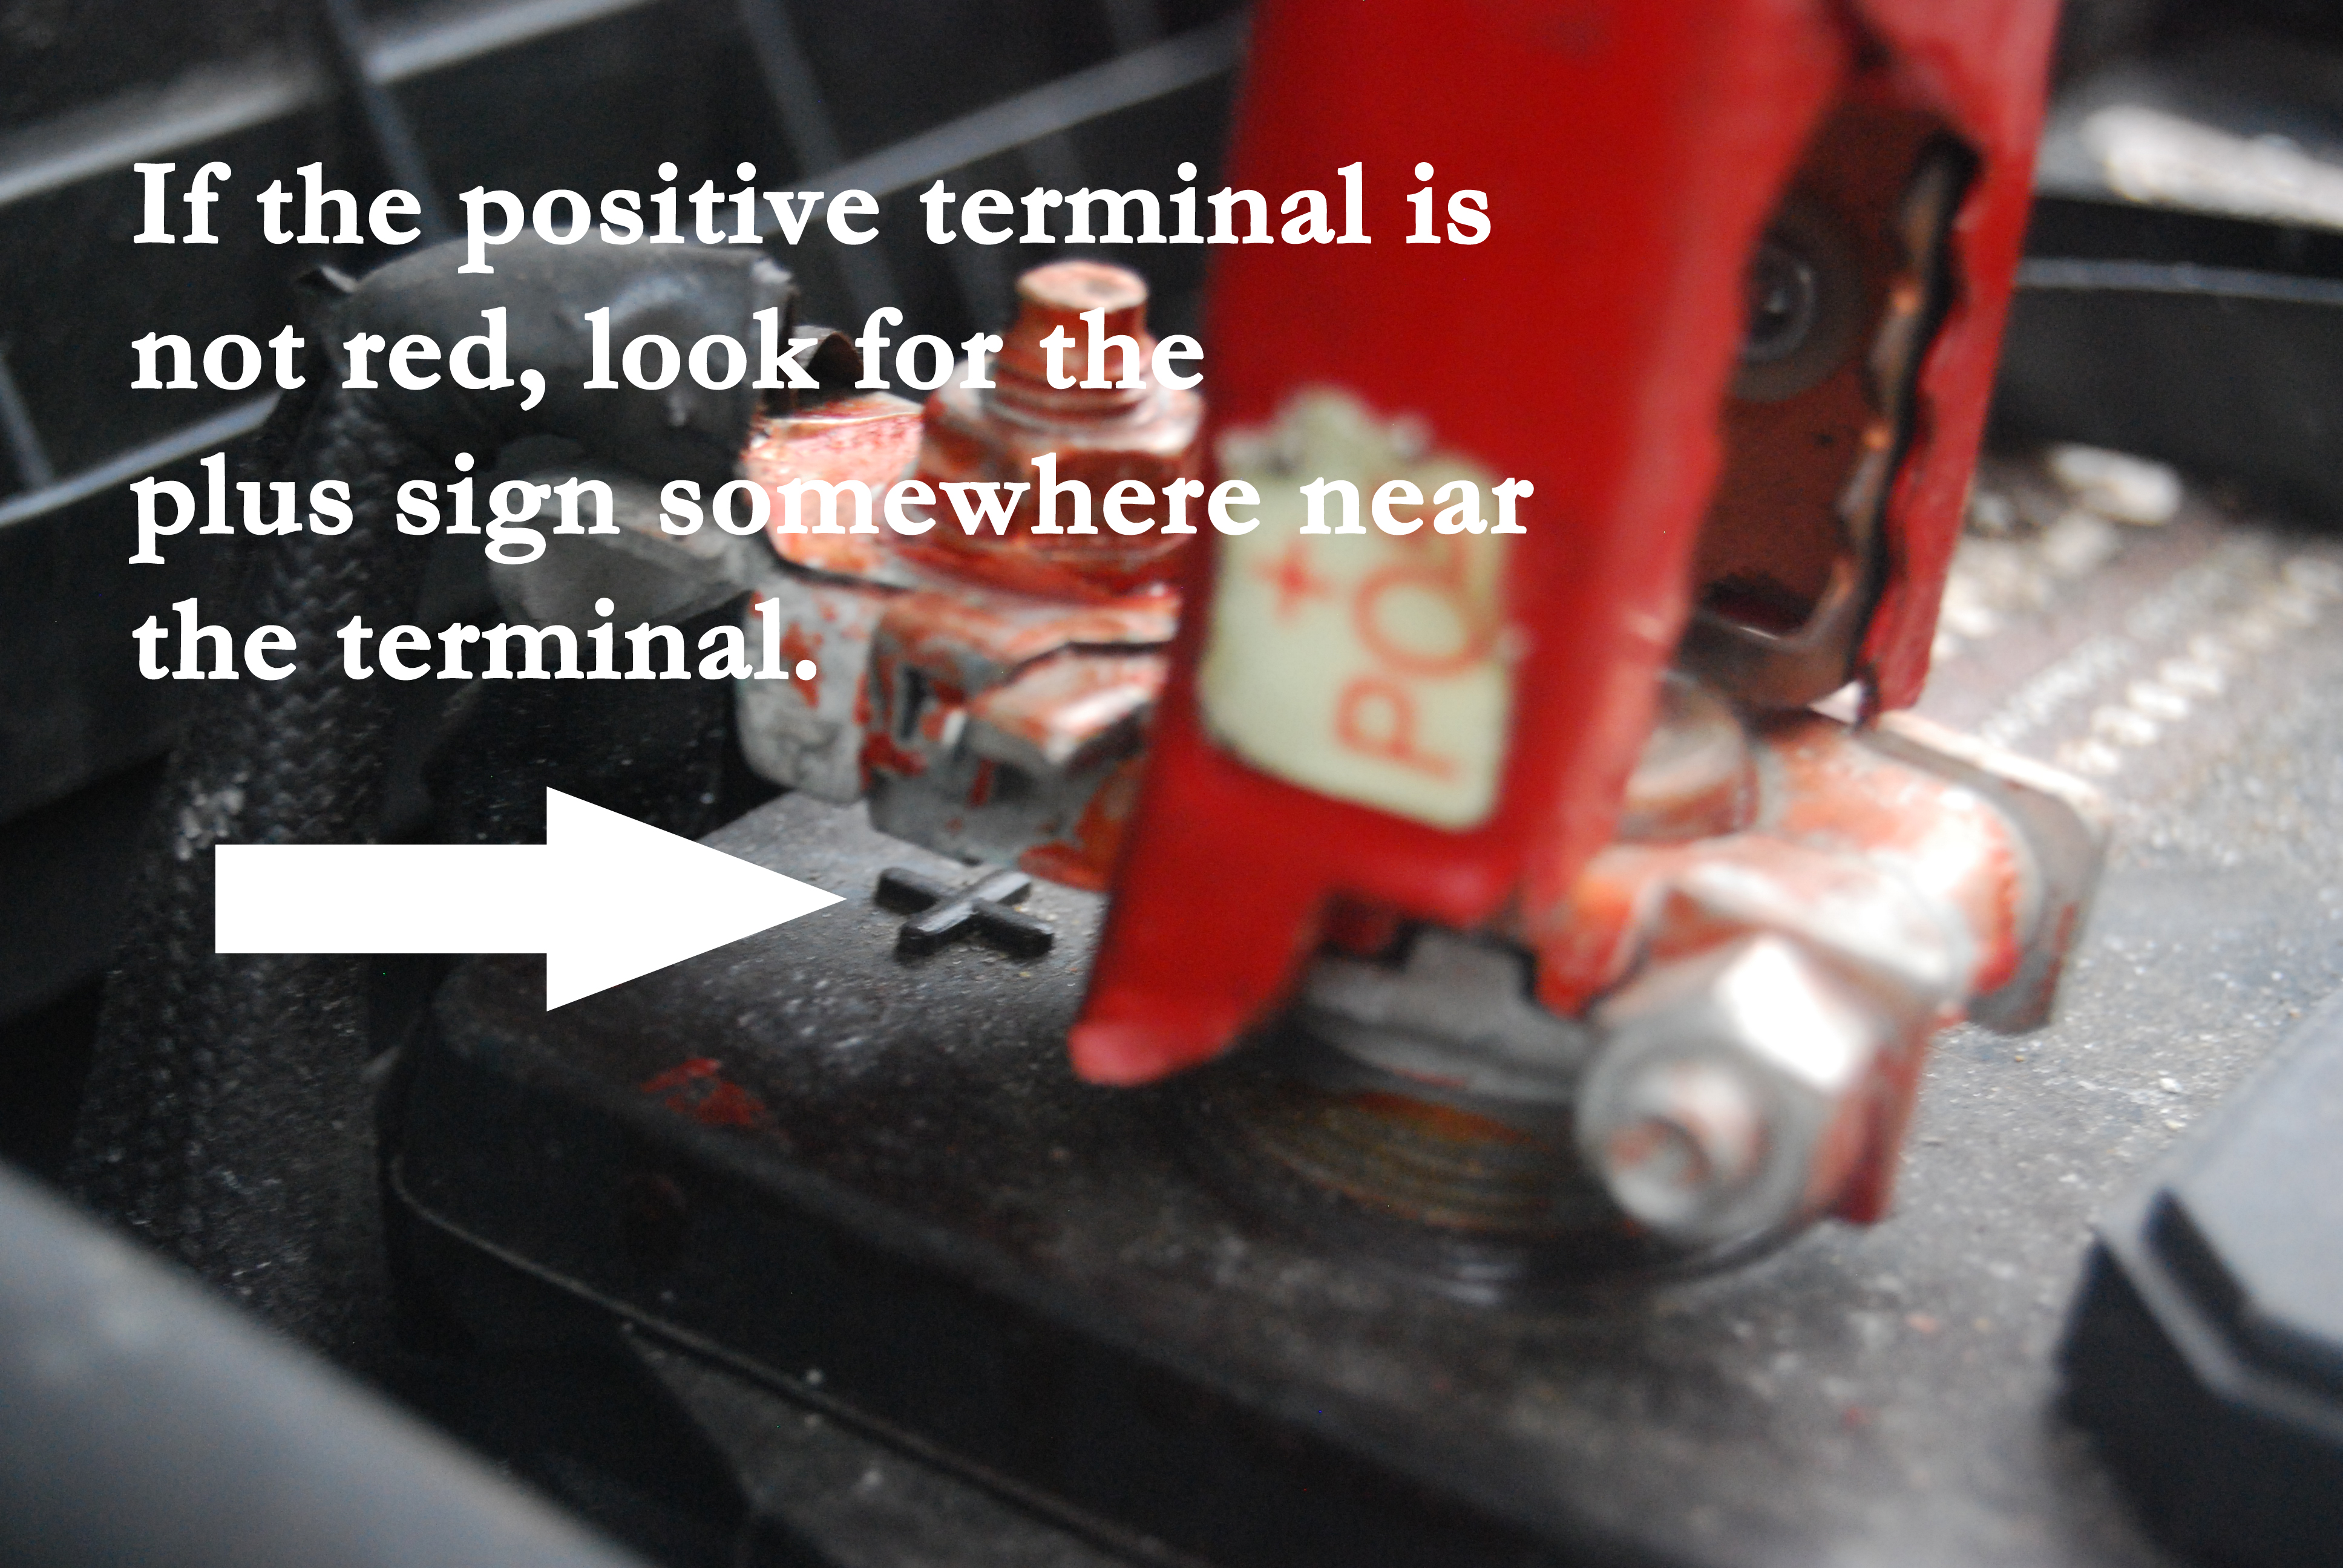
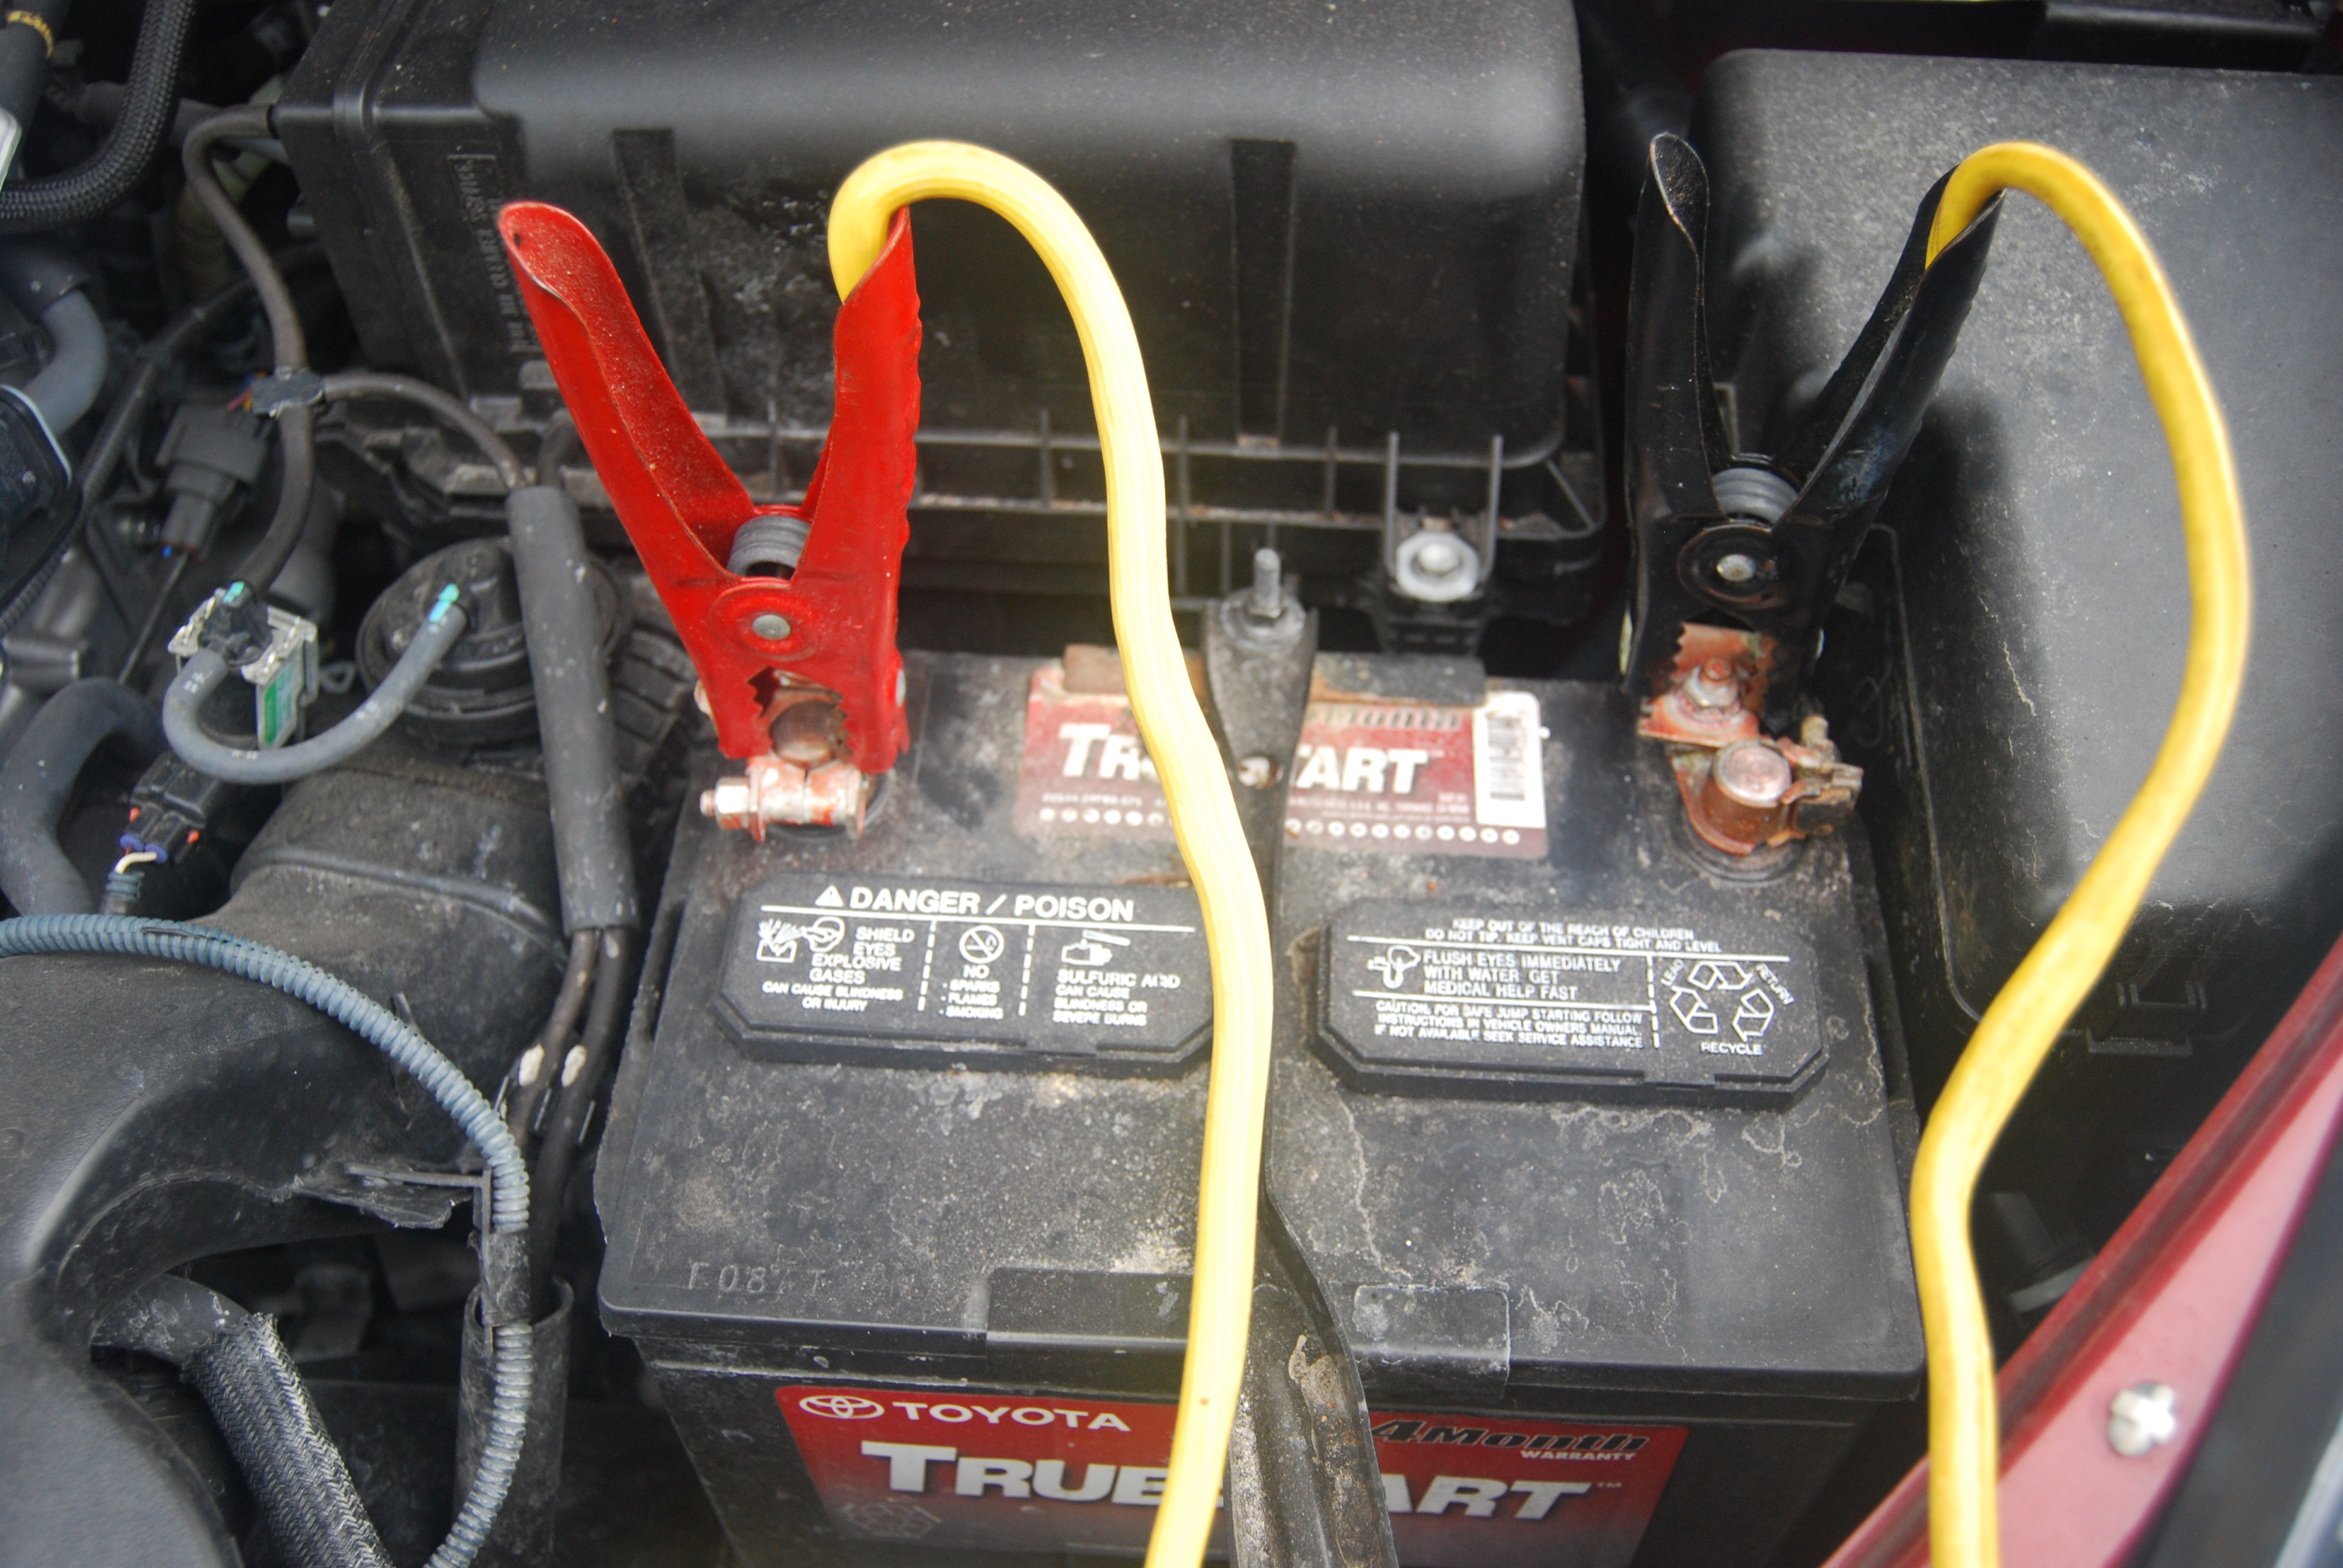
- Attach the red/positive clamp on one end of the jumper cables to the stalled battery’s positive terminal.
- Attach the red/positive clamp on the other end of the jumper cables to the working car battery terminal.
- Attach the black/negative clamp to the working car battery’s negative terminal.
- Attach the black/negative clamp to any grounded, unpainted metal part of the stalled car–preferably somewhere on the engine block. Use the negative terminal of the battery as a last resort.
Step two:
Start the working car
Step three:
Start the non-working car.
Step four:
After the non-working car has been started, take off the jumper cables in the opposite order as they were attached:
- Detach the black/negative cable from the stalled (but hopefully the now-working) car.
- Detach the black/negative cable from the working car.
- Detach the red/positive cable from the working car.
- Detach the red/positive cable from the previously stalled car.
Step five:
Let the non-working/now running car run for a little while–5 minutes or so.
And that about does it! It’s so easy to do. So, go on out to your car and befriend your car emergency kit. If you don’t have one, get one! And then get to know it a little bit before you actually need it. You’ll be very glad you did so if the situation ever arises where you need it. 🙂


