In our move to Florida, we left behind some very special friends in Pittsburgh. Chloe has started writing to one of them and the two girls are now pen pals. I don’t want their precious writings to get lost over time, so I decided to a special place to put the letters Chloe receives. I am also so happy that Chloe has a pen pal, because although snail mail has lost a lot of its use with the options that technology has given, writing is such a wonderful experience. I remember having pen pals as a child. I was always so excited when I would receive mail. I didn’t get to see my cousin often, but we were pen pals for years. I don’t have any of our letters to each other, and now that I think about it that would be really cool to have.
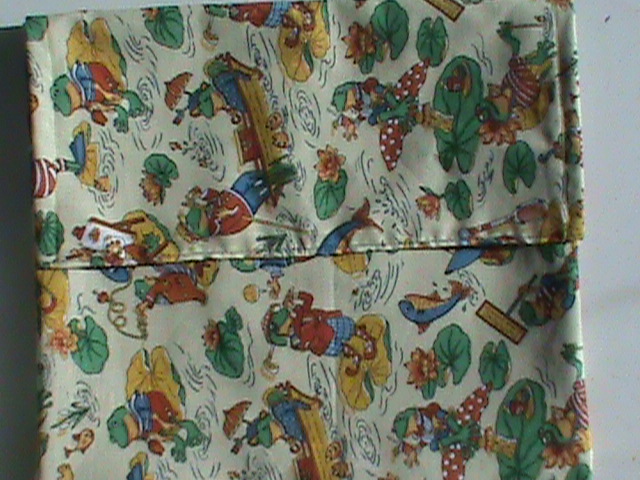
So, I made each of the girls a pouch where they can put their mail (another great homemade Christmas gift idea). I got the idea from Soule mama, but modified it a bit. It’s pretty easy to make, but it does take a little time the first time you make one. Here’s how to do it. Also, please excuse my pictures this time. I am having trouble with the battery for my regular camera and had to use the photo setting on our video camera…you can tell…
Supplies
· Scissors
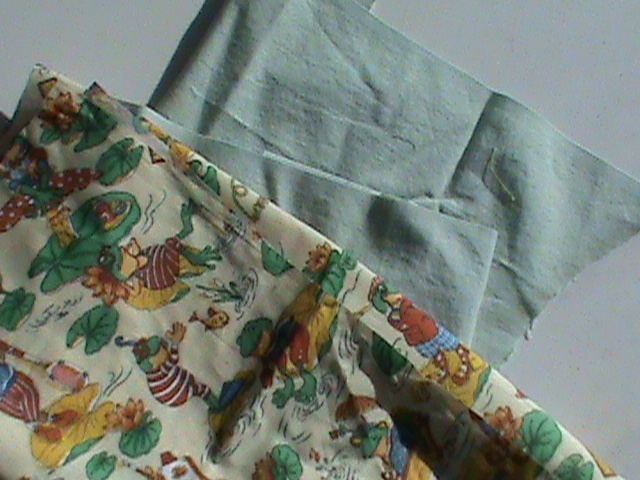
· 2 different fabrics measuring 14” x 28”
· Heavy interfacing (optional, but will add stiffness)
· Fabric measuring 1.5” x 3”
· Fabric measuring 2” x 4”
· Thread
· Sewing machine
· Paint pen
· Measuring tape
· Velcro circles
· Iron
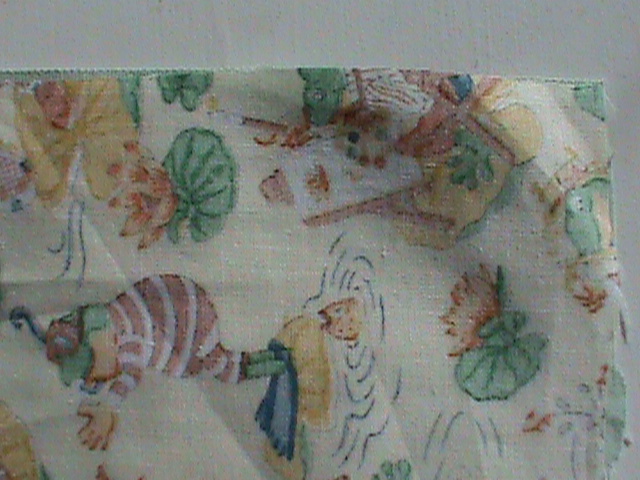
1. Let’s get started. The first step is to iron the fabric and lay them with their right sides facing each other. If you are using interfacing, lay it on top of one of the fabrics.
2. Sew along the long sides and one short side, leaving the other side open.
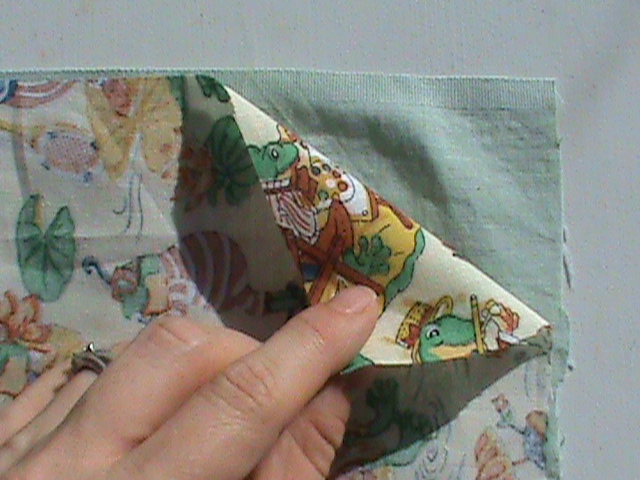
3. Turn the fabric inside out so that the wrong sides are now in with the interfacing in between and the right sides of the fabric are now facing out.
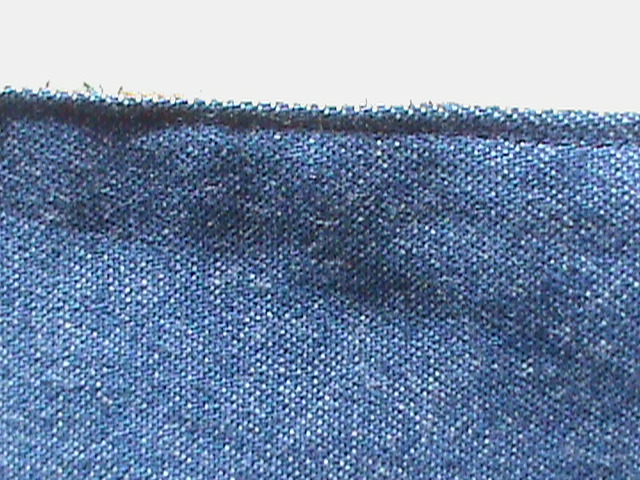
4. Turn the edge of the open end of the fabric in and iron in place. Sew along the edge so that the opening is now sewn closed.
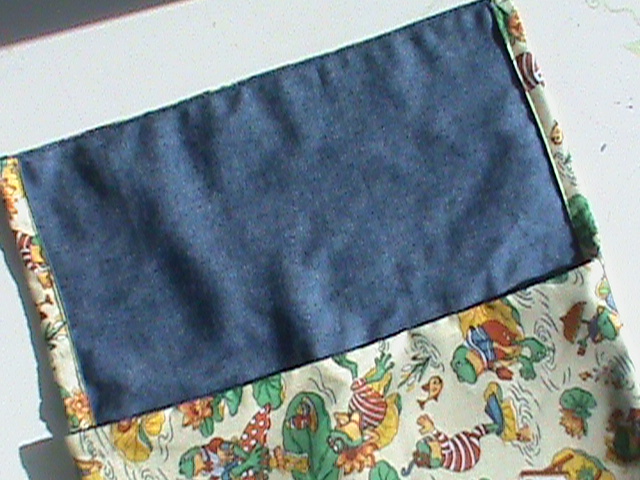
5. Now lay the rectangle so that the fabric you chose for the outside of the pocket is facing up. Take one of the short ends and fold it up about 10.5”, creating a pocket. It will look like an envelope when you are finished and the inside fabric should be over the outside fabric.
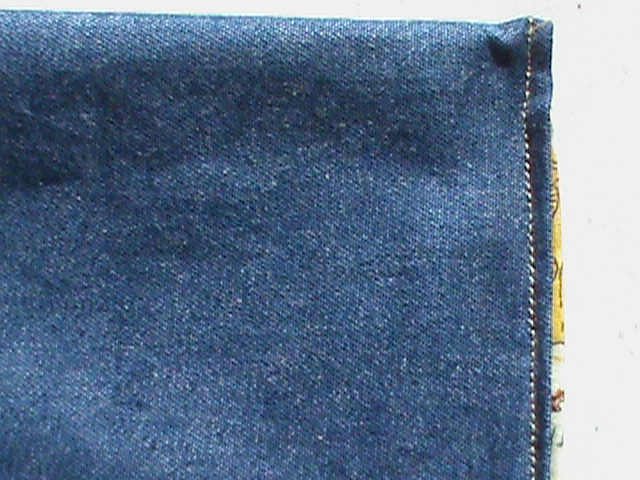
6. Sew along the edges of your new envelope.
7. Iron the edges of the flap and sew them in place. Turn the pocket right side out.
8. Position your Velcro circles and sew them in place.
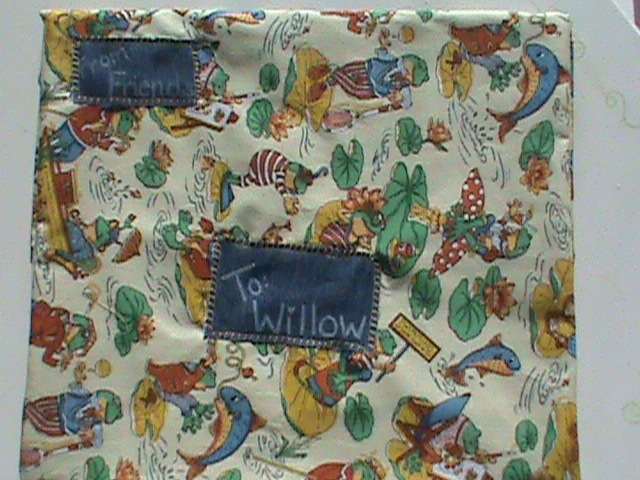
9. Now, I chose to make the front of our envelope look like an actual envelope. Cut two small rectangles of fabric for the address labels. Using the paint pen, write whatever you want on the labels. Position them and sew them into place.
There it is! Such a cute little pocket to hold their writings. You can even make a second one for their pen pal buddy.

