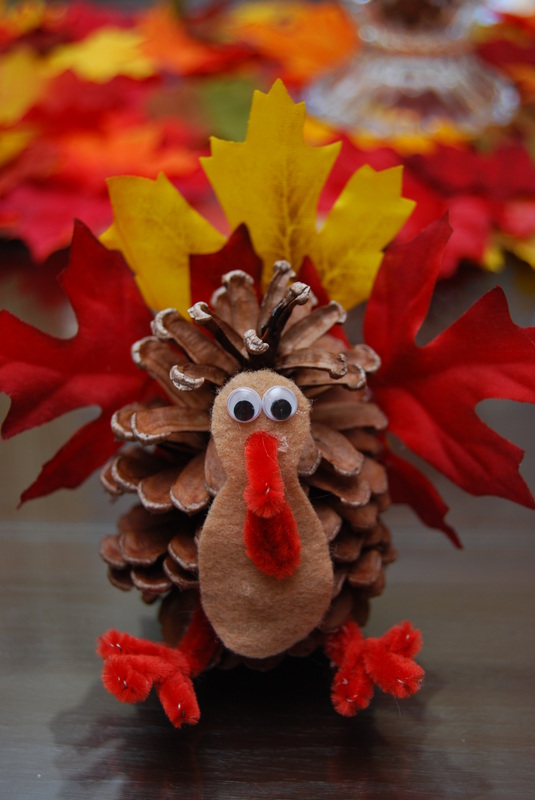
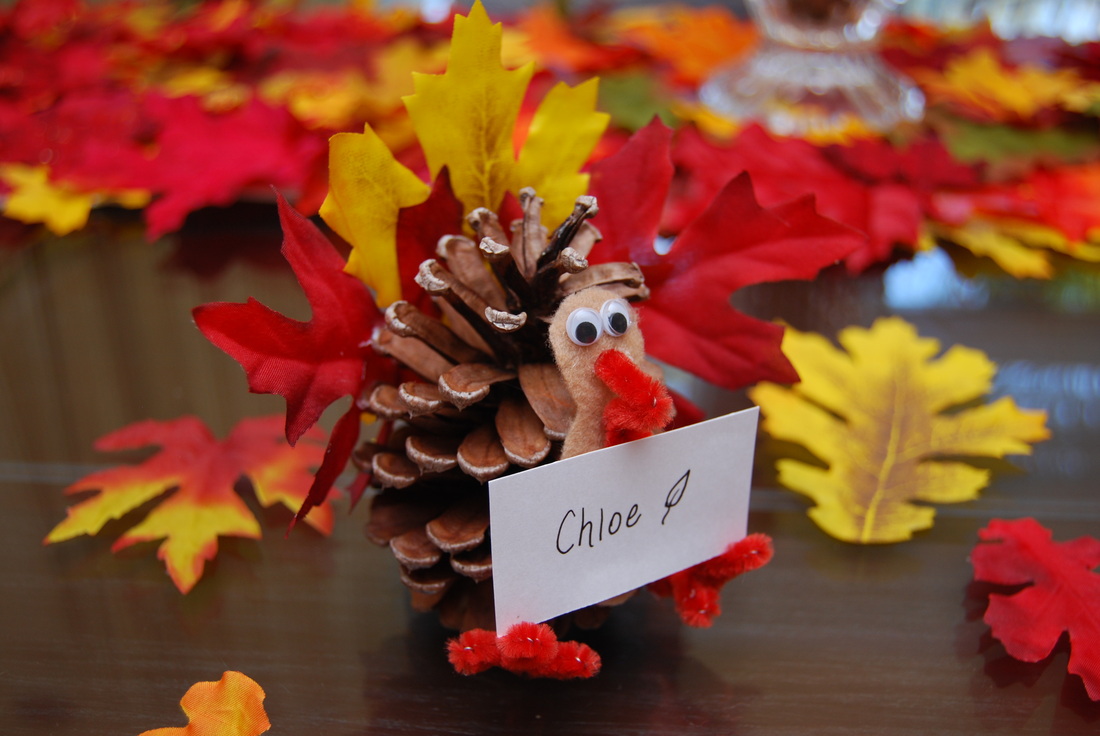
Thanksgiving has always been my favorite holiday. Although now with the girls getting older Christmas is so much fun! Anyway, I am continuing our Thanksgiving décor and craft tutorials with this popular, but slightly altered, place card holder—the pine cone turkey. And, oh how cute these little guys turned out!
What you’ll need for each:
1. Pine cone
2. Silk fall leaves
3. Hot glue
4. Scissors
5. Wiggly eyes
6. Brown and tan felt (scraps are great)
7. Two red pipe cleaners
8. One place card
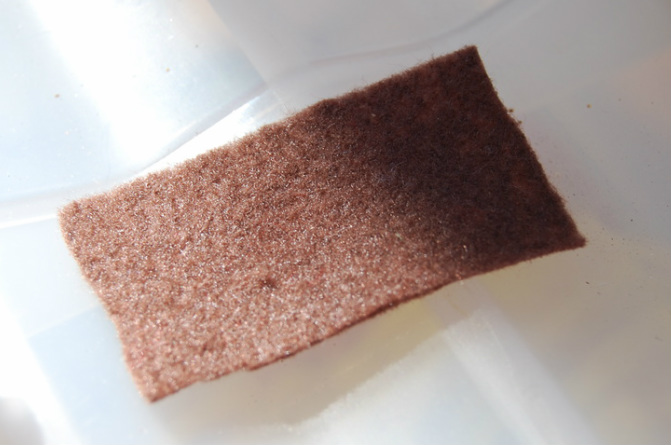
- To start, cut one small rectangle (1” x 2” should be fine) of brown felt. This is for gluing the “feathers” to the back of the turkey.
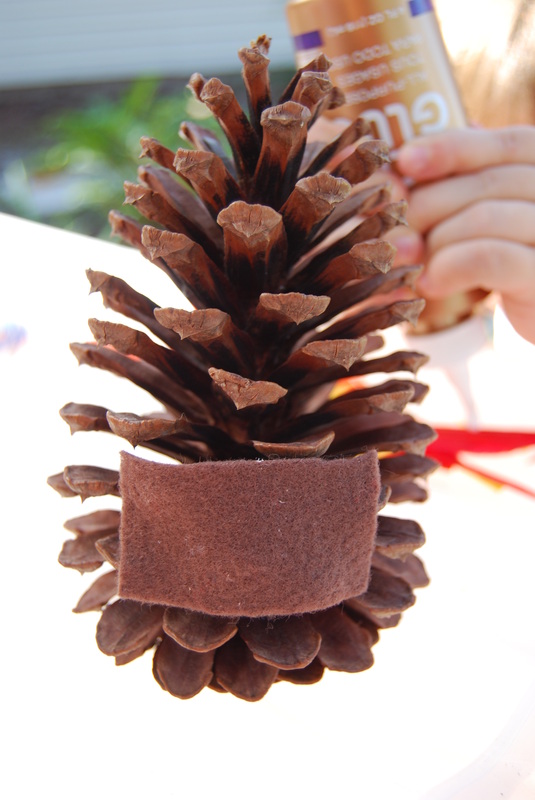
- Attach the felt to the side of the pine cone that you choose to be the back, down near the bottom of the pine cone.
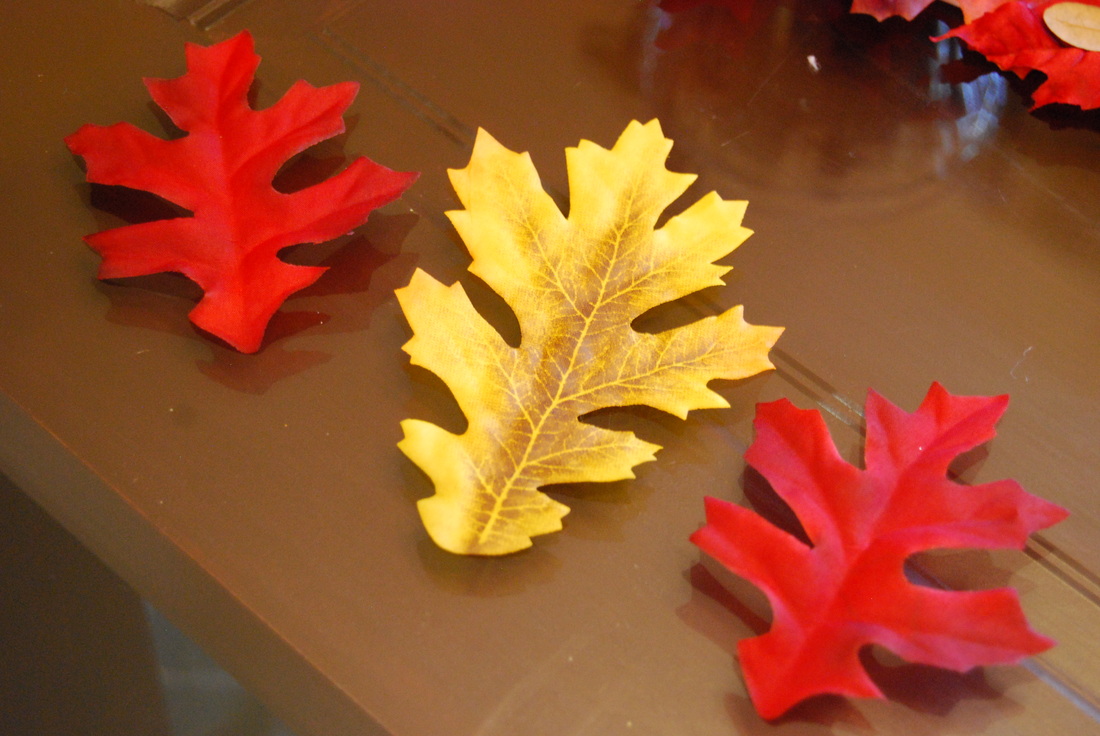
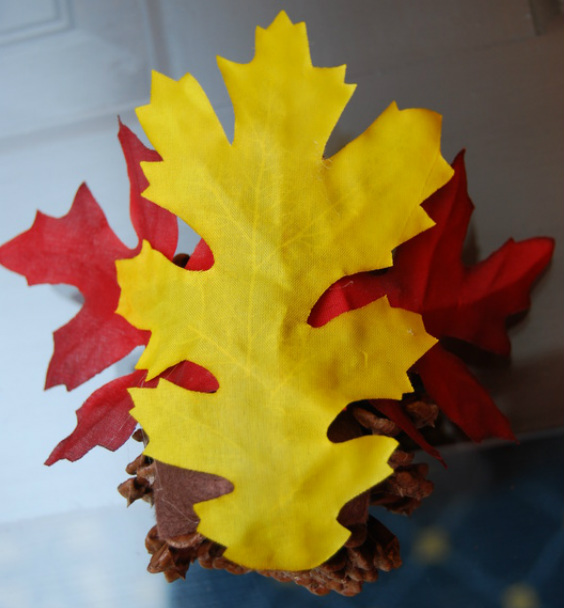
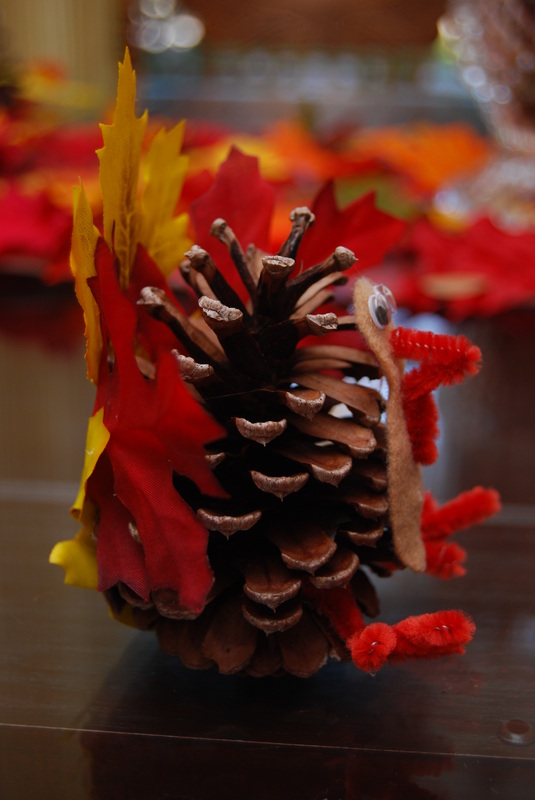
- The silk leaves are the turkey’s feathers. I chose them because they match the table runner and napkin ring that I showed you in the last two posts. So, glue them to the felt and attach to the pine cone as needed so they don’t move around.
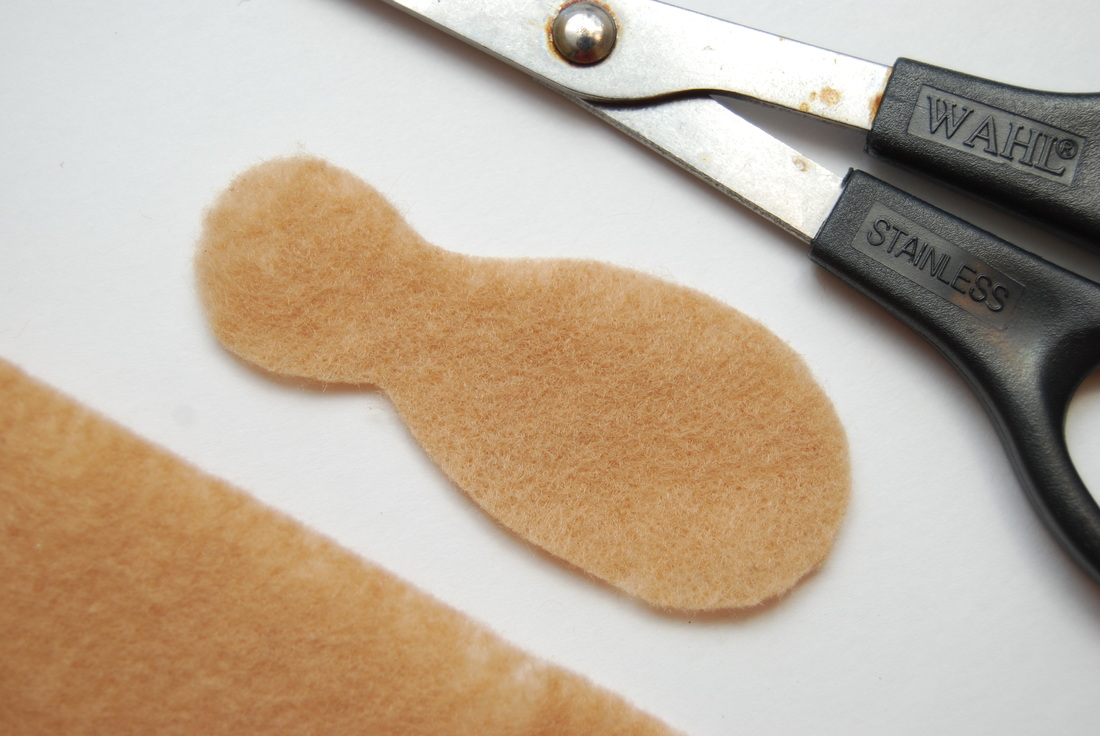
- Next, grab the tan felt and draw a body (chest and head) for your turkey. It doesn’t need to be fancy. It’ll all come together and be super cute in the end.
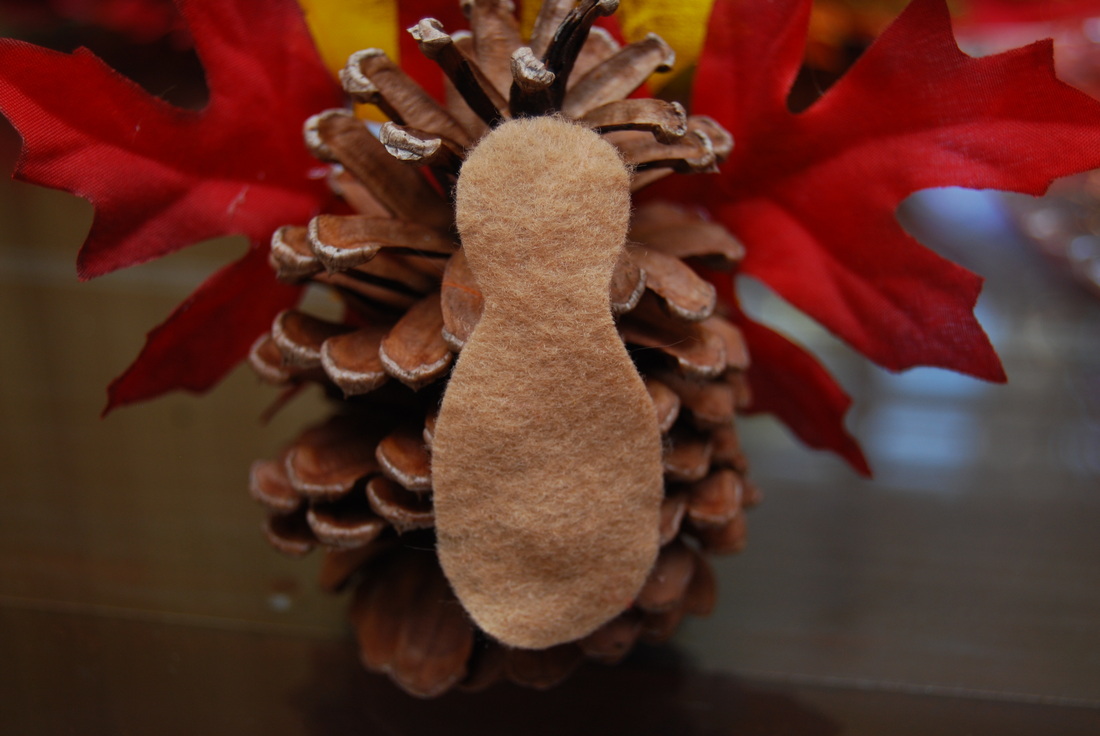
- Cut it out and glue to the front of the pine cone where the turkey’s head and chest should go.
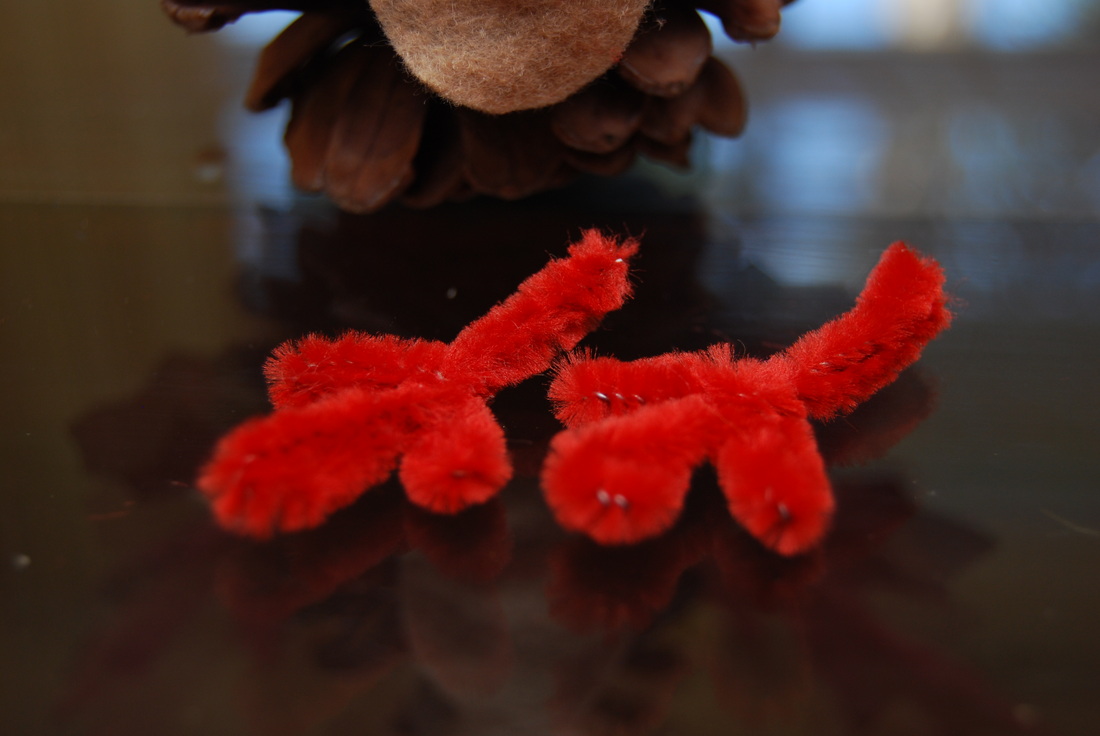
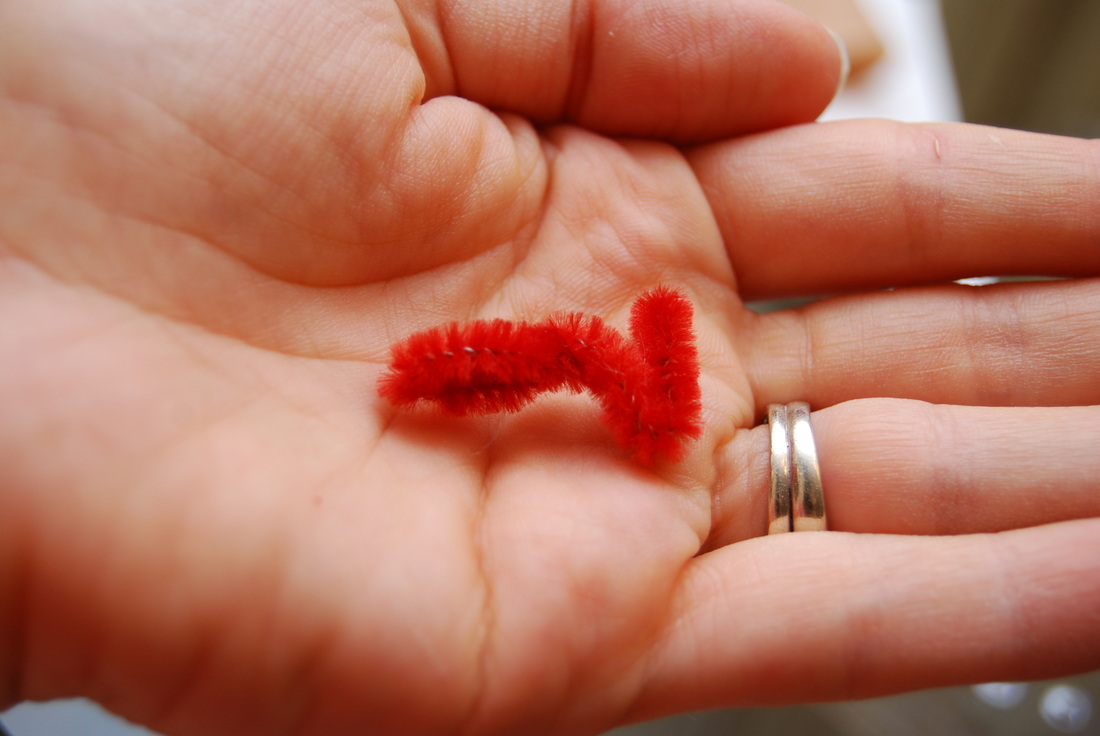
- Now, form feet, beak, and gobbler using the pipe cleaners.
- Glue the gobbler and beak to the face and the feet to the bottom of the pine cone.
- All that’s left is the wiggly eyes.
The feet are great for holding the place card. So, what do you think? Cute, right?! I think he’s a great addition to our table. Who wouldn’t want this little guy staring at them during Thanksgiving dinner?!

