With another birthday just around the corner, I am vamping up for another fabulous homemade piñata! These are so easy to make. I guarantee whether or not you are a wiz at crafting, you will be able to conquer this project! So, let’s get started!
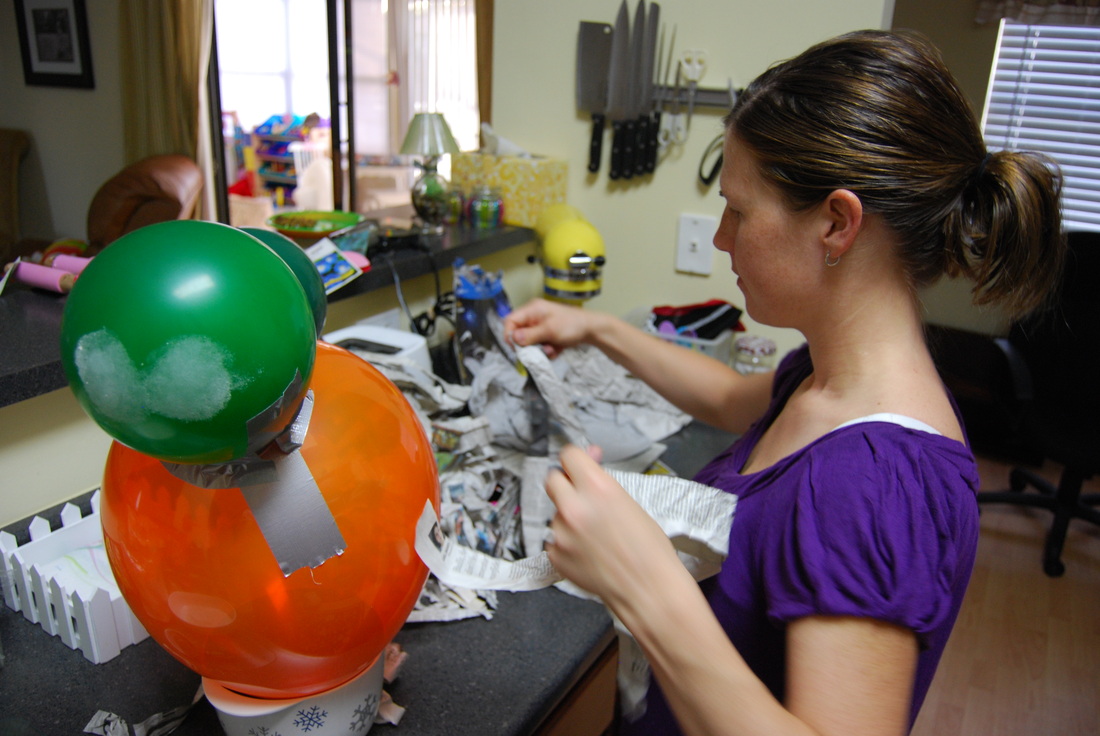
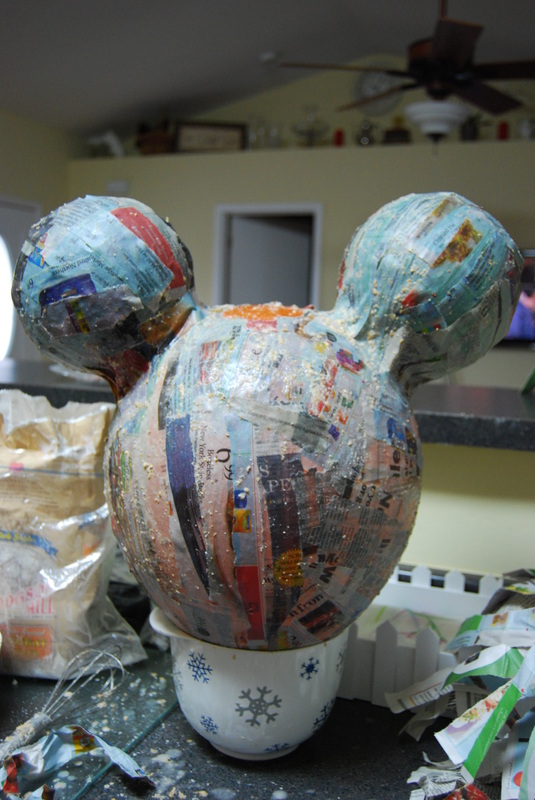
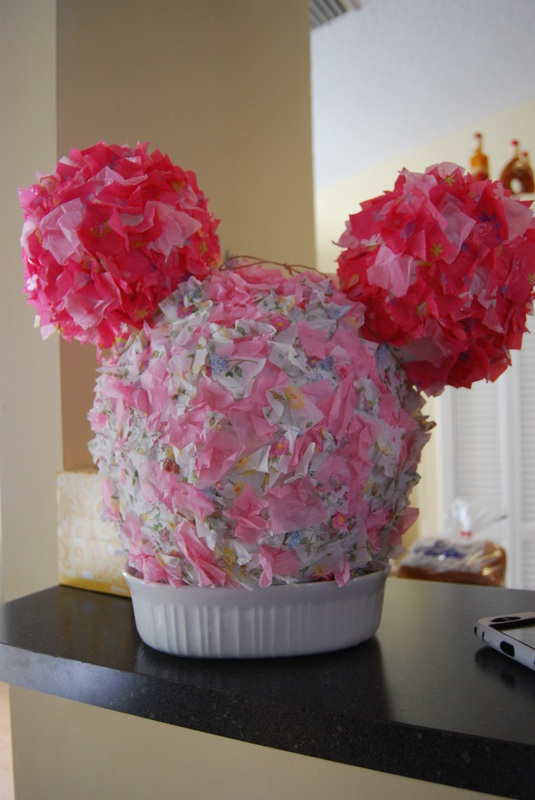
- The first thing to do is figure out what you want to make, remembering that the easiest paper mache piñata to make involves a balloon. Last year Willow’s birthday involved a lot of Minnie Mouse, so that’s what her pinata was.
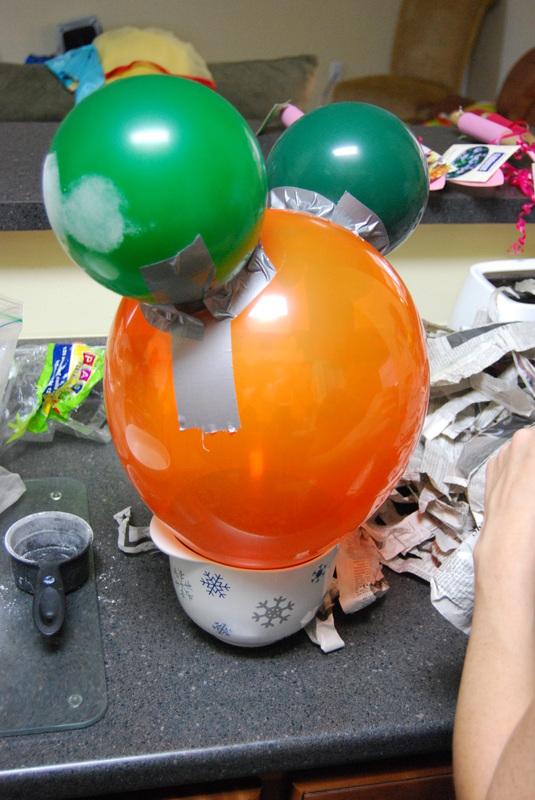
- Inflate your balloon.
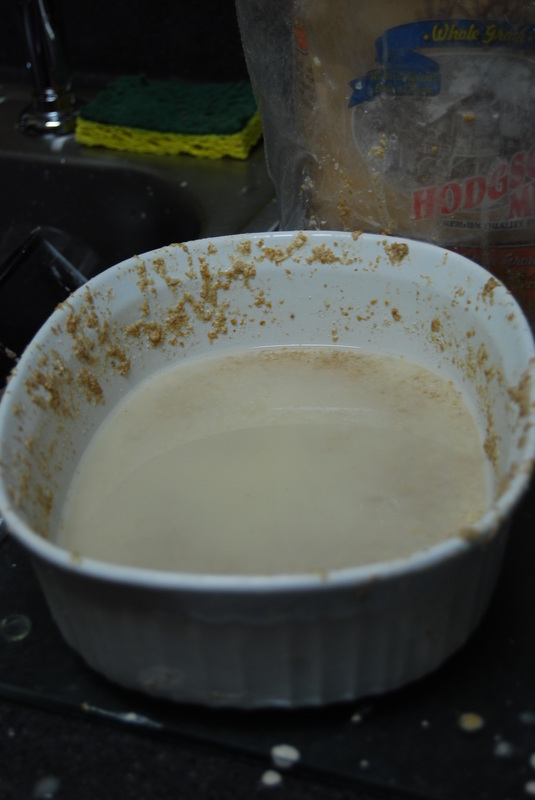
- Combine one cup of water with one cup of white flour. Mix until smooth. Here I used wheat flour, which I don’t recommend because it’s very gritty, but it was flour that I didn’t need so I went with that.
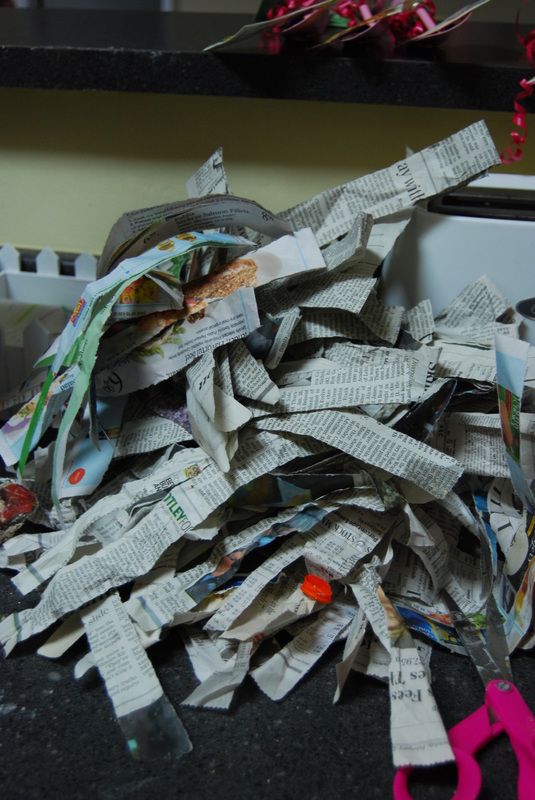
- Cut one inch strips of newspaper, magazine, or any paper you are finished using. Lay the newspaper in the flour/water mixture one strip at a time (as you go).
- I found that setting my balloon inside of a small mixing bowl made a good stand for my piñata. This project takes a couple days to complete, so make sure your space allows for this.
- Cover the entire balloon in one layer of newspaper, excluding one 4 inch (or thereabouts) portion of the balloon (where the candy will go). This is the messy part, but it’s so fun when it starts to take shape.
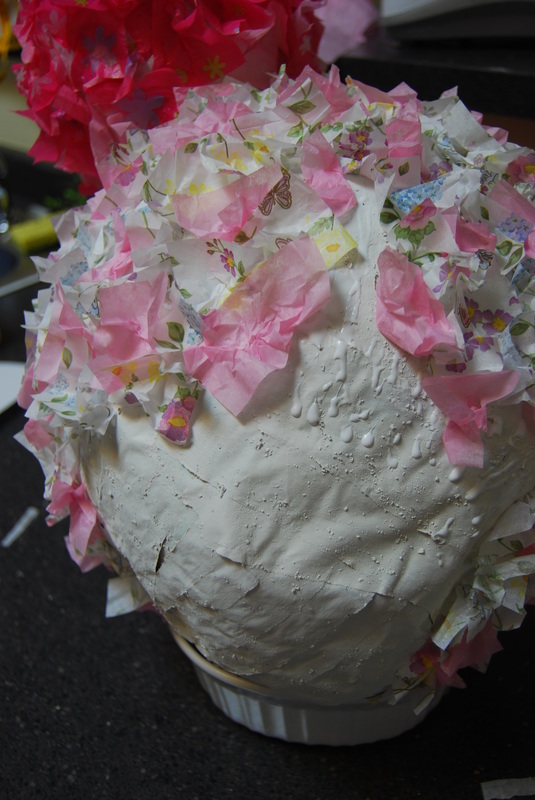
- Wait until it’s completely dry before starting the second layer. It’s going to need two layers of newspaper. Add a third layer around the edge of the candy opening until about two inches out. This will make it stronger and will help when adding the twine for hanging later. For my second layer, I chose to use white paper rather than newspaper. I wasn’t sure if I’d be able to see through the tissue paper since this was my first time using tissue for a pinata. I also was still figuring out how I wanted to do it and if I wanted to paint it or not.
After the second layer is completely dry, you can remove the balloon.
- Using scissors, cut the balloon and remove it from the inside through the candy opening.
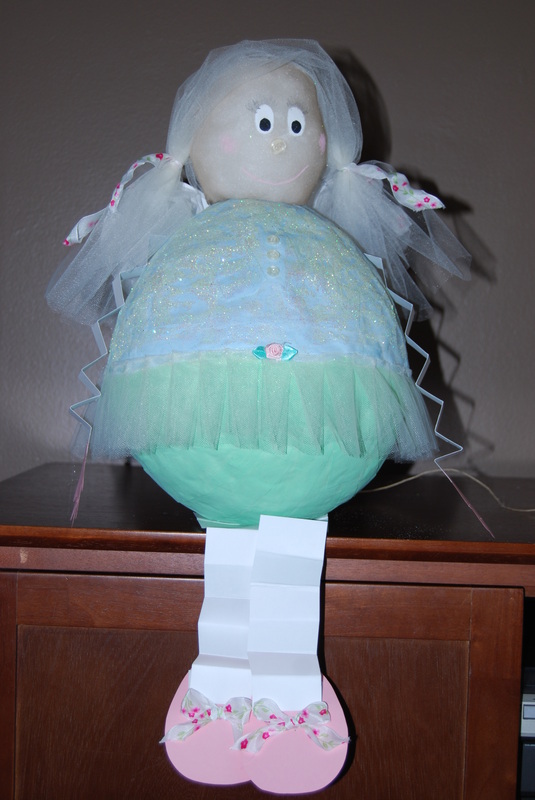
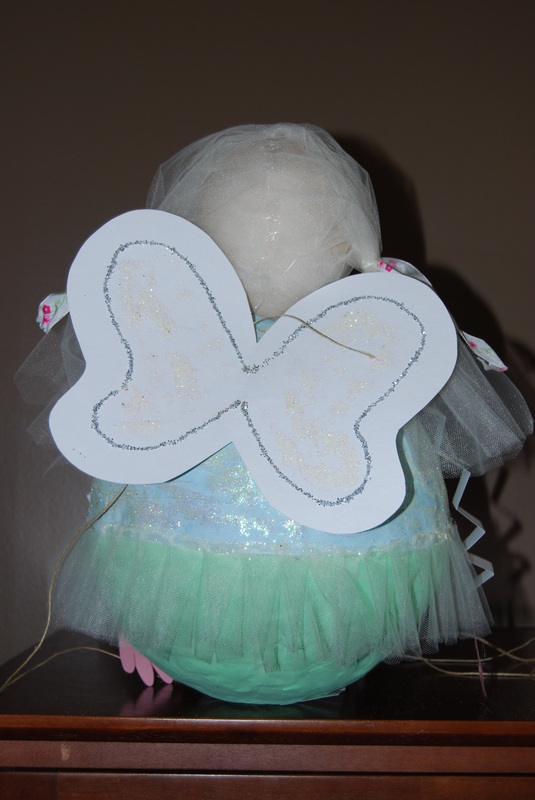
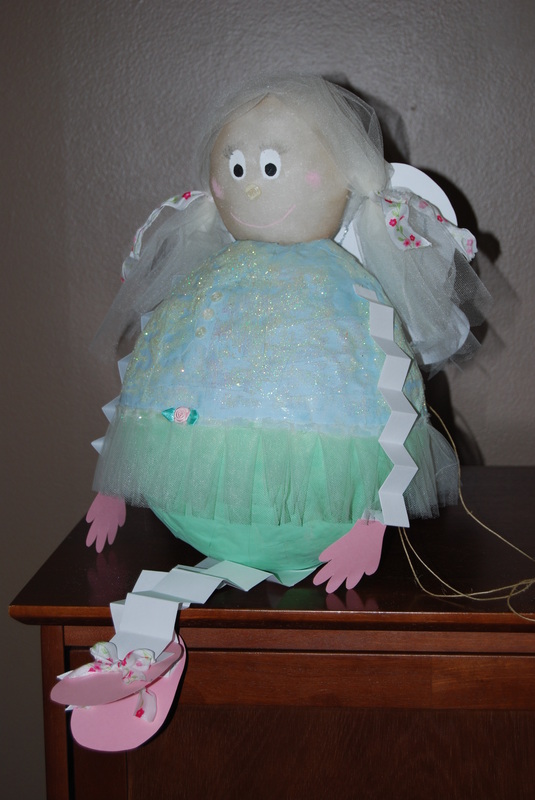
Now it’s time to start decorating! I have done this two ways. The first time I did this I made a fairy and I simply painted and added decoration where she needed it. I made her head separately using panty hose and just hot glued it in place after she was stuffed with candy and glitter (you have to have glitter for the fairy dust of course).
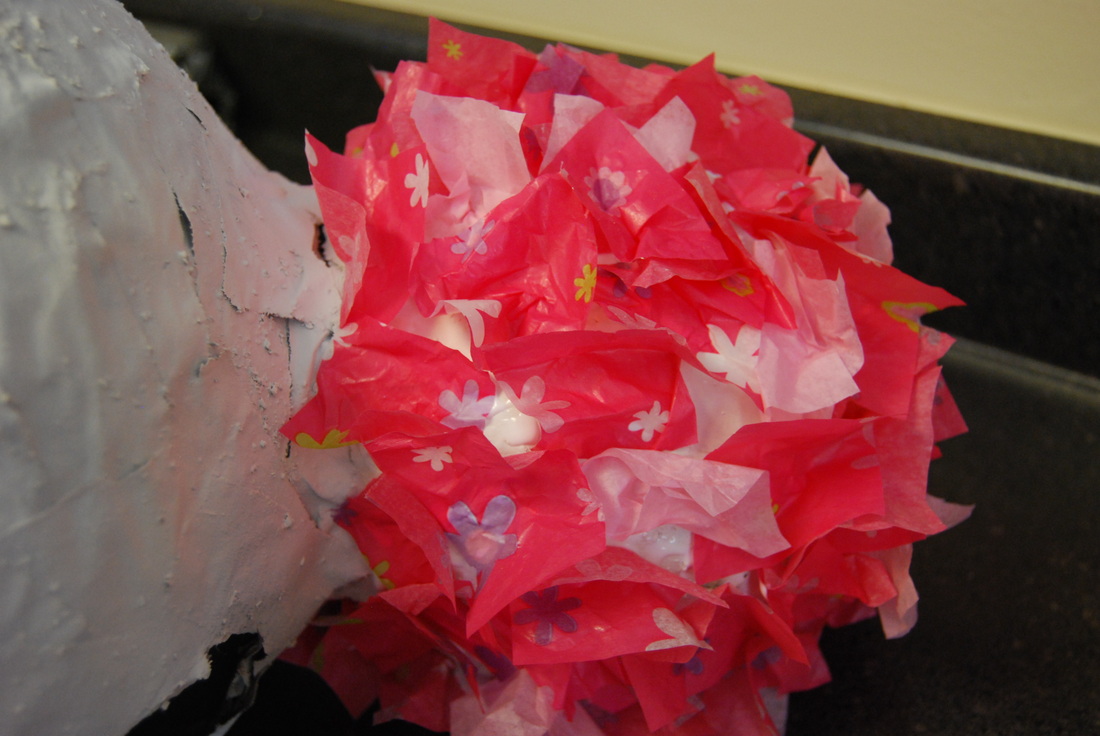
- The second way I’ve done this is just by using tissue paper.
- I cut them into small ( 1 ½”) squares.
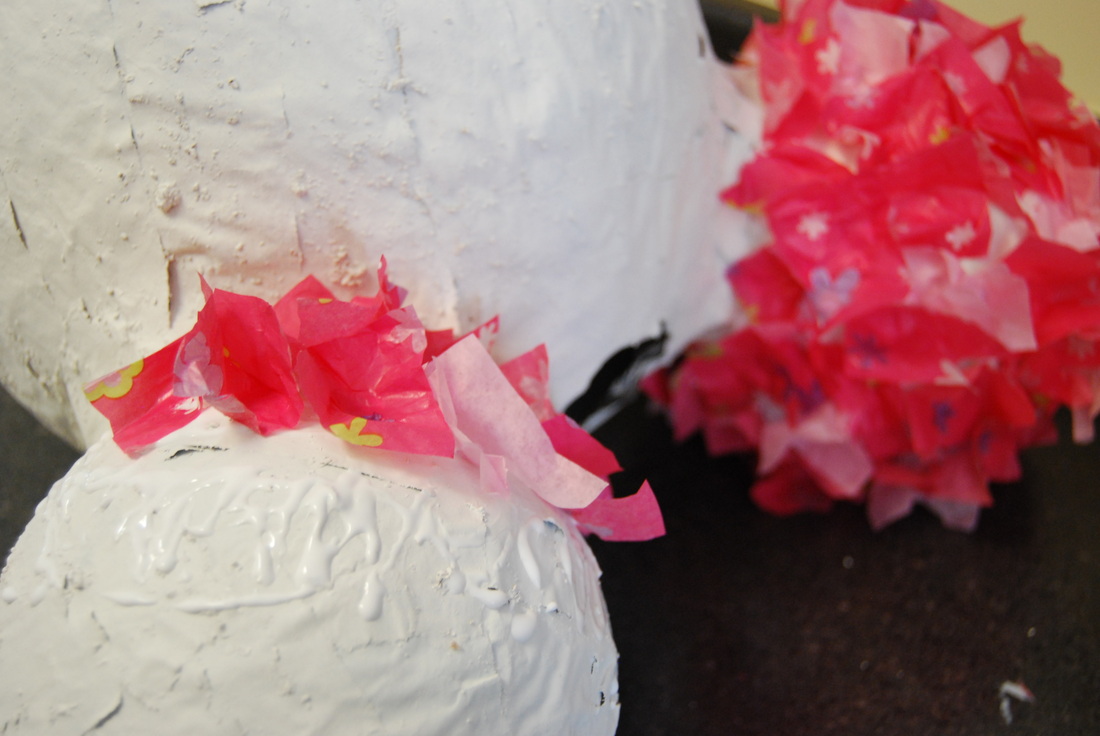
- Then, I bunch them in the middle so they are kind of cone shaped and
- I tacky glue the pointy end of the cone to the newspaper, while the fluffy end sticks out.
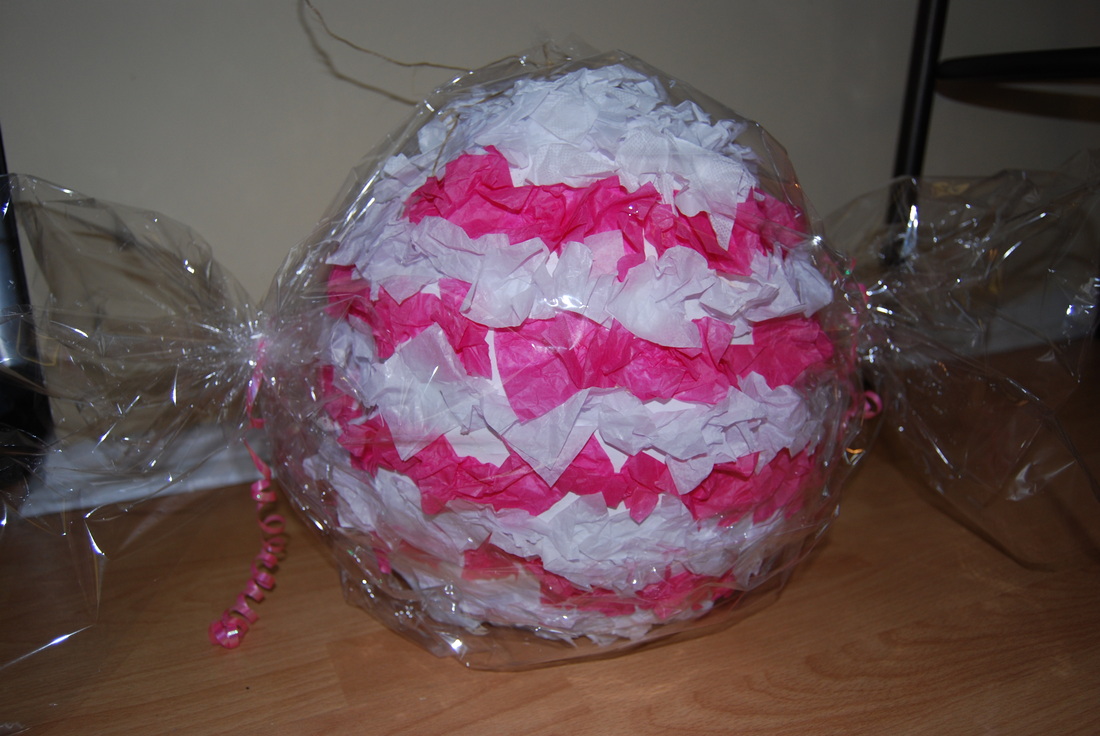
- Cover your piñata with the tissue paper squares. When you are finished you will have a fabulous piñata.
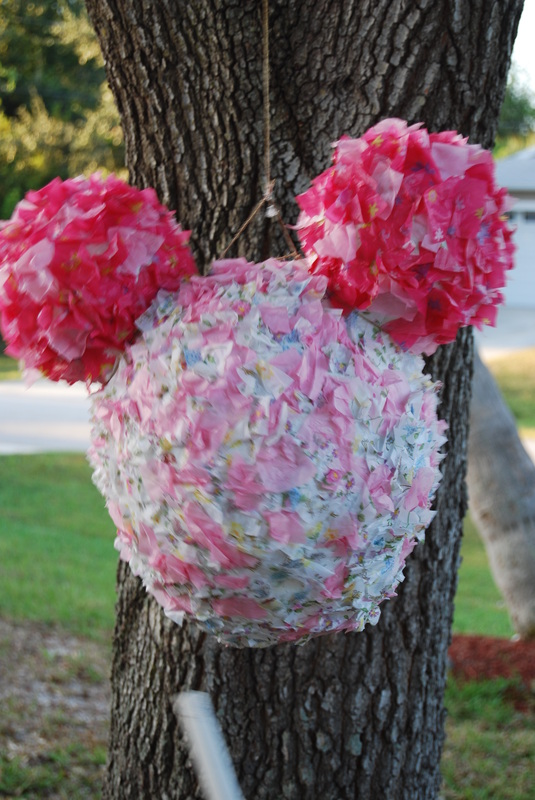
- Attach some twine to the top of your piñata. I poked some holes in mine and tied it through. Just make sure it’s not at a point where it’ll tear. Instead, attach it at a place where it is stronger (like right by the candy opening).
- The next step is to add your candy and goodies!
- To seal up your piñata, take a sheet of matching tissue paper and crumple it into a ball. Insert just inside the candy opening and hot glue around the edges to secure.
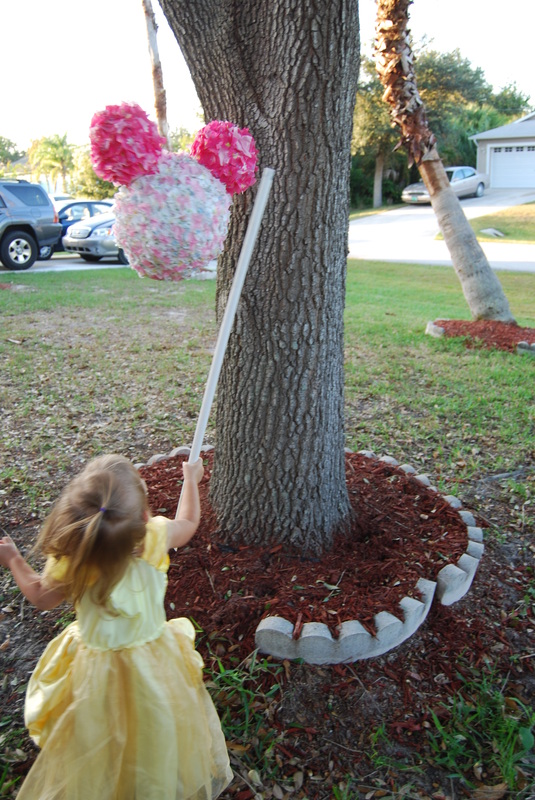
You are ready! I like to use my piñatas as part of the party decorations until we use it. It’s a nice focal point and it gets people talking about how fun it is to make piñatas!
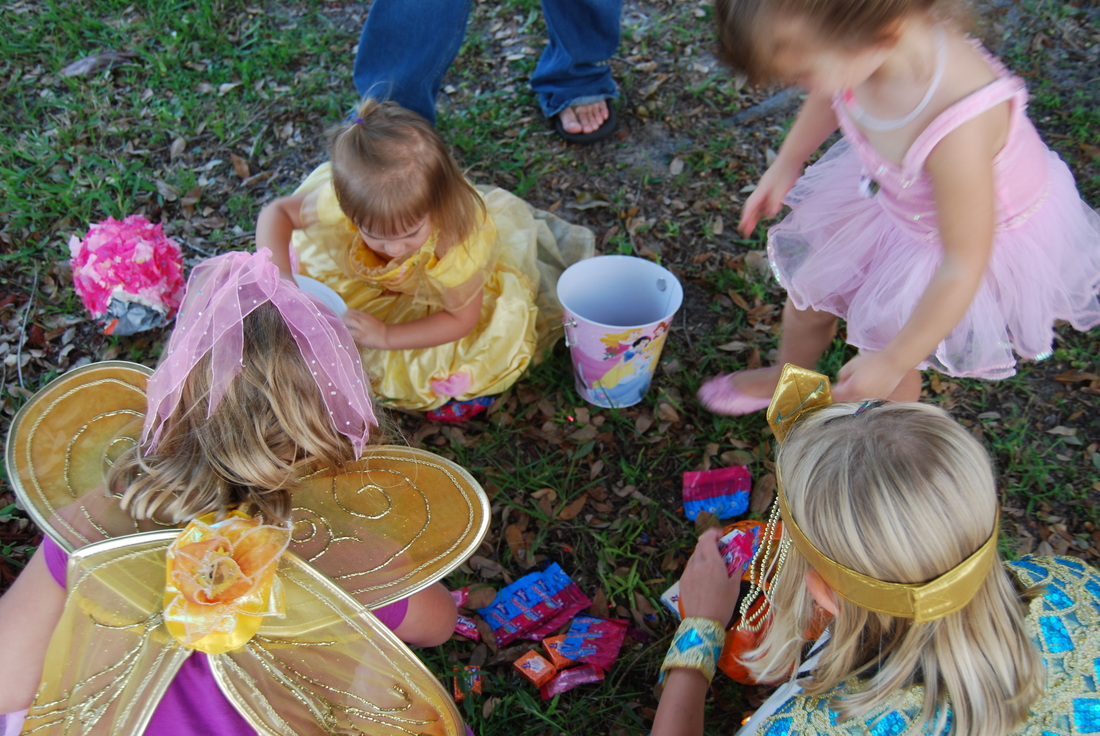
Their sweet rewards…mmm…
Here is the pinata I made for Chloe’s candyland birthday party.
