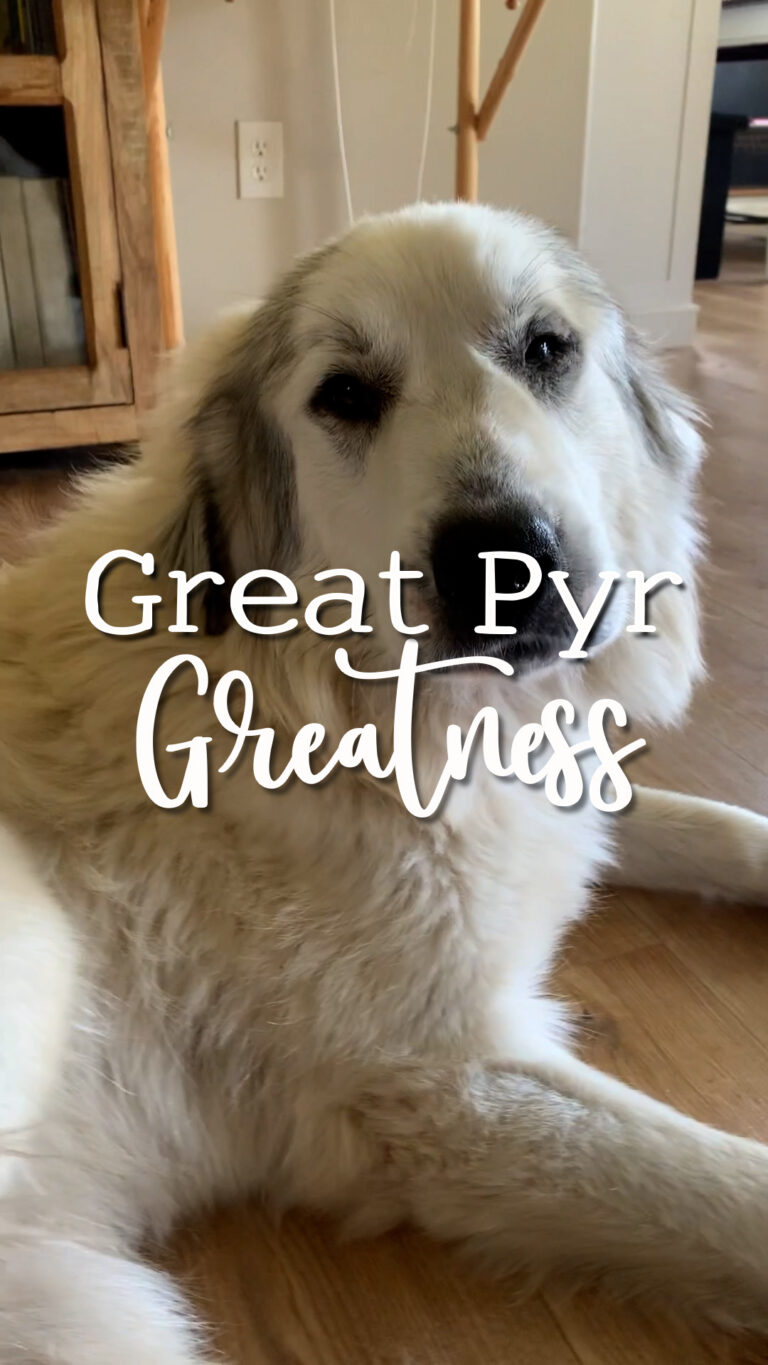
My Laelia’s birthday is rapidly approaching. We do our best to keep our playroom plastic-free—for oh so many reasons: toxins is one, but another is because we find that our children thrive from toys that vary in textures and materials. They also just love getting handmade toys from people they care about. They think of that special person every time they touch the toy or are looking for the toy. It’s really precious to them and to us. The girls even get to make some of their own toys or toys and things for other kids. They really love it.
On to the gift for Laelia. She loves tiny plush toys that would fit in the hand of an adult. For some reason these really grab her attention. She talks to them, squeals, and is so cute about these things that I had to make her something like this. I chose gnomes—they help those little imaginations to thrive.
So I designed my new little buddies. And set out to work. I gathered my materials:
1. Fabric for the body, hat, and face
2. Thread
3. Wool and cotton to stuff those little guys
4. Paint for the eyes
5. Tacky glue
6. Yarn for the hair

I didn’t use a pattern for the gnomes; each one is a different size, so head and body sizes vary when cutting the fabric. The measurements I have on here are for the larger gnome I made. She still fits in my hand. So the head is where I began. I used an organic cotton interlock for this. It measures 3 ½” in diameter.

I gathered the edge of the head and filled it with organic cotton fill.

Next, I cut the fabric for the gnome hat. I cut it to be about 4” x 4 ½”. I sewed it at an angle to get the shape of the gnome hat and then cut next to the edge of the seam—excuse my stitching there. I had a little trouble with my machine (user error probably).


After turning the hat right side out, I tucked the head into the hat with the gathered end of the head inside of course.

I thought braids for this little one would be super cute. So, I used 100% wool 4 ply yarn. I cut it into three 4 ½” strips per braid. I tied the three strips together, braided them to the bottom, and tied it with another small piece of yarn. After doing this to both braids, I tucked them inside the hat. Under each braid, next to the head, I placed a small drop of glue to make sure it wouldn’t move around. I also tucked 4 tiny pieces of yarn under the front of the hat for bangs and added a few dots of glue here. Then, I sewed the hat onto the head, beginning in the back at the seam of the hat.


 Next, I cut my fabric for the body. It measures 4” x 5 ½”.

In the very center of the fabric, I placed the gnome head. Holding it in place, I turned the entire piece (fabric and head) upside down and used my threaded needle to hold it in place. I double checked this to be the right spot and then began sewing the head onto the gnome body. I found (after sewing three little gnomes) that the best way to do this was to sew in a t pattern to make sure the head doesn’t bobble around too much. I have one that bobbles and the ones that don’t bobble too much seem sturdier.


This is where it really came together! The hands were the next step. I just gathered both corners separately that are where the hands should be into a “hand.”

Next, I sewed the sides of the gnome beneath where the hands were gathered.

This left only the bottom of the body open. It’s time to stuff our little gnome buddy. I filled her with the desired “puffiness” and sewed up the bottom seam, leaving space to gather the feet of the gnome. After gathering, I just double checked that all my thread ends were snipped.

The only thing left to do was to place my eyes. I chose not to add a full face, so Laelia can feel free to imagine any emotion she might want her gnomes to have without feeling led a certain direction. Here is the finished product!